
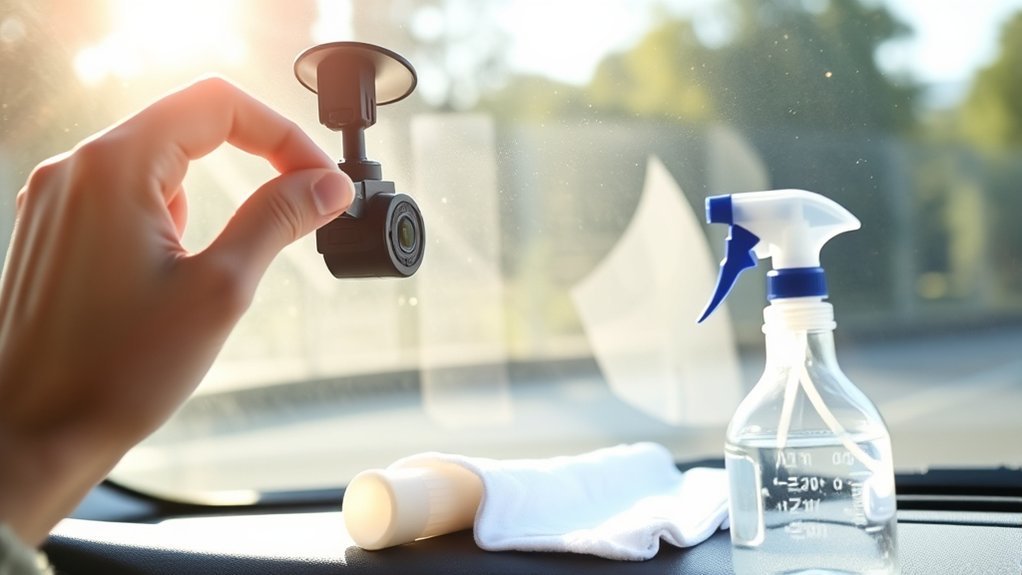
To safely remove your dash cam mount from the windshield, work slowly and avoid pulling with force. Use dental floss or fishing wire to cut through the adhesive, then apply steady pressure until the mount loosens. Clean leftover adhesive with a sticker remover, WD-40, or isopropyl alcohol, then use a plastic scraper before you try a razor blade. This guide shows you how to remove the mount, clean the glass, and protect your windshield from scratches.
Quick Answer
Cut behind the dash cam mount with dental floss or fishing wire, then pull with steady pressure until the adhesive releases. Soften leftover glue with a safe adhesive remover, WD-40, or isopropyl alcohol. Use a plastic scraper first, and only use a fresh razor blade at a low angle on untinted exterior glass.
Key Takeaways
- Start with floss or fishing wire so you can cut the adhesive without prying hard.
- Use steady pressure because many adhesive mounts need patience to release cleanly.
- Clean residue with a glass-safe remover, then wipe the windshield with a lint-free cloth.
- Avoid razor blades on tinted glass, defroster lines, sensors, or any cracked area.
Estimated total time: Set aside 20 to 40 minutes so you can remove the mount without rushing.
Step-By-Step Guide to Safely Remove Your Dash Cam
Garmin notes that adhesive dash cam mounts are made for long-term use and can be difficult to remove. That means you should not yank the mount, twist hard, or pry against the glass with a metal tool.
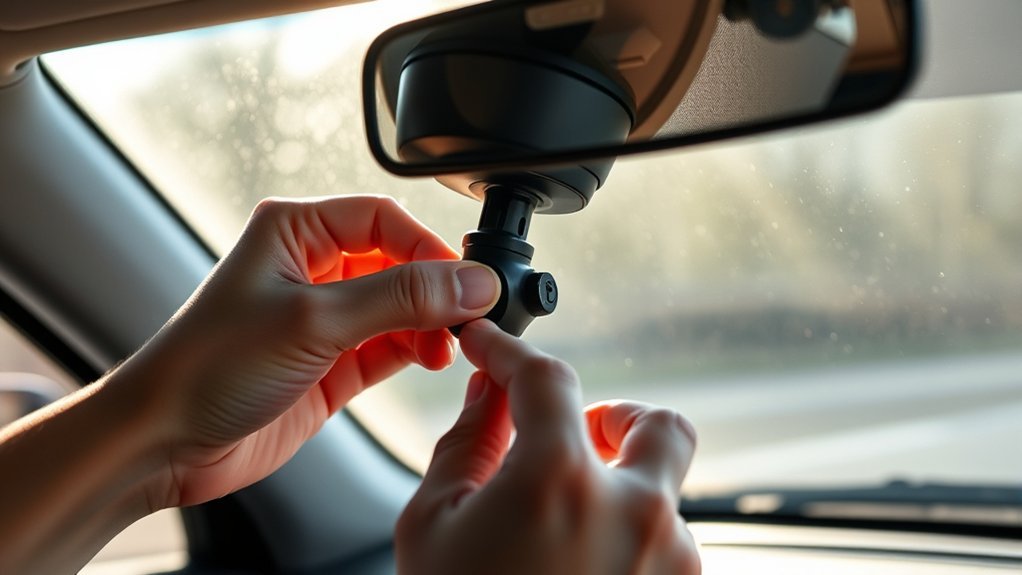
- Unplug the dash cam and remove the camera body from the mount if your model allows it.
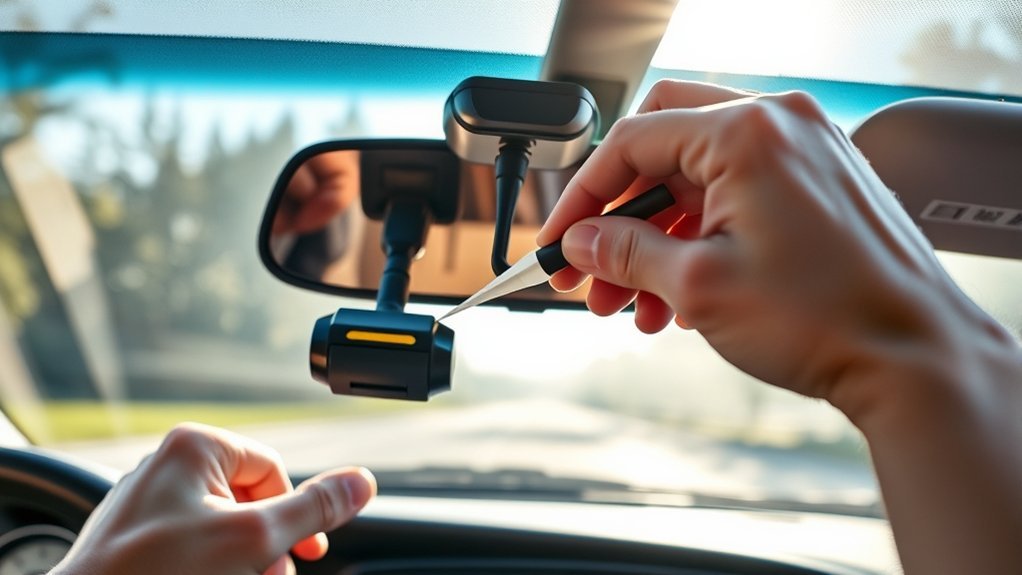
- Slide dental floss or fishing wire behind the mount and hold both ends tight.
- Saw gently back and forth through the adhesive pad until the mount starts to separate.
- Pull with steady pressure once the adhesive weakens, keeping your hand close to the mount base.
- Soften the leftover adhesive with sticker remover, WD-40, or isopropyl alcohol on a cloth.
- Scrape carefully with a plastic scraper first, then use a razor blade only if the glass is safe for it.
- Clean the windshield with automotive glass cleaner and a lint-free cloth.
Check the area from inside and outside the vehicle before you finish. Any small glue spot can catch glare at night or leave a mark under a new mount.
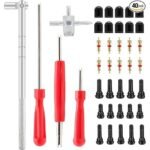
Before You Begin: Tools You Need for Dash Cam Removal
Gather your tools before you touch the dash cam mount. You’ll need dental floss or fishing wire, gloves, a plastic scraper, a lint-free cloth, and an automotive glass cleaner.
Keep a sticker remover, WD-40, or isopropyl alcohol nearby for stubborn adhesive. If you use a razor blade, choose a fresh blade and a proper holder so your hand stays away from the edge.
- Use gloves for grip and finger protection.
- Use a plastic scraper before metal tools.
- Use cleaner on a cloth instead of spraying near sensors or electronics.
- Use slow pressure instead of sudden force.
[Products Worth Considering]

Secure Mount Without Damaging Your Windshield: Use high-bond adhesive pads together with an optional electrostatic film to create a stable mount while helping keep your windshield clean and protected.

Ultra-Strong Double-Sided Adhesive for Dash Cam: Original tape, sticky pads provide 40% stronger bonding than regular tapes, ensuring your dash cam stays securely attached to the windshield even during bumpy rides or sudden stops. The longer it’s applied, the stronger the adhesive becomes, keeping your dash cam in place with no worry of it falling off
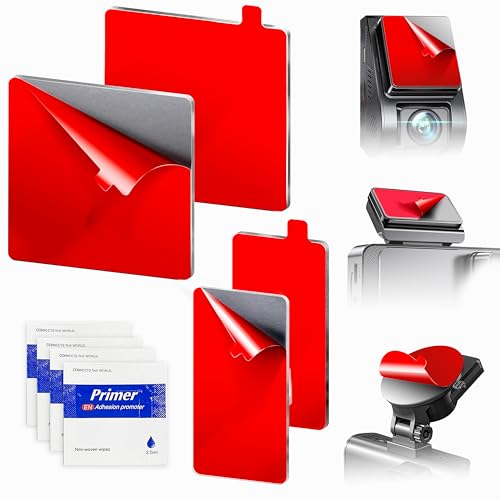
Stop Mounts from Falling in Hot Cars: Replace worn or failed adhesive with high-bond mounting pads designed to securely hold dash cams, GPS units, and phone mounts on flat glass, metal, or plastic surfaces. Not intended for rear-view mirrors.
Removing Leftover Adhesive From Your Windshield
Removing leftover adhesive from your windshield helps keep your view clear and prepares the glass for any future installation. Apply a small amount of adhesive remover, WD-40, or isopropyl alcohol to a cloth, then press it against the residue for a few minutes.
Once the glue softens, use a plastic scraper at a shallow angle. If the residue still sticks, use a fresh razor blade at about a 45-degree angle, but only on plain exterior glass.
Warning: Do not use a razor blade on tinted glass, defroster lines, camera sensor areas, or cracked glass.
After you remove the glue, wipe the area with windshield cleaner. Garmin recommends clean glass free from dust, wax, oils, or coatings before you install a new adhesive mount.
[Products Worth Considering]

Thick Spray Gel for adhesives: Goo Gone Adhesive Remover Spray Gel, which won a 2026 Good Housekeeping Cleaning Award, clings to surfaces to dissolve tough sticky messes like glue, stickers, labels, tape residue, gum, grease, wax and decals. The gel formula & glue remover works quickly to loosen adhesives for easy wipe-away cleanup.
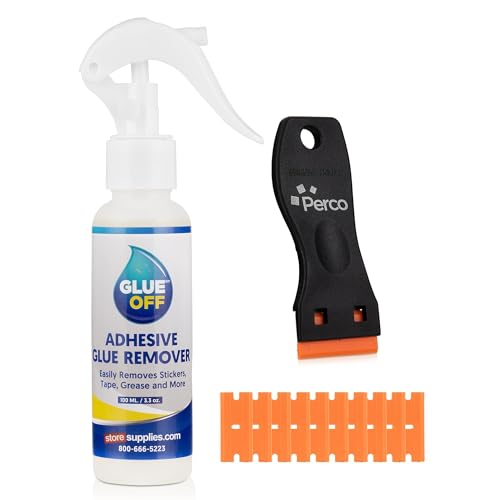
EFFECTIVE ON TOUGH MESSES – Removes silicone caulk, adhesives, sealants, tree sap, wet paint, glue, asphalt, ink, marker, soot, tar, wax, and grease/oil with ease.

DISSOLVES STUBBORN STICKY MESSES: Stop scraping and scratching. Our professional-grade formula penetrates and breaks down the molecular bond of stubborn adhesives in minutes. It effectively obliterates sticker residue, price tags, duct tape leftovers, super glue spills, and chewing gum, restoring your items to their original clean condition without elbow grease
Best Practices for Windshield Cleaning After Removal
Once you remove the mount and glue, clean the windshield with an automotive glass cleaner. Spray the cleaner on a lint-free cloth, not directly over a dash cam power cable, sensor housing, or mirror trim.
Wipe in small circles first, then finish with straight strokes from top to bottom. This method helps remove oily film from WD-40 or adhesive remover and leaves the glass easier to inspect.
Look across the glass from the side after cleaning. Side light makes haze, streaks, and small adhesive marks easier to spot.
[Products Worth Considering]

STREAK FREE GLASS CLEANER (CLD30016) – Professional-grade formula cleans glass, windows, and mirrors without streaks or residue, leaving crystal-clear visibility on automotive and household surfaces.
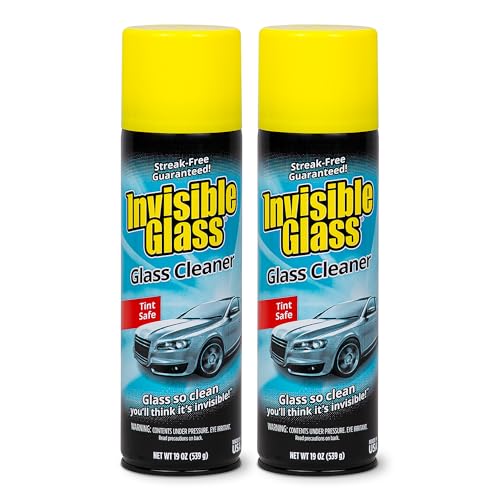
INVISIBLE GLASS CLEANER: Invisible Glass Cleaner is the #1 top seller in automotive for window and glass cleaning at home and in the car. Get a brilliant, streak-free shine that's instantly noticeable.

Automotive-Strength Cleaning Power: Rain-X delivers professional-grade performance on car windows, windshields, and mirrors, cutting through dirt, bug residue, tree sap, and road grime fast for a brilliantly clean result.
Stay Safe While Removing Your Dash Cam
While handling your dash cam, focus on control and visibility. A clean windshield matters, but your safety matters more than removing every spot in one pass.
| Safety Tips | Actions |
|---|---|
| Wear Gloves | Use gloves for better grip and finger protection. |
| Use Dental Floss | Cut through adhesive using dental floss or fishing wire. |
| Pull Slowly | Apply steady pressure and avoid sudden force. |
| Remove Adhesive | Apply remover to a cloth, then clean the glue gently. |
Stop if you see a chip, crack, deep scratch, or loose sensor cover near the mount. Ask an auto glass shop or dash cam installer for help before you damage the windshield.
Frequently Asked Questions
How do you get a dash cam mount off a windshield?
Remove the camera from the mount first if your model allows it. Slide dental floss or fishing wire behind the mount, saw through the adhesive, then pull the mount with slow, steady pressure.
How do you remove a suction cup mount from a windshield?
Pull the release tab or lift one edge of the suction cup to break the seal. If the rubber feels stuck, warm it slightly with your hand and avoid using sharp tools on the cup.
How do you remove adhesive from a windshield without damaging it?
Soften the adhesive with a glass-safe remover, WD-40, or isopropyl alcohol on a cloth. Scrape with a plastic scraper first, then clean the glass with automotive windshield cleaner.
Can you reuse a dash cam adhesive mount?
You usually need a new adhesive pad after removal because the old pad loses grip and shape. Clean the mount base and windshield before you add a fresh pad.
Can WD-40 remove dash cam adhesive from glass?
WD-40 says its Multi-Use Product can dissolve adhesive residue on glass and other surfaces. Use a small amount on a cloth, let it sit briefly, then clean the glass well to remove oily film.
Safety Disclaimer: This article is for informational purposes only and does not replace advice from a qualified auto glass or dash cam installer. Use tools and solvents with care, and ask a professional for help if you see cracks, chips, tint, sensors, or wiring near the mount.
Conclusion
You can remove a dash cam mount safely when you cut the adhesive first and avoid hard prying. Work slowly, soften the leftover glue, and clean the glass until no haze remains. If the windshield has tint, cracks, or sensor hardware nearby, get help before you use sharp tools. A clean windshield gives you a safer view and a better surface for your next dash cam setup.
References
- Removing the Camera Mount from the Windshield, Garmin.
- Installing the Mount onto Your Windshield, Garmin.
- Removing Adhesive Residue, WD-40.
- How to Remove Adhesive from a Windshield, Frank’s Auto Glass.
- How to Remove Stickers from Car Windows, ProCurve Glass Design.

Leave a Reply