
How to Install Front and Rear Dash Cams
Last updated: May 31, 2026
What’s in This Article
Installing a front and rear dash cam looks simple until wires, app setup, windshield placement, and legal rules all matter at once. A poor install can block your view, drain your battery, or record weak footage when you need it most. This guide shows you how to plan the setup, mount both cameras, connect power, adjust angles, and check the system before you drive.
Quick Answer
To install a front and rear dash cam, mount the front camera high behind the rear-view mirror and mount the rear camera on the rear glass. Route the cables along trim edges, connect power through a 12V outlet, OBD-II cable, or hardwire kit, then use the app or screen to check both views. Use a low-voltage cutoff hardwire kit if you want parking mode.
Key Takeaways
- Mount each camera where it records clearly without blocking your view.
- Check your local windshield and audio recording laws before you record.
- Use a hardwire kit with low-voltage protection for parking mode.
- Clean the glass before mounting so the adhesive bonds well.
- Test front and rear footage before you hide the cables.
Before You Install a Dash Cam
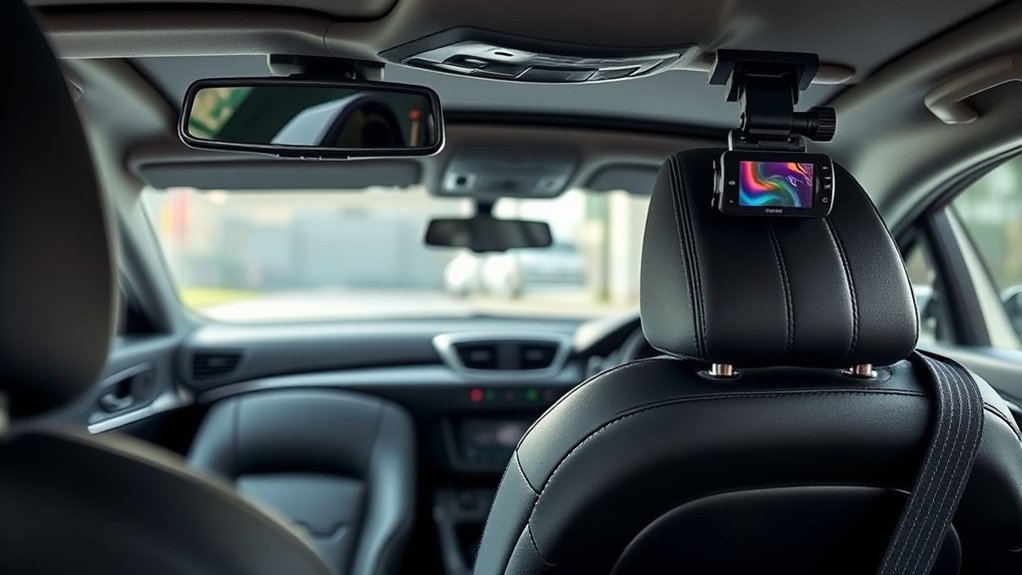
Before you install your dash cam, check four things: placement, power, laws, and heat. Choose a location that gives wide coverage without blocking your direct view. The best front position often sits high behind or next to the rear-view mirror.
For U.S. commercial vehicles, Federal Motor Carrier Safety Administration rules limit where vehicle safety technology can sit on the windshield. Personal vehicles usually follow state and local rules, so check the law where you drive. If your camera records cabin audio, check consent laws and tell passengers when needed.
Choose a power source that matches your needs. A 12V plug works for simple recording while driving. An OBD-II cable or hardwire kit can look cleaner, but hardwiring needs care because it connects to your vehicle’s electrical system.
Warning: Do not mount a dash cam where it blocks your view, covers safety sensors, or interferes with airbags.
Heat also matters. Many dash cams work better in hot parked cars when they use a supercapacitor instead of a small lithium battery. Check your mount, cables, memory card, and sample footage often so the system stays reliable.
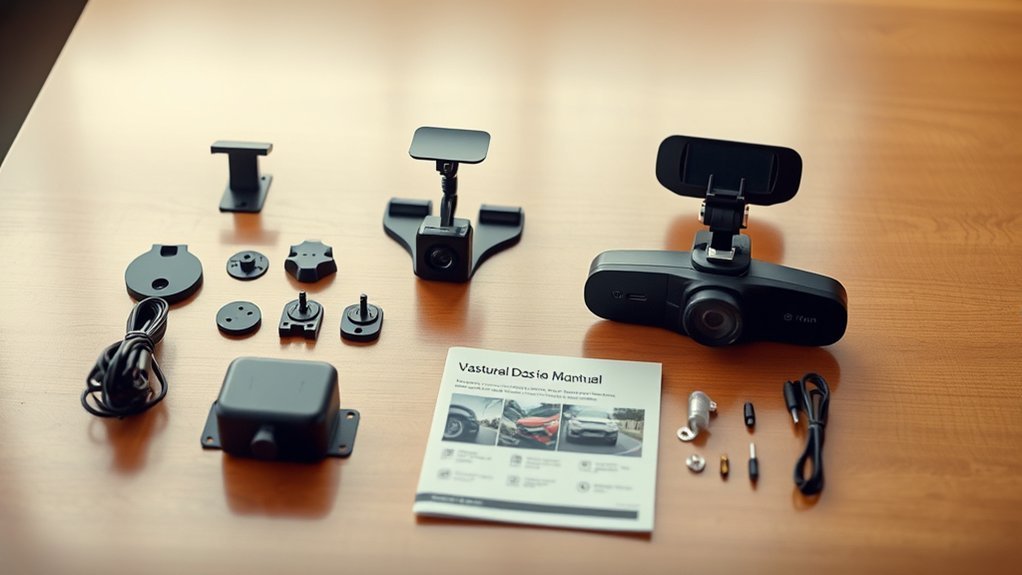
What You’ll Need for a Front and Rear Dash Cam Installation
Most front and rear dash cam installs take about 45 to 90 minutes. A simple 12V plug setup takes less time. A clean hardwire setup can take longer, especially if you have not worked with fuse boxes before.
- Front and rear dash cam kit with power and rear camera cables
- High-endurance microSD card, if your camera does not include one
- Alcohol wipes and a clean microfiber cloth
- Plastic trim tool for tucking wires
- Cable clips, zip ties, or adhesive cable holders
- 12V adapter, OBD-II cable, or hardwire kit
- Fuse taps and a multimeter for hardwire installs
- Smartphone and the correct app for your dash cam brand
Use the camera maker’s guide for your exact model. If you install a fleet camera, such as Verizon Connect Integrated Video, you may also need a vehicle tracking unit, app credentials, and an assigned vehicle profile.
[Products Worth Considering]

【Input 12–24V, Output 5V/2A】The Hardwire Kit provides a direct connection from your dash cam to the vehicle's fuse box (cars, trucks, buses, SUVs, etc.) for uninterrupted power supply. Designed for compatibility with 12–24V automotive systems, this kit ensures a reliable 5V/2A output.

【Wide Compatible】Input:12V-24V; Output:5V/2A. With Type-C ports, this hardwire kit compatible with all of dash cams.

【Low Voltage Protection】Power cuts off automatically at 11.6V (23.2V for 24V input) to reserve engine-start power and safeguard your car battery.
Why You Need a Dash Cam for Your Vehicle
A dash cam can record useful footage during a crash, road dispute, parking incident, or sudden stop. It does not prevent every problem, but it can give you a clearer record of what happened. That record can help with insurance claims, police reports, and your own review of a driving event.
Evidence for Insurance Claims
When you’re involved in an accident, dash cam footage can help show what happened before and after the impact. Progressive notes that dash cam recordings may help resolve claims when fault is disputed. This matters most when drivers give conflicting accounts.
Do not assume your insurer will lower your rate just because you use a dash cam. Some insurers may value the footage during a claim, but many do not offer a direct dash cam discount. Ask your provider before you buy the camera for that reason alone.
Enhanced Road Safety
A dash cam can support road safety by helping you review harsh braking, sudden turns, or close calls. Fleet systems may combine video with driver data, speed, and event alerts. For personal drivers, the main benefit comes from having a record of events you may not fully remember later.
The camera should never replace safe driving habits. Keep your attention on the road, avoid screen interaction while driving, and set the camera before the trip starts.
Deter Reckless Driving
A visible dash cam may discourage some aggressive behavior near your vehicle. It can also help document hit-and-run damage, vandalism, or false claims. The camera works best when it records clear video, accurate time stamps, and a wide enough view.
Keep your expectations realistic. A dash cam records events, but it cannot stop a reckless driver from making a bad choice.
Preparing Your Vehicle for Dash Cam Installation
Park your vehicle on a flat surface before you start. If your camera needs horizon calibration, use a space with about 25 yards (23 meters) of clear view ahead. Turn off the ignition before you route cables or work near trim panels.
If your camera uses adhesive, check the glass temperature first. Verizon Connect recommends a windshield temperature between 50°F and 80°F (10°C to 26°C) for its dash cam adhesive. Park in shade, use the cabin air, or wait for better conditions if the glass feels too hot or cold.
Gather your tools before you remove trim or peel adhesive. Keep the trim tool, alcohol wipes, cable clips, and zip ties within reach. If your system needs an OBD-II port, 9-pin connector, or 3-wire hardwire connection, identify that point before mounting the camera.
Downloading and Setting Up Your Dash Cam App
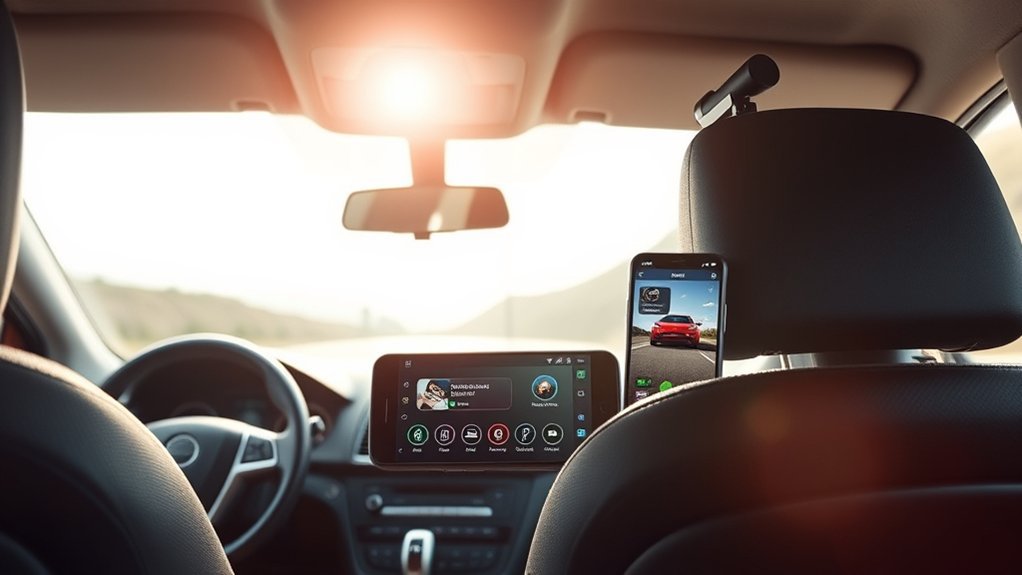
Download the correct app for your dash cam before you mount the camera. Consumer cameras use brand-specific apps, while fleet cameras may use a fleet platform app. For Verizon Connect systems, the official guide says installers use the Integrated Video app or the Reveal Hardware Installer app for approved installation partners.
Log in with the correct account before you scan or assign the camera. If your company manages the system, ask the administrator for access. Keep the camera serial number and barcode nearby because many apps use them to identify the device.
App Download Process
Use these steps to install the app and prepare the camera:
- Download the dash cam maker’s official app from your app store.
- Connect your phone to a strong mobile or Wi-Fi signal.
- Scan the camera barcode or enter the serial number by hand.
- Insert and format the microSD card if the app asks you to do so.
- Set your recording resolution, loop recording, time zone, and parking mode.
After setup, record a short test clip and play it back. This helps you catch angle, storage, or app issues before you finish routing cables.
Account Login Steps
To log into a fleet dash cam app, use the credentials from your fleet or account administrator. For Verizon Connect Integrated Video, the app requires a Verizon Connect subscription, dash cam, and vehicle tracking unit. The app can install and activate cameras and review video tied to driving events.
| Step | Action | Notes |
|---|---|---|
| 1. Download App | Use the official app store | Choose the app for your camera brand |
| 2. Log In | Use your account credentials | Contact your admin if needed |
| 3. Identify Camera | Scan barcode or enter serial | Needed for app setup |
| 4. Complete Setup | Follow the app prompts | Check the microSD card first |
Identifying Your Dash Cam and Its Features
Before you mount the camera, learn what your model can record and how it stores files. This helps you choose the right memory card, app settings, and power mode. Focus on the features that affect daily use.
Good dash cam footage starts with clear placement, stable power, and the right recording settings.
- Resolution: Many dash cams record in 1080p, while newer models may record in 2K or 4K.
- GPS and overlays: Some models add speed, time, location, and route data to the footage.
- Storage: Most models use a microSD card, and many brands recommend high-endurance cards.
- Parking mode: Some cameras record motion or impact while parked, but they need constant power.
- Rear or cabin camera: A rear camera records traffic behind you, while a cabin camera records inside the vehicle.
[Products Worth Considering]

Compatible with Nintendo-Switch (NOT Nintendo-Switch 2)

Ideal for dash cams and home monitoring systems

EXTREME ENDURANCE FOR MONITORING DEVICES: Capture your crucial moments in high-resolution, even in harsh conditions; Engineered to deliver long lasting performance, the Samsung PRO Endurance SSD is a perfect fit for CCTV, dash cams and body cams
Step-by-Step Guide to Connecting Your Dash Cam to Power
Connect your dash cam to power only after you choose the right method for your vehicle and camera. A basic 12V plug is the easiest choice. A hidden hardwire setup looks cleaner, but it needs more care.
- Choose the power method. Use a 12V plug for a quick install, an OBD-II cable for some supported systems, or a hardwire kit for parking mode.
- Connect the front camera. Plug the power cable into the camera before you hide the wire.
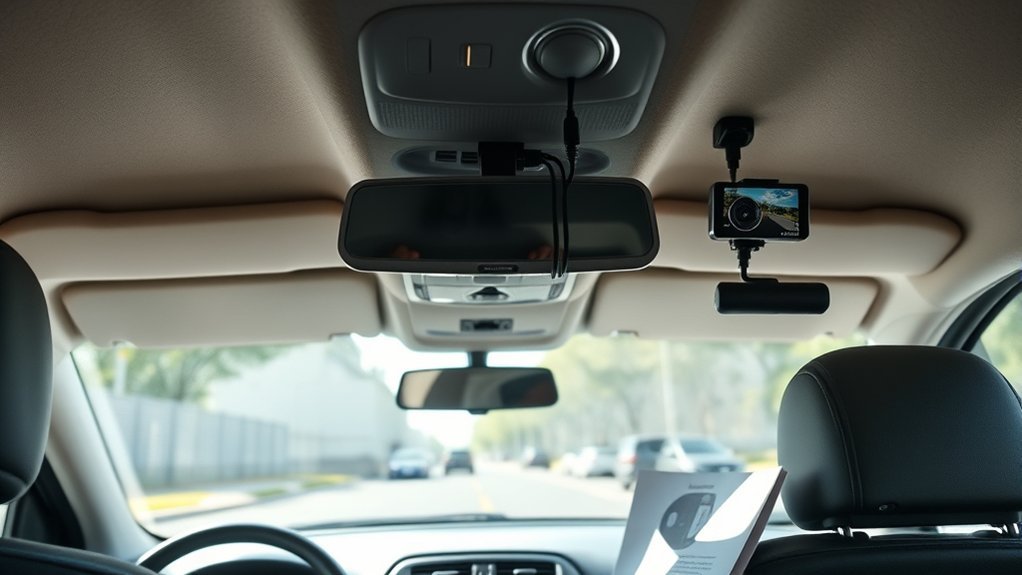
- Route the cable safely. Tuck the wire along the headliner and pillar trim without crossing airbag paths.
- Connect the rear camera cable. Run the cable along the roofline or floor trim to the rear window.
- Attach power. Plug into the 12V outlet, connect the OBD-II cable, or use fuse taps with a hardwire kit.
- Test the camera. Turn on the ignition and confirm that both front and rear feeds appear.
For some fleet dash cams, Verizon Connect lists OBD-II, 9-pin, 6-pin, and 3-wire options. It recommends the 3-wire method for advanced installers with electrical wiring experience. If you do not know how to test constant and switched power, use a professional installer.
Pro tip: Test both cameras before you press adhesive mounts firmly or hide the final cable runs.
[Products Worth Considering]
![Dash Cam Hardwire Kit,[Upgraded Version] USB C Hardwire Kit for Dash Camera with 12V-24V to 5V Power Supply,Fuse Tap,Blade Fuses & Pry Tool,Protecting Car Dash Cam Front and Rear](https://m.media-amazon.com/images/I/41Lw3-pYLFL._SL500_.jpg)
24-Hour Full Day Monitoring:A dash cam that can stably record must have a set of step-down wires silently accompanying it! And our product is such a presence! It can provide 24-hour uninterrupted power supply for your dash cam. Even if the car stalls, it can still operate stably. Providing strong guarantees for maintaining the safety of your car and property

【Compatible for ROVE R2-4K with USB-C Port, R2-4K PRO, R2-4K DUAL, R2-4K DUAL PRO, and R3 Dash Cam with USB Type C】 This dash cam hardwire kit is specially designed for R2, R2-PRO, R2-DUAL, R2-4K DUAL PRO and R3 dash cams to be used for 24-hours parking monitor.

24/7 Parking Monitor: This power adapter system provides 24/7 parking surveillance, recording incidents like hit-and-runs, vandalism, or theft while your vehicle is off to protect your car and provide crucial evidence.
Finding the Best Mounting Position for Your Dash Cam
After you confirm power, choose the best mounting position. The front camera usually works best high on the windshield, behind or next to the rear-view mirror. This position gives a wide road view without distracting you.
- Check clearance. Make sure the camera does not touch sun visors, mirror housings, windshield tint strips, or sensor covers.
- Check your view. Sit in the driver’s seat and make sure the camera does not block road signs, traffic lights, or pedestrians.
- Check the horizon. Aim the front camera so the road and sky split the frame in a balanced way.
- Check the rear camera. Mount it high on the rear glass so it records traffic behind you.
For a rear camera, avoid defroster lines if the adhesive pad or bracket could damage them. Leave enough slack near hinges if your vehicle has a hatchback or liftgate.
Adjusting Your Road-Facing and Driver-Facing Cameras for Best Results
Use the app preview or screen preview to adjust each camera before you finish the install. Aim the road-facing camera toward the center of the lane. Keep enough hood in the frame to give context, but do not point the lens too low.
If your system uses a driver-facing camera, aim it toward the center of the cabin. Keep the driver’s face area visible without blocking the driver’s view. For a rear camera, center the lens on the rear window and check that headrests or cargo do not block the view.
Record a short test drive, then review the clip. Check license plate clarity, glare, night footage, rear coverage, and audio settings. Adjust the lens angle if the video shows too much sky, dashboard, or interior trim.
Cleaning and Preparing the Windshield for Installation
Clean the windshield before you attach the adhesive mount. Dirt, oil, and moisture can weaken the bond. This step also helps the lens record a clear view through the glass.
Gather Necessary Cleaning Supplies
Gather the right cleaning supplies before you peel the adhesive backing. You need a clean mounting area and a dry surface. Use these items:
- Alcohol wipes to remove dirt, oil, and fingerprints from the glass.
- A microfiber cloth to dry the cleaned area without leaving lint.
- A temperature check if the windshield feels very hot or cold.
Clean Windshield Thoroughly
Wipe the mounting area with an alcohol wipe and let it clear grease and dust. Avoid ammonia-based cleaners because they may leave residue on some glass or tint surfaces. Finish with a microfiber cloth for a streak-free area.
Do not touch the cleaned area with your fingers after wiping it. Skin oil can reduce adhesive strength.
Allow Drying Time
Let the cleaned area dry for at least 60 seconds before mounting the camera. Moisture can weaken adhesive pads and make the camera shift later. Press the mount firmly after placement and follow your camera maker’s hold-time instructions.
Troubleshooting Common Dash Cam Issues and Final Steps for Your Dash Cam Setup
If your dash cam does not power on, check the power plug, fuse, ground, and ignition state. Some cameras only start when the vehicle turns on. If a hardwired camera stays off, test the fuse tap and ground point with a multimeter.
If the camera does not record, check the microSD card. Format the card in the camera or app, then confirm it has enough space. Replace old or low-quality cards if files fail often.
If the video looks poor, clean the lens and windshield. Adjust the angle if the camera records too much sky, dash, or trim. For app issues, update the app, enable Bluetooth or Wi-Fi, and restart both your phone and camera.
Finish by checking both camera feeds, recording a test clip, and saving a sample file. Set your date, time zone, loop recording, G-sensor sensitivity, and parking mode before daily use.
When to Get Professional Help
Get professional help if the install requires fuse box wiring, airbag-area cable routing, or trim removal you do not understand. A poor cable route can create safety risks or rattles. A wrong power connection can drain the battery or stop the camera from recording.
You should also call a professional if your vehicle has advanced driver assistance sensors near the mirror. Mounting a camera near those sensors may affect the view or service access.
Frequently Asked Questions
Do I Have to Tell My Insurance if I Have a Dash Cam?
You usually do not have to tell your insurer that you have a dash cam. Still, telling them may help if you want to know how footage affects claims. Ask your provider because discount rules and claim rules vary.
Is Hardwiring a Dashcam Bad for the Battery?
Hardwiring can drain your battery if the camera records while parked without protection. Use a hardwire kit with low-voltage cutoff and set a parking mode time limit. If your battery is weak, ask a mechanic before using long parking mode.
Will My Insurance Go Down if I Have a Dashcam?
Your insurance may not go down just because you install a dash cam. Progressive says insurers generally do not offer direct dash cam discounts, but footage may help resolve a disputed claim. Check your own policy for exact rules.
How Do I Set Up My Dash Cam?
Mount the camera, connect power, insert the memory card, and use the app or screen to set the date and recording options. Then record a short test clip from the front and rear cameras. Review the video before you hide the cables.
Should I Turn Off Dash Cam Audio Recording?
Consider turning off audio if you often carry passengers or drive across areas with different consent laws. Some states require all parties to consent to recorded conversations. Video-only recording may reduce privacy concerns while still giving you road footage.
Legal and Safety Disclaimer: This article is for informational purposes only and does not constitute legal, insurance, or vehicle repair advice. Always check local laws, your insurance policy, and your vehicle manual before installing or using a dash cam. Consult a qualified installer, mechanic, insurer, or lawyer when your situation requires professional guidance.
Conclusion
A good front and rear dash cam setup gives you clear footage without blocking your view or risking your battery. Start with legal placement, clean glass, safe cable routing, and the right power method. Test both cameras before you finish the install. Once your setup works, check footage and app updates often so your dash cam stays ready for the next drive.
References
- 49 CFR Part 393, windshield obstruction rules — Electronic Code of Federal Regulations, 2026
- Installation guide: Dual-Facing AI Dashcam — Verizon Connect Device Help
- Technician guide: Road-Facing AI Dashcam on Fleet — Verizon Connect Device Help
- Insurance Benefits of Installing a Dashcam — Progressive
- Integrated Video by Verizon Connect app listing — Google Play, updated 2026
- Recording Phone Calls and Conversations: 50-State Survey — Justia, 2024


Leave a Reply