
How to Install Dash Cam Wires for a Professional Finish
Loose dash cam wires can look messy, block your view, and create safety risks if they cross the wrong trim area. A clean install needs more than hiding a cable under the headliner. You need the right tools, a safe route, firm connections, and enough slack for moving parts like the rear hatch.
Quick Answer
To install dash cam wires neatly, route the cable along the headliner, down the pillar trim, and toward the power source without crossing airbag paths. Use trim tools, fuse taps, zip ties, and a solid ground point. Test the camera before you secure every panel.
Key Takeaways
- Plan your wire route before you remove any trim panels.
- Keep wires away from airbags, pedals, sharp metal edges, and moving hinges.
- Use a fuse tap instead of cutting factory wires when you hardwire the dash cam.
- Leave enough slack for a rear camera cable near the hatch or trunk.
- Test recording, parking mode, and power behavior before you finish the install.
Estimated time: A basic plug-in install can take 20 to 45 minutes, while a hardwired install may take 60 to 120 minutes.
Essential Tools for Dash Cam Installation
You need a few basic tools before you start routing dash cam wires. Start with a high-endurance microSD card, since dash cams record and overwrite video often. If you want a cleaner hardwired setup, use a dash cam hardwire kit, add-a-fuse taps, and the correct fuse type for your vehicle.
A trim removal tool helps you tuck cable under panels without scratching the interior. Zip ties or adhesive cable clips keep extra wire from hanging near the pedals or steering column. You may also need pliers, a socket wrench, electrical tape, and a circuit tester for fuse box work.
[Products Worth Considering]

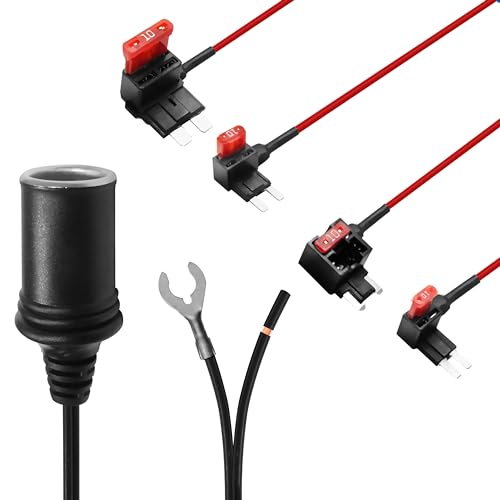
【Input 12–24V, Output 5V/2A】The Hardwire Kit provides a direct connection from your dash cam to the vehicle's fuse box (cars, trucks, buses, SUVs, etc.) for uninterrupted power supply. Designed for compatibility with 12–24V automotive systems, this kit ensures a reliable 5V/2A output.

【Wide Compatible】Input:12V-24V; Output:5V/2A. With Type-C ports, this hardwire kit compatible with all of dash cams.

【Low Voltage Protection】 Once the input voltage drops below 11.6V (23.2V for 24V input), the battery drain protection will cut off the power supply, leaving enough power to ignite the engine without damaging the battery.
Before You Begin: Check Your Vehicle and Dash Cam
Read your vehicle manual before you remove trim or touch the fuse box. The manual can help you locate fuse panels, airbag zones, and safe trim access points. Check your dash cam manual too, because wire colors and parking mode settings can vary by brand.
Warning: Do not route dash cam wires across side curtain airbags, because the cable may affect airbag deployment in a crash.
Choose your power method before you start. A 12-volt socket install works well for a simple setup. A hardwired install gives you a cleaner look and may support parking mode, but it needs more care.
Step-by-Step Guide to Wiring Your Dash Cam
Follow these steps in order so you can test the dash cam before you close every panel. Keep the cable loose enough during the test stage. Once everything works, secure the wire and reinstall the trim.
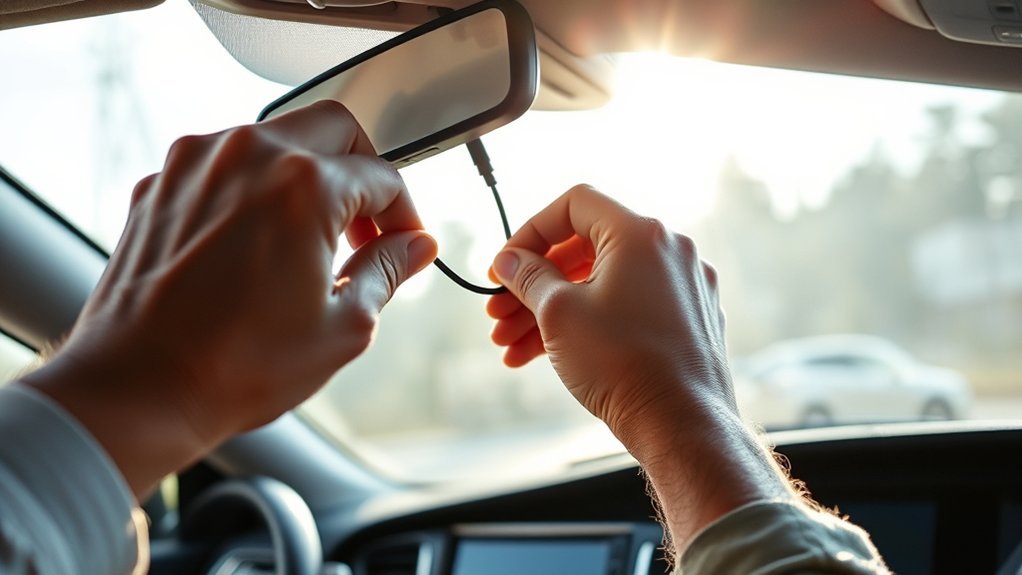
- Mount the dash cam. Place it high on the windshield, usually behind or near the rearview mirror. Keep it out of your main viewing area.
- Plan the wire route. Run the power cable along the headliner, toward the passenger-side or driver-side pillar, and down to the power source.
- Check airbag areas. Look for airbag labels and avoid routing wire across the airbag path. Route behind safe trim spaces only when your vehicle design allows it.
- Tuck the cable carefully. Use a plastic trim tool to press the wire under the headliner and trim edges. Do not force panels or pinch the cable.
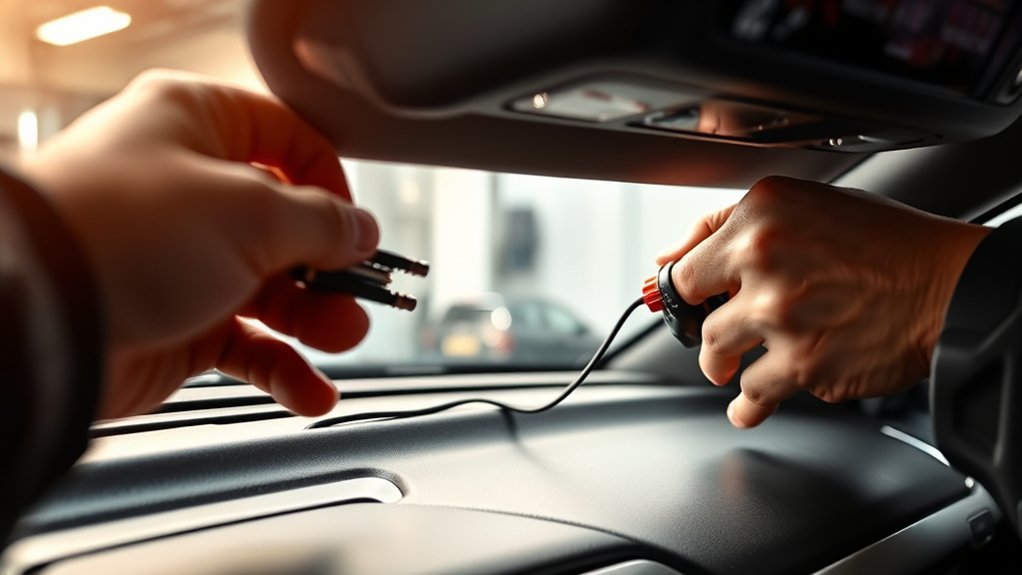
- Connect power. For a socket setup, plug the adapter into the 12-volt port. For a hardwire setup, connect constant and ignition-switched power using proper fuse taps.
- Attach the ground wire. Secure the ground wire to bare metal or a factory ground bolt. A weak ground can cause power loss and restart problems.
- Secure extra cable. Bundle loose wire with zip ties or cable clips. Keep it away from pedals, steering parts, seat rails, and sharp edges.
- Test the dash cam. Start the vehicle and confirm the dash cam powers on, records video, and shuts off or enters parking mode as expected.
- Reinstall trim panels. Snap panels back into place after the test. Make sure no wire gets pinched or exposed.
Tools Required for Installation
Gather your tools before you start so you don’t leave trim panels hanging open. For a hardwired dash cam install, you may need:
- Dash cam hardwire kit
- Add-a-fuse taps that match your vehicle fuse type
- Circuit tester or multimeter
- Pliers
- Socket wrench
- Plastic trim removal tools
- Zip ties or adhesive cable clips
- High-endurance microSD card
Use your vehicle manual to locate the fuse box. Many vehicles place fuse boxes under the steering wheel, inside the glove box area, or near the footwell. If your hardwire kit uses color-coded wires, confirm the wire purpose in the kit manual before you connect anything.
Wiring Routing Techniques
Good wiring routing keeps the install safe and clean. Start at the dash cam and route the wire along the headliner toward the closest safe pillar. Keep the wire clear of airbags, sharp brackets, and moving parts.
If you install a rear camera, route the cable along the headliner or factory trim path. Leave enough slack near the hatch, trunk lid, or rubber boot so the cable can move without strain. Secure the wire at steady points, but don’t over-tighten zip ties.
Pro tip: Take a photo of each trim panel before removal so you can reinstall clips and panels correctly.
What Not to Do When Wiring Your Dash Cam
Small wiring mistakes can cause power issues, rattles, or safety risks. Avoid these common problems before you finish the job:
- Don’t cut factory wires: Use a proper fuse tap when you need fuse box power.
- Don’t cross airbag paths: Keep wires away from side curtain airbags and airbag covers.
- Don’t use a weak ground: Connect the ground wire to a clean metal point or factory ground bolt.
- Don’t leave loose cable near controls: Keep wires away from pedals, steering parts, shifters, and seat rails.
- Don’t skip testing: Confirm power, recording, and parking mode before you secure every wire.
You should also avoid random fuse slots. Use a circuit tester to confirm which fuse has constant power and which fuse switches with the ignition. This helps the dash cam behave the way the hardwire kit expects.
[Products Worth Considering]

❖{Things to Know Before Purchasing} : This hardwire kit does not have ACC signal output and does not support dash cam with time-lapse recording function. If you need a hardwire kit that supports time-lapse recording, then this is not suitable for you. It simply charges the dash cam and does not trigger the time-lapse recording function

【Compatible 12–24V Vehicles】This hardwire kit dash cam connects the camera directly to the car, truck, bus, SUVs, or big rig for continuous power, accepts voltage from any type of vehicles runs on 12–24V.
![Dash Cam Hardwire Kit,[Upgraded Version] USB C Hardwire Kit for Dash Camera with 12V-24V to 5V Power Supply,Fuse Tap,Blade Fuses & Pry Tool,Protecting Car Dash Cam Front and Rear](https://m.media-amazon.com/images/I/41Lw3-pYLFL._SL500_.jpg)
24-Hour Full Day Monitoring:A dash cam that can stably record must have a set of step-down wires silently accompanying it! And our product is such a presence! It can provide 24-hour uninterrupted power supply for your dash cam. Even if the car stalls, it can still operate stably. Providing strong guarantees for maintaining the safety of your car and property
Best Practices for Securing and Concealing Dash Cam Wires
A clean dash cam install should look neat and stay secure during normal driving. Use trim panels, headliner edges, and factory wire paths when they offer a safe route. Keep the cable hidden, but never hide it in a way that blocks safety systems.
[Products Worth Considering]

【24 Hours Parking Surveillance】When the engine is off, HK4 hardwire kit provides continuous power to the camera, any collisions, event will be recorded.

DUAL-SLOT FUSE HOLDER: The dual-slot fuse jumper connector provides two fuse holders, one fuse holder to protect existing circuits and the second fuse holder to protect new circuits, making it safe and reliable to use in daily life
Hardwire Your Dash Cam Easily – Connect your dash cam, GPS, or radar detector directly to your fuse box for clean power and keep your car’s cigarette lighter socket free for other devices.
Use Trim Panels Effectively
Use plastic trim tools to lift edges gently and tuck the wire behind safe trim areas. Avoid metal screwdrivers, since they can scratch panels or damage clips. After routing the wire, press the panel back into place and check for gaps.
- Route wires without blocking your view.
- Keep cable away from airbag covers and deployment paths.
- Use existing trim channels when they provide a safe path.
- Check that no wire gets pinched when you reinstall panels.
Secure Wires With Zip Ties
Use zip ties to bundle extra wire and stop rattles. Place ties every 6 to 12 inches where the cable may move. Cut the tail cleanly so it does not leave a sharp edge near the wire jacket.
Do not over-tighten zip ties. A tight tie can crush insulation and create future electrical problems. For a cleaner setup, use adhesive cable mounts in hidden areas where they will not loosen in heat.
How to Troubleshoot Dash Cam Wiring Issues
Start troubleshooting with the simplest checks. Confirm the dash cam has a working microSD card, the cable sits fully in the port, and the power source works. Then check the hardwire connections if the dash cam still fails.
- Check the ground connection for clean metal contact.
- Confirm constant and switched power wires connect to the correct fuses.
- Use a circuit tester to verify fuse behavior before closing the panel.
- Inspect cable bends near trim edges for damage or pinching.
- Reseat loose plugs at the dash cam, rear camera, and power adapter.
If the camera restarts often, the issue may come from a weak ground, loose fuse tap, low battery cutoff setting, or poor cable connection. If you notice burning smells, melted insulation, or blown fuses, stop using the system and contact a qualified installer.
How to Test Dash Cam Functionality?
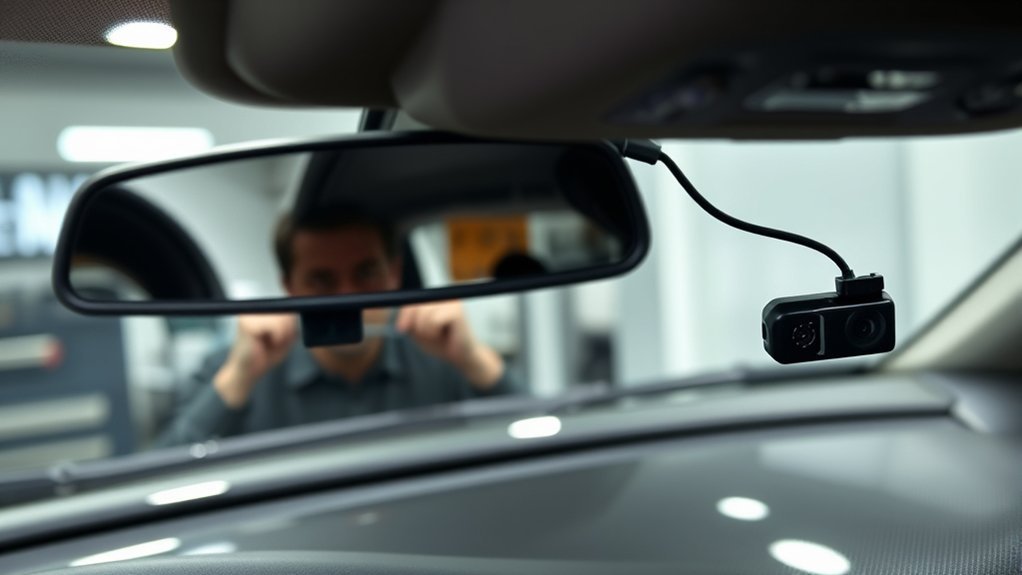
Power on the dash cam after installation and confirm it starts when you start the vehicle. Use the built-in screen or phone app to adjust the camera angle. Make sure the lens captures the road clearly without showing too much dashboard.
Insert a compatible high-endurance microSD card and make a short test recording. Review the video to check image quality, sound settings, date stamps, and camera angle. If you installed a rear camera, check that front and rear footage both save correctly.
Test parking mode only if your dash cam and power setup support it. Turn off the ignition and check whether the dash cam enters the correct parking mode. Review the manual for low-voltage cutoff settings so the camera does not drain your battery.
When to Call a Professional Installer
Call a professional installer if you feel unsure about fuse boxes, airbags, or trim removal. A trained installer can route wires without damaging clips, panels, or safety systems. This matters more if your vehicle has complex electronics or many airbags near the pillar trim.
You should also get help if the dash cam keeps blowing fuses, losing power, or draining the battery. These signs may point to a wiring fault or wrong fuse choice. A proper check can prevent bigger electrical problems later.
Frequently Asked Questions
How to Hide the Wires for a Dash Cam?
Hide dash cam wires by routing them along the headliner, behind safe trim edges, and down toward the power source. Keep the wire away from airbags, pedals, and sharp metal. Use zip ties or clips to secure extra cable behind panels.
How to Get a Dash Cam Professionally Installed?
Search for an installer with strong reviews and experience with dash cams. Ask whether they use fuse taps, protect airbag areas, and test parking mode before delivery. Also ask if their work includes a labor warranty.
Does Hardwiring a Dash Cam Void Insurance?
Hardwiring a dash cam usually does not void insurance by itself, but poor wiring can affect a claim if it causes damage. Review your policy and keep installation records. For leased or newer vehicles, check warranty terms before you modify wiring.
Is It Better to Hard Wire a Dash Cam?
Hardwiring works better if you want hidden cables and parking mode support. A plug-in setup works well if you want a simple install that you can remove easily. Choose the option that fits your vehicle, comfort level, and dash cam features.
Can a Dash Cam Drain Your Car Battery?
A dash cam can drain your battery if it records while parked without a proper low-voltage cutoff. Many hardwire kits include battery protection settings. Use the correct setting for your vehicle and driving habits.
Conclusion
A professional dash cam wire install depends on safe routing, firm connections, and careful testing. Plan the route before you start, keep wires away from airbags, and secure every loose section after the camera works. If you feel unsure about the fuse box or trim panels, use a qualified installer. A clean install helps your dash cam work well without making your cabin look cluttered.


Leave a Reply