To replace your Toyota Supra’s coolant hose, first, gather tools and safety gear. Drain the cooling system by opening the radiator drain plug. Remove old hoses, checking fittings for damage. Select compatible replacement hoses based on size and material, and install them with new clamps, ensuring a tight fit. Refill with a 50/50 coolant mixture, start your engine, and check for leaks. For a thorough guide on maintaining your Supra’s cooling system, continue on for detailed steps.
Gather Your Tools and Safety Gear
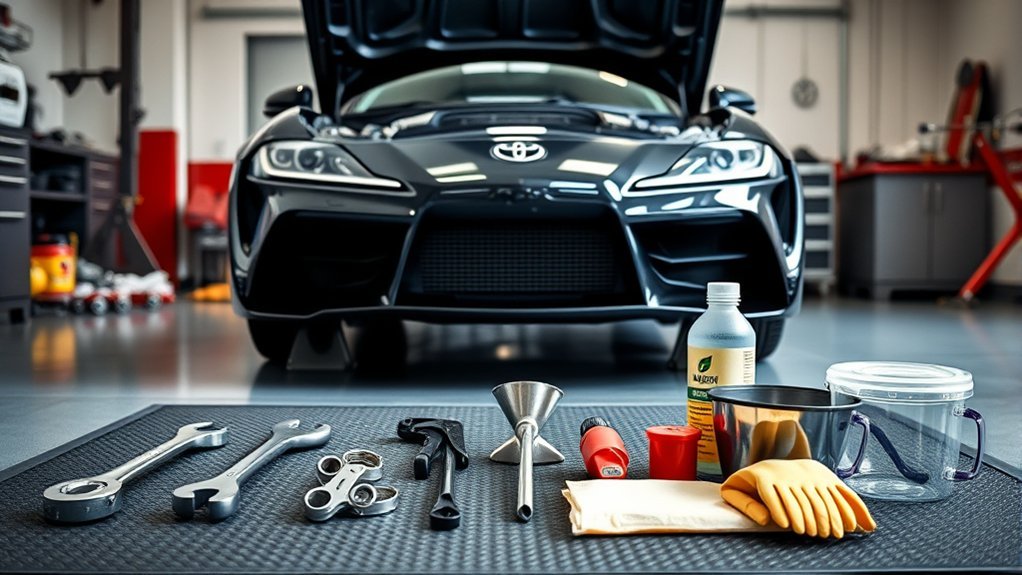
Before diving into the coolant hose replacement, you should gather the necessary tools and safety gear to make sure the process goes smoothly. Start with a screwdriver, sharp knife, tin snips, wire brush, and, if necessary, a heat gun to facilitate the hose replacement efficiently. These tools will enable you to tackle any obstacles that may arise during the replacement.
Next, verify you have proper safety gear, including gloves and goggles, to protect yourself from coolant spills and potential injuries. A well-ventilated workspace is vital to avoid inhaling fumes while working on the cooling system.
Finally, utilize safety stands or drive-on ramps to elevate the vehicle securely, guaranteeing stability while you work underneath. Before you begin, double-check that the engine is off and cool to prevent burns, creating a safe working environment for your coolant hose replacement.
Drain the Cooling System Properly
With your tools and safety gear ready, you can now focus on draining the cooling system of your Toyota Supra. First, make sure the engine is cool to prevent burns. Locate the drain plug at the bottom of the radiator and open it, allowing the coolant to flow out into a container. This step is essential for a complete coolant system drain. To facilitate this process, consider removing the upper coolant hose and the overflow reservoir hose, which helps release trapped coolant. Be mindful that coolant is toxic; dispose of it according to local regulations. After draining, check for any residual coolant by disconnecting the lower hoses if necessary, as significant amounts can linger in the radiators and heat exchangers. Thoroughly draining the cooling system guarantees a clean slate for your new coolant hoses.
Remove the Old Coolant Hoses
Before you start removing the old coolant hoses, make sure the cooling system is thoroughly drained to avoid spills. Next, inspect the hose clamps and loosen them with a screwdriver or pliers to ease the removal process. Gently twist and pull the hoses off their fittings, and check the fitting surfaces for any debris or corrosion that needs cleaning.
Drain Cooling System Thoroughly
To effectively drain the cooling system, start by locating the drain plug at the bottom of the radiator. This vital step prevents spills and guarantees safety. Next, remove the upper coolant hose and the overflow reservoir hose to expel as much coolant as possible. Remember to loosen the hose clamps before detaching the hoses to make the process smoother. If you encounter stubborn hoses, gently twist them to break the seal or use a sharp blade to cut them lengthwise if necessary.
Here’s a quick checklist for a successful drain:
- Locate the drain plug.
- Remove the upper coolant hose.
- Loosen hose clamps.
- Inspect fittings for corrosion.
This liberation from old hoses sets the stage for efficient replacements!
Inspect Hose Clamps
Inspecting hose clamps is essential for a successful coolant hose replacement. Start by loosening the hose clamps securing the radiator hose using a screwdriver or pliers. This step is vital to allow for smooth removal of the hoses. Once the clamps are loose, gently twist and pull the hoses to detach them, ensuring you don’t damage the fittings or surrounding components. While you’re at it, inspect the fittings for any signs of corrosion or debris; these could compromise the seal of the new hoses. Remember, proper disposal of the old hoses is necessary to adhere to environmental regulations. Taking these precautions can lead to a more effective installation and a reliable cooling system.
Clean Fitting Surfaces
Begin by verifying the cooling system is fully drained to prevent spills during the removal of old coolant hoses. This step is essential for a smooth process. Next, loosen the hose clamps with a screwdriver or pliers, gently twisting the hoses to detach them without damaging the fittings. Inspect the fittings for distortion or corrosion, then clean the fitting surfaces using a wire brush to guarantee a proper seal for the new hoses.
To guarantee a successful installation, follow these steps:
- Remove old hoses carefully.
- Clean any debris from the fittings.
- Inspect for any damage closely.
- Dispose of old hoses responsibly.
A thorough coolant drain and clean fitting surfaces are critical for peak performance and longevity of your Toyota Supra.
Check Your Fittings for Damage

As you prepare to replace the coolant hose on your Toyota Supra, checking the fittings for damage is vital to confirm a reliable seal and prevent leaks. Start by inspecting all fittings for signs of corrosion or distortion. Damaged fittings can lead to leaks and cooling system failures, so it’s important to address these issues before proceeding. Use a wire brush to clean the fitting necks, guaranteeing a smooth surface for the new hoses. Verify that the fittings match the size and shape specifications of your replacement hoses. Remove any debris or old gasket material, as these can hinder installation and cause leaks. Regularly check your fittings during maintenance intervals to catch early signs of wear or damage. This proactive approach will help confirm your cooling system operates efficiently and reliably, freeing you from potential breakdowns on the road.
Select Compatible Replacement Hoses for Your Supra
When selecting replacement hoses for your Toyota Supra, it’s essential to identify the specific hose specifications, including diameter and material. You’ll need to weigh the benefits of OEM parts against aftermarket options to find the best fit for your model year and engine type. Always verify compatibility to guarantee peak performance and longevity of your cooling system.
Identify Hose Specifications
To guarantee your Toyota Supra operates efficiently, it is crucial to identify the correct specifications for replacement coolant hoses. Here’s what you need to know:
- Diameter: The “suicide hose” typically measures 5/8 inch (16 mm), while a 3/4 inch heater hose is recommended for added protection against leaks.
- Compatibility: Confirm any replacement hose fits your specific model year to maintain peak performance.
- Recommended Hoses: Consider Dayco 87625, Continental Elite 63155, or Toyota 87245-1B070 for reliable replacements.
- Durability: The Gates Green Stripe hose is known for its resilience, making it a top choice for coolant and heater hose applications.
OEM Vs. Aftermarket Options
Finding the right replacement hoses for your Toyota Supra involves weighing OEM options against reliable aftermarket alternatives. OEM hoses can sometimes be discontinued, so it’s wise to explore brands like Gates and Good Year for dependable aftermarket options. Recommended hoses, such as the Dayco 87625 and Continental Elite 63155, offer comparable quality and fitment to OEM parts. For specific needs, the “suicide hose” typically requires a 5/8 inch diameter, while a 3/4 inch heater hose enhances durability. Gates Green Stripe hoses are particularly noted for their longevity, making them a favorite among Supra enthusiasts. Always verify compatibility with your model year, as fitment can vary across different Supra generations. Choose wisely to guarantee peak performance.
Verify Fitment Compatibility
- Dayco 87625 – Known for reliable performance.
- Continental Elite 63155 – Offers superior durability.
- Gates 18738 – Great for both coolant and heater hoses.
- Gates Green Stripe – A favorite among enthusiasts for its robust construction.
Install New Hoses With Proper Clamps
Installing new coolant hoses requires careful attention to detail, especially when it comes to using the proper clamps. Always opt for new hose clamps to maintain constant tension and prevent leaks; old clamps may not secure the fit.
To guarantee a smooth installation, slip the clamp onto the new hose before sliding it onto the fitting. Position the clamp for easy tightening, avoiding hard-to-reach areas. Make sure the new hose is fully seated on the fitting, with the shoulder extending beyond the edge for a secure connection.
After installation, conduct a visual inspection for leaks by checking all connections and fittings to confirm proper installation of hoses and clamps.
| Step | Description | Importance |
|---|---|---|
| Select New Clamps | Use only new hose clamps | Prevents leaks |
| Position Clamps | Place clamps for easy access | Simplifies adjustments |
| Guarantee Hose Seating | Hose should extend beyond fitting | Secures connection |
| Tighten Properly | Use appropriate tools for tension | Maintains hose integrity |
| Inspect for Leaks | Check all connections visually | Ensures system reliability |
Refill Your Coolant
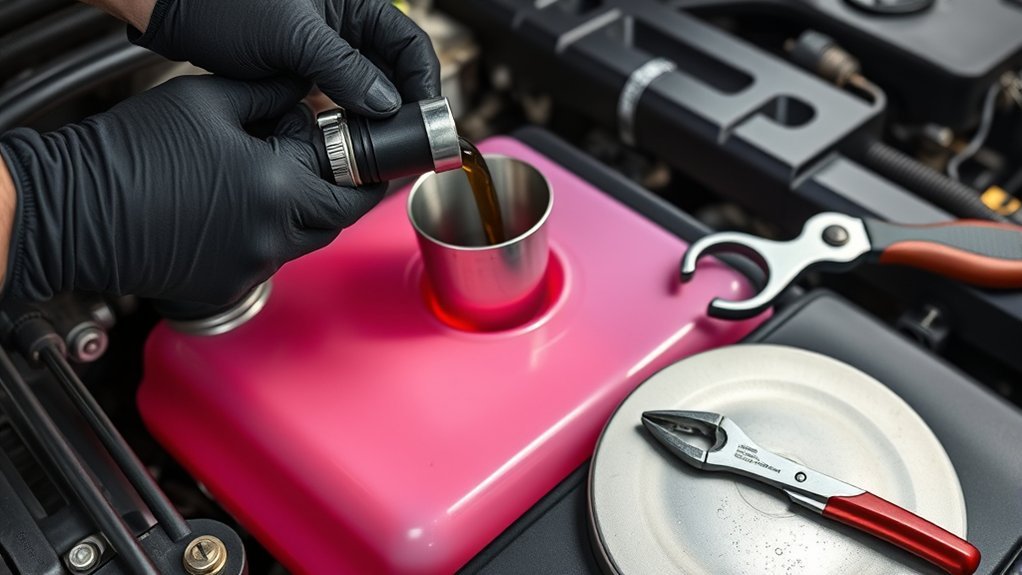
With the new coolant hoses securely installed and clamps tightened, the next step is to refill your cooling system. You’ll want a proper 50/50 mixture of Toyota Red factory coolant and distilled water for ideal performance. Using a Lisle Coolant Funnel simplifies the process and helps prevent any spills.
Here’s what to do:
- Pour the coolant mixture into the radiator through the funnel.
- Start the engine and let it run to allow the new coolant to circulate and air bubbles to escape.
- Keep the heater on during the warm-up to help bleed the system effectively.
- After the engine stabilizes, check the coolant levels again and top off as needed.
This meticulous approach guarantees all air pockets are purged, and your Supra runs efficiently. Remember, secure all connections to prevent any future leaks and enjoy the liberation of a well-maintained cooling system!
Start the Engine: What to Check for Leaks?
Once you’ve refilled the coolant, it’s vital to start the engine and check for leaks immediately. Begin by observing the area around the newly installed hoses and fittings for any visible coolant leaks. Keep an eye on the coolant reservoir; a drop in the level may indicate a leak in the system. As the engine runs, listen for unusual sounds such as hissing or bubbling, which could signify trapped air or leaks within the coolant system. Additionally, monitor the temperature gauge on your dashboard to make certain the engine isn’t overheating, as leaks can disrupt coolant circulation. After the engine warms up, inspect the hose connections again to verify that no additional leaks have developed during operation. Taking these steps is imperative to guarantee that your coolant system functions properly and prevents further issues down the line.
Perform Final Checks and Maintenance Tips
After verifying there are no leaks around the coolant hoses and connections, you should perform final checks to make certain everything is in satisfactory condition. Ensuring the integrity of your system is essential for peak performance.
- Tighten hose clamps: Make sure all clamps are securely tightened to maintain tension and prevent leaks.
- Check coolant strength: Verify that your coolant meets the recommended 50/50 mix of concentrated coolant and distilled water.
- Monitor engine temperature: Keep a close eye on the engine temperature post-replacement to confirm effective cooling.
- Conduct routine inspections: Every few months, inspect all coolant hoses for signs of wear, corrosion, or damage.
Frequently Asked Questions
How Do You Replace a Coolant Hose?
To replace a coolant hose, drain the system, detach old hoses, clean fittings, and secure new hoses made from appropriate materials. Refill with the correct coolant types, then check for leaks after starting the engine.
How Long Does It Take to Replace a Coolant Hose?
Ah, the art of coolant maintenance! You’ll typically need 1 to 2 hours for a coolant hose replacement, factoring in hose inspection methods, draining, refilling, and ensuring all connections are secure to prevent future leaks.
How Much Is a Coolant Flush for a Toyota Supra?
A coolant flush for your Toyota Supra typically costs between $100 and $150. Regular coolant maintenance tips, like flushing every 30,000 miles, enhance Supra engine care, ensuring ideal performance and preventing overheating issues.
How Expensive Is It to Replace a Coolant Hose?
Replacing a coolant hose typically costs between $100 to $300, factoring in parts and labor. If you tackle it as a DIY project, you’ll enjoy significant savings, making a favorable cost comparison worth considering.
Conclusion
Replacing the coolant hose on your Toyota Supra might seem intimidating, but with the right tools and guidance, it’s a manageable task. Don’t worry if you’re not a seasoned mechanic—following this step-by-step guide guarantees you can tackle it confidently. Regular maintenance like this not only extends your car’s life but also enhances performance. So, roll up your sleeves, jump in, and enjoy the satisfaction of a job well done while keeping your Supra running smoothly!