To diagnose a boost leak in your Toyota Supra, start by gathering essential tools like a homemade boost leak tester, boost gauge, and soapy water. Next, prepare your car by removing the turbo intake pipe and relieving crankcase pressure. Attach the tester securely, set your compressor to 5 psi, and increase it gradually to 12 psi. Monitor for pressure loss, using soapy water to identify leaks. Fix any found issues and retest the system for proper performance. There’s more to explore on effective techniques for maintaining boost pressure.
Understanding Boost Leaks and Their Impact on Performance
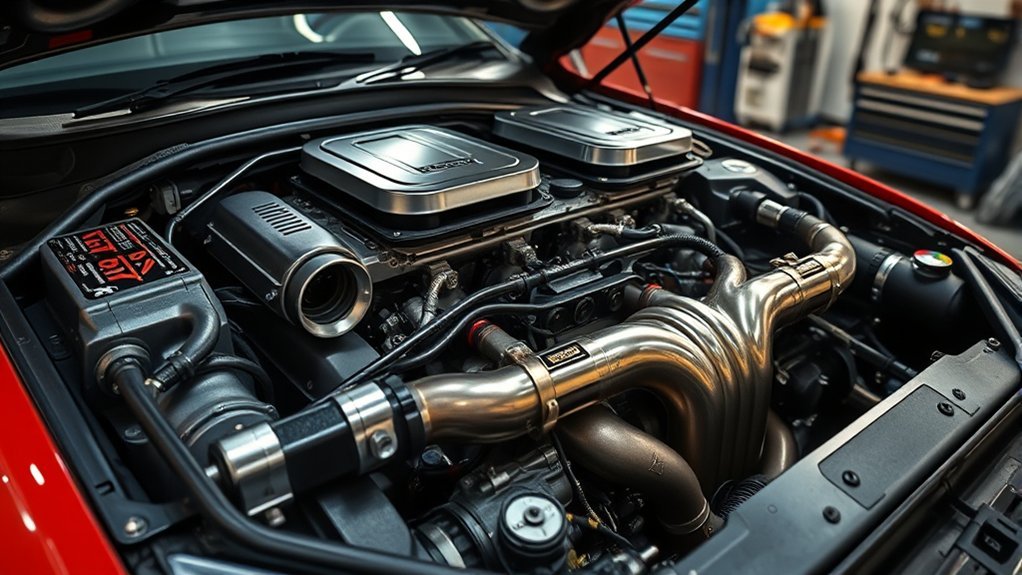
When you experience a boost leak in your Toyota Supra, it’s essential to understand how it impacts your engine’s performance. A boost leak occurs when air escapes from the turbo to the intake manifold, resulting in decreased power output. This air escaping can lead the engine’s ECU to miscalculate air intake, causing a rich fuel condition that hampers acceleration and throttle response.
All turbocharged vehicles, including your Supra, are prone to these leaks, which can increase turbocharger wear over time, ultimately leading to failure. Identifying and repairing boost leaks is important before tuning or making performance modifications, as it guarantees the engine operates efficiently and reliably. Using a boost leak tester can help you pinpoint the locations of air escaping, allowing you to verify the integrity of the entire intake system. Addressing boost leaks effectively will liberate your engine’s full potential, enhancing your driving experience.
Essential Tools for Boost Leak Testing
To effectively diagnose a boost leak in your Toyota Supra, you’ll need a specific set of tools that guarantee accurate testing and reliable results. Start with a homemade boost leak tester, constructed using a 3 to 2 rubber coupler, PVC caps, and a 1/4 air hose fitting for secure turbo inlet connection. A boost gauge is essential for monitoring pressure levels during testing, allowing you to detect leaks as pressure drops. Use T-bolt clamps or stainless steel worm gear clamps to make certain tight connections at all couplers, preventing air escape. A high-pressure air hose with a tire inflation attachment is necessary to safely pressurize the system within the recommended limits of 12-14 psi. Finally, keep soapy water handy to visually identify leaks by observing bubbles around suspected areas during pressure tests. With these tools, you’ll make certain a thorough and precise boost leak diagnosis.
Preparing Your Supra for Boost Leak Testing
Before diving into boost leak testing, you’ll need to prepare your Supra to guarantee accurate results. Start by removing the turbo intake pipe, allowing access to the turbocharger’s compressor inlet flange. Next, verify that all components following the turbo inlet, including the intercooler and intake manifold, are ready for pressurizing the system during the test. To prevent positive pressure on oil seals, relieve crankcase pressure by removing the oil cap.
Once that’s done, set your air compressor to a minimum of 5 psi for an initial trial run, familiarizing yourself with its operation. Finally, use T-bolt clamps to securely attach the boost leak tester to the turbo. This guarantees a tight connection, minimizing the risk of air leaks that could compromise your test results. Proper preparation is key to effectively diagnosing any potential boost leaks in your Supra.
Step-by-Step Guide to Assembling a Boost Leak Tester
To assemble a boost leak tester for your Toyota Supra, you’ll need specific parts and a clear process. Start with an overview of the required components, then follow the assembly steps to guarantee a proper fit. Finally, set up the testing procedure to effectively identify any boost leaks in your system.
Required Parts Overview
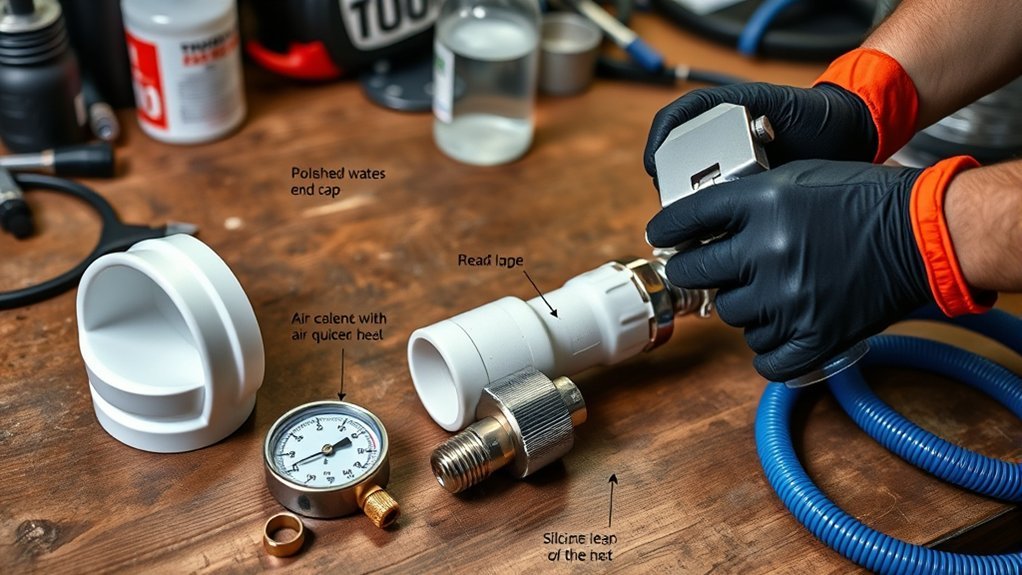
Assembling a boost leak tester for your Toyota Supra requires specific components to ascertain accurate leak detection. You’ll need a 3 to 2 rubber coupler with clamps, two PVC caps, a 1/4 air hose fitting, and Teflon tape for sealing connections. Confirm your coupler fits the 3-inch turbo inlet, as the CT-26 turbo inlet size is approximately 2.75 inches. Start by drilling a hole in one PVC cap, wrapping the threads of the air hose fitting in Teflon tape, and securely screwing it into the cap. Insert this cap into the rubber coupler and tighten the clamp for an airtight seal. Adjust parts as necessary if your turbo inlet differs from the standard size, confirming proper fitment and functionality to maintain pressure.
Assembly Process Steps
Start by gathering your materials, which include a 3 to 2 rubber coupler, two PVC caps, a 1/4 air hose fitting, and Teflon tape. Begin with the rubber coupler; secure it with clamps, ensuring it fits the CT-26 turbo inlet, approximately 2.75 inches. Drill a hole in one PVC cap and wrap the threads of the air hose fitting with Teflon tape for sealing. Screw the fitting into the cap, then insert the cap into the coupler and tighten the clamp. Make sure the assembly fits snugly over the compressor inlet of the turbo and that the clamp is secure. Finally, connect the air hose from your compressor to the tester’s fitting, preparing for the boost leak test.
Testing Setup Instructions
Before diving into the assembly of your boost leak tester, verify you have all necessary materials at hand. Start with a 3 to 2 rubber coupler, securing it with clamps to fit the CT-26 turbo inlet, typically 2.75 inches. Drill a hole in the top of a PVC cap and wrap the threads of a 1/4 air hose fitting with Teflon tape to guarantee a leak-proof seal. Screw the fitting into the cap, then insert the cap into the coupler, tightening the clamp for a snug fit. Check all connections for tightness to prevent air leaking during tests. Consider T-bolt clamps for added security and use silicone couplers for compatibility with varying turbo inlet sizes.
Conduct Your Boost Leak Test Effectively
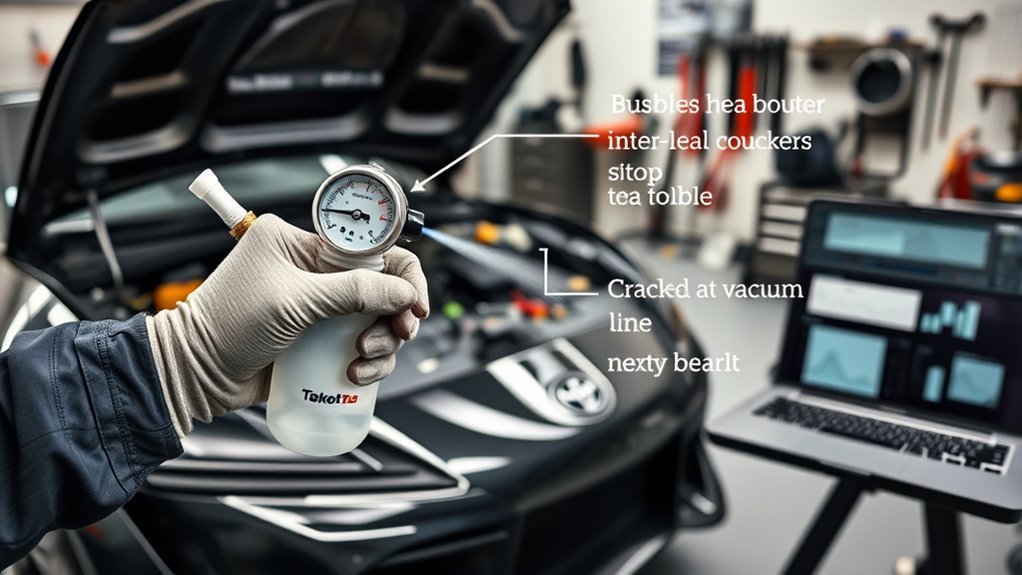
To conduct your boost leak test effectively, start by preparing your equipment properly, ensuring the boost leak tester is securely attached to the compressor inlet. Follow the testing procedures carefully, beginning with a low pressure trial run to identify any initial leaks. Gradually increase the pressure while monitoring for significant drops, using soapy water on suspected areas to confirm leaks visually.
Prepare Your Equipment Properly
Preparing your equipment properly is crucial for conducting an effective boost leak test on your Toyota Supra. Gather the necessary tools: a boost leak tester, T-bolt clamps, silicone couplers, and a reliable air compressor. Secure all connections with Teflon tape and tighten clamps to avoid leaks. Attach the boost leak tester to the turbo inlet for a tight fit to prevent air escape during the pressurization process. Set your air compressor to an initial pressure of 5 psi, gradually increasing to 12 psi while monitoring for pressure loss.
| Equipment | Purpose | Action |
|---|---|---|
| Boost Leak Tester | Test for air leaks | Attach to turbo inlet |
| T-Bolt Clamps | Secure connections | Tighten properly |
| Silicone Couplers | guarantee flexible connections | Fit between components |
| Air Compressor | Pressurize the system | Set to appropriate psi |
| Soapy Water | Detect leaks visually | Spray on suspected areas |
Follow Testing Procedures Carefully
With your equipment in place, it’s time to conduct the boost leak test effectively. Begin by securely attaching the boost leak tester to the turbo inlet, ensuring all connections are tight to prevent air leaks during the pressure test. Set your air compressor to an initial pressure of at least 5 psi for a trial run, monitoring for any pressure loss at a rate of 1 psi/s. Once validated, increase the pressure to 12 psi, listening for audible leaks and inspecting all components. Don’t forget to remove the oil cap before pressurization to relieve crankcase pressure. Fix any identified leaks and retest the system until it holds pressure without significant loss, confirming it’s airtight for peak performance.
Identifying Common Leak Sources in Turbocharged Systems
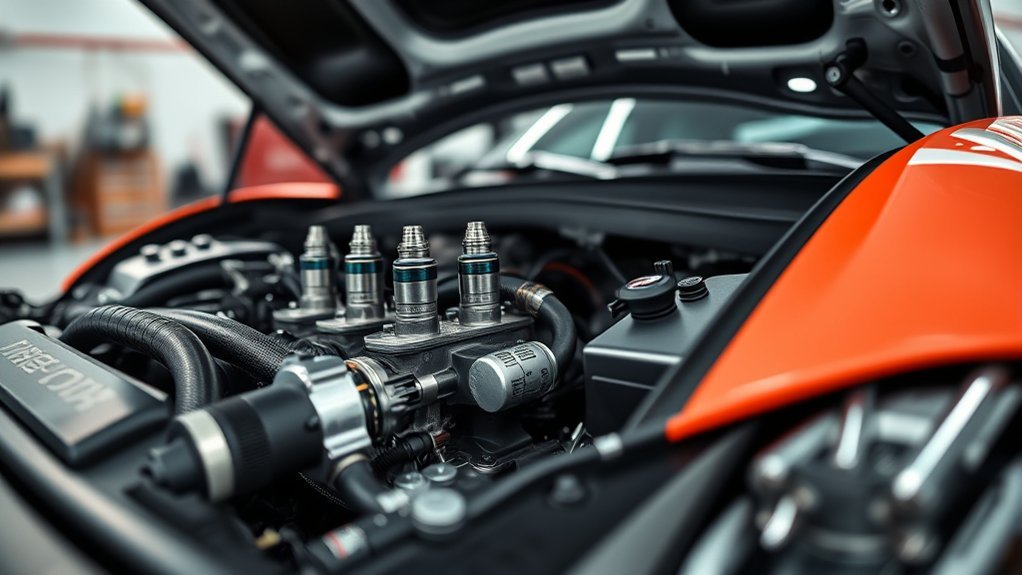
Identifying common leak sources in turbocharged systems is essential for maintaining peak performance in your Toyota Supra. Start by examining the intake pipes and intercooler connections, as these areas often harbor boost leaks due to wear or improper installation. Pay particular attention to the throttle body seals; deterioration here can cause significant air loss.
Next, inspect the EGR valve, which may produce hissing sounds indicative of a leak. Don’t overlook vacuum lines and the Variable Solenoid Valve (VSV); brittle or cracked lines are frequent culprits.
Lastly, evaluate all couplings and clamps for tightness; loose connections are a primary source of boost leaks. During your boost leak testing, listen for audible hissing or apply soapy water around junctions to pinpoint any escaping air. By methodically checking these components, you can effectively identify and resolve boost leaks, ensuring your Supra operates at its best.
Quick Troubleshooting Tips for Finding Leaks
Start by conducting a thorough visual inspection of all hoses and couplers for any signs of wear or loose connections. Then, listen carefully for air leaks while pressurizing the system to identify potential problem areas. Finally, monitor your boost pressure levels; a sudden drop indicates a significant leak that requires immediate investigation.
Visual Inspection Of Hoses
A thorough visual inspection of hoses is essential for diagnosing potential boost leaks in your Toyota Supra. Start by examining all hoses and connections for signs of wear, cracks, or loose clamps. Focus on intercooler piping and couplers, as these are common leak points due to heat cycling and pressure changes. Look for any oil residue around hose connections, as it signals a leak that needs attention to maintain peak boost performance. Verify all vacuum lines are secure and undamaged, since leaks here can disrupt the air intake system and lead to inaccurate readings. Finally, inspect the turbo inlet and outlet, confirming there are no obstructions or loose fittings that could compromise the boost system’s integrity.
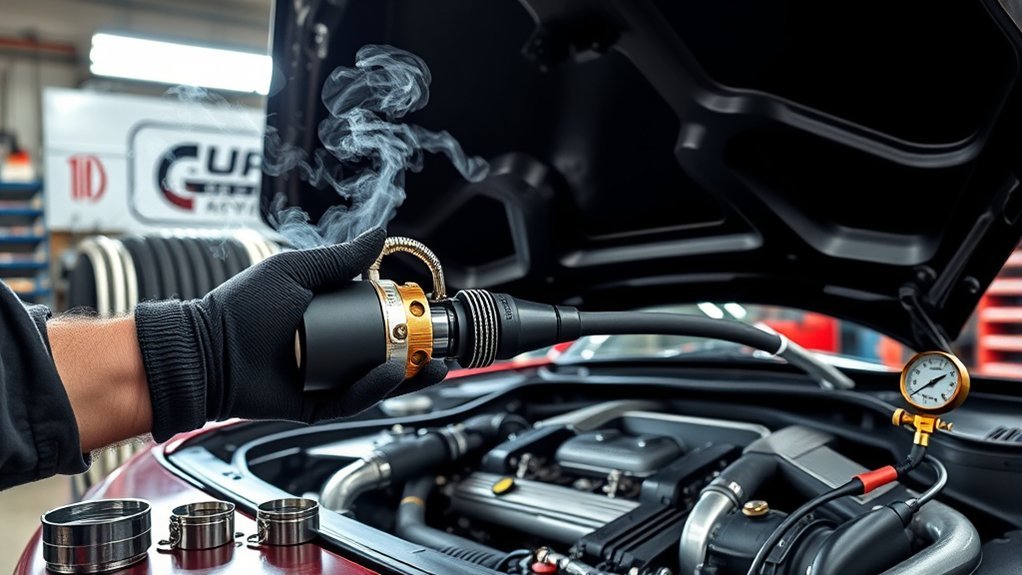
Listening For Air Leaks
After completing your visual inspection of hoses, the next step is to listen for air leaks, which can provide immediate clues about potential issues in your Toyota Supra’s boost system. Focus on audible hissing sounds during this check. Having a friend helps; they can locate the noise while you pressurize the system. Pay special attention to the EGR valve area, as it may produce hissing that can be misinterpreted as a leak. To aid your search, use soapy water on intercooler piping to expose bubbles at leak sites. Verify all vacuum lines and connections are secure to prevent significant boost pressure loss.
| Action | Description |
|---|---|
| Listen for Hissing | Check for audible air leaks. |
| Use Soapy Water | Apply to piping to reveal bubbles. |
| Check EGR Valve | Determine if hissing is normal behavior. |
| Secure Connections | Verify all lines are tight and undamaged. |
Checking Boost Pressure Levels
While monitoring your boost pressure levels is crucial for diagnosing potential leaks, it’s important to know what to expect from your Toyota Supra’s performance. Aim for around 1.0-1.2 bar in a BPU setup. If you notice lower than expected boost, like only achieving 0.9 bar, inspect intercooler pipes and connections for wear or disconnection. Implement a leak test procedure by attaching a foot pump with a one-way valve to the intake system, observing any pressure drops to pinpoint leaks. If irregular boost levels persist, reset your boost controller according to the manufacturer’s instructions. Always compare your readings against stock boost levels to verify no leaks hinder your car’s ability to achieve peak boost pressure.
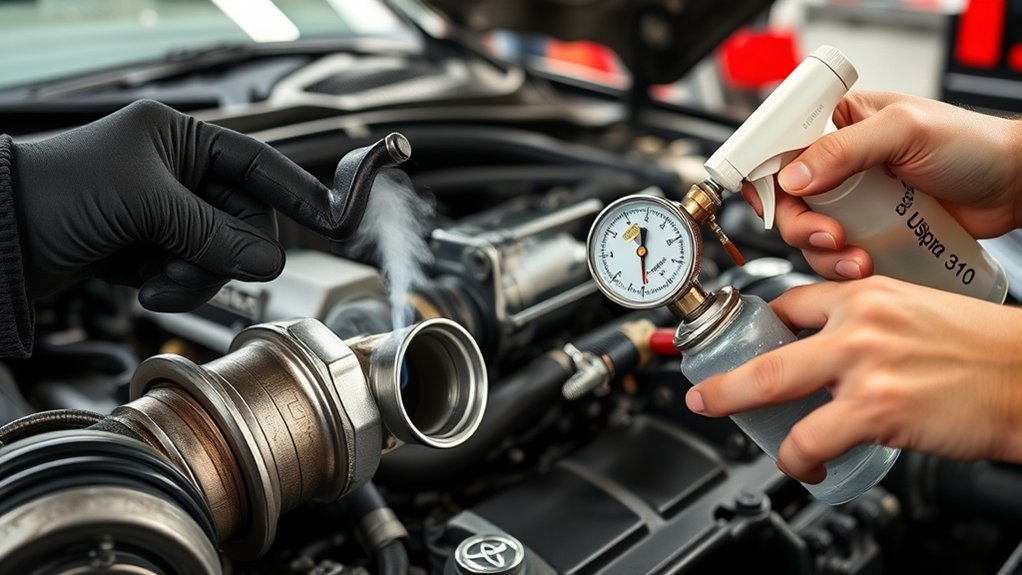
Interpreting Test Results and Next Steps
To accurately interpret your boost leak test results, start by closely monitoring the pressure gauge for any significant drops; a loss greater than 1 psi per second signals a leak in the system. If you detect a boost leak, inspect all connections, including intercooler piping and vacuum lines, making sure they’re securely clamped and undamaged. Utilize soapy water on suspected areas to identify bubbles that confirm leak locations.
| Test Result | Next Steps |
|---|---|
| Loss > 1 psi/sec | Inspect connections and use soapy water |
| No leaks found | Check boost controller settings |
| Low boost levels | Verify wastegate operation |
| Repairs completed | Repeat the boost leak test |
After addressing leaks, always repeat the test to verify the system is airtight before making any performance adjustments. This methodical approach helps maintain your Supra’s performance integrity.
Preventative Measures to Avoid Future Boost Leaks
Preventing boost leaks in your Toyota Supra requires a proactive approach to maintenance and component quality. Start by regularly inspecting and replacing aging or damaged silicone couplers and clamps. Opt for high-quality t-bolt clamps instead of standard worm gear clamps; they provide a more reliable seal on boost pipes and intercooler connections. Implement routine pressure testing of the intake system, especially after modifications or repairs, to identify potential leaks early. This step is vital to maintaining peak performance.
Additionally, keep the EGR system in check, listening for any hissing noises that may indicate leaks, as these can jeopardize your intake system’s integrity. Finally, make certain all vacuum lines are in top condition, free from cracks or wear. Damaged lines can lead to unwanted boost leaks and performance issues, so prioritizing their upkeep is indispensable for a liberated driving experience.
Finding Community Support for Boost Leak Issues
Connecting with the community can greatly enhance your ability to tackle boost leak issues in your Toyota Supra. Engaging in forums like the Technical Section provides extensive expertise from fellow enthusiasts who’ve navigated similar challenges. You’ll find over 1,100 threads and 13,000 messages in the Community Engagement section, where members actively share experiences and solutions related to boost leaks. Don’t hesitate to post your specific issues; seasoned members are keen to offer feedback and advice.
Utilizing the “Items for Sale & Wanted” section can also be beneficial, as you may discover necessary parts or tools for effective troubleshooting. Additionally, participating in local meet-ups fosters valuable face-to-face interactions, allowing for the exchange of practical knowledge and tips on boost leak testing and repairs. By leveraging community support, you’ll empower yourself to diagnose and resolve boost leak issues more effectively.
Frequently Asked Questions
How to Test if Your Turbo Is Leaking?
To test if your turbo’s leaking, apply boost pressure with an air compressor, listen for hissing, and check connections. Use soapy water for leak detection; bubbles will reveal any compromised areas needing repair.
How Do You Perform a Leakage Test?
To perform a leakage test, visualize your system as a fortress. Use a boost gauge to monitor pressure. Conduct a smoke test, identifying leaks like whispers in the wind, sealing them for ultimate freedom in performance.
How to Test Intercooler Pipes for Leaks?
To test intercooler pipes for leaks, pressurize the system, listen for hissing, and apply soapy water to connections. A drop in boost pressure indicates leaks, requiring thorough inspection and maintenance to guarantee peak performance.
Conclusion
In the world of performance tuning, “an ounce of prevention is worth a pound of cure.” By following this guide to diagnose boost leaks in your Toyota Supra, you can guarantee peak performance and avoid costly repairs down the line. Remember to regularly check for leaks and maintain your system to keep your Supra running at its best. With the right tools and knowledge, you’ll tackle these issues effectively and enjoy your driving experience to the fullest.