

The airbag system in your Toyota Supra enhances your driving experience with adjustable ride height and improved handling. To install, gather the right tools such as a ratchet and spring compressor. You’ll first need to safely remove the factory suspension before installing the Airlift system and ensuring all components are secure. Regular maintenance checks are essential for peak performance and preventing issues. Keep going to uncover detailed steps and tips for maximizing your Supra’s air suspension capabilities.
Essential Tools for Air Suspension Installation
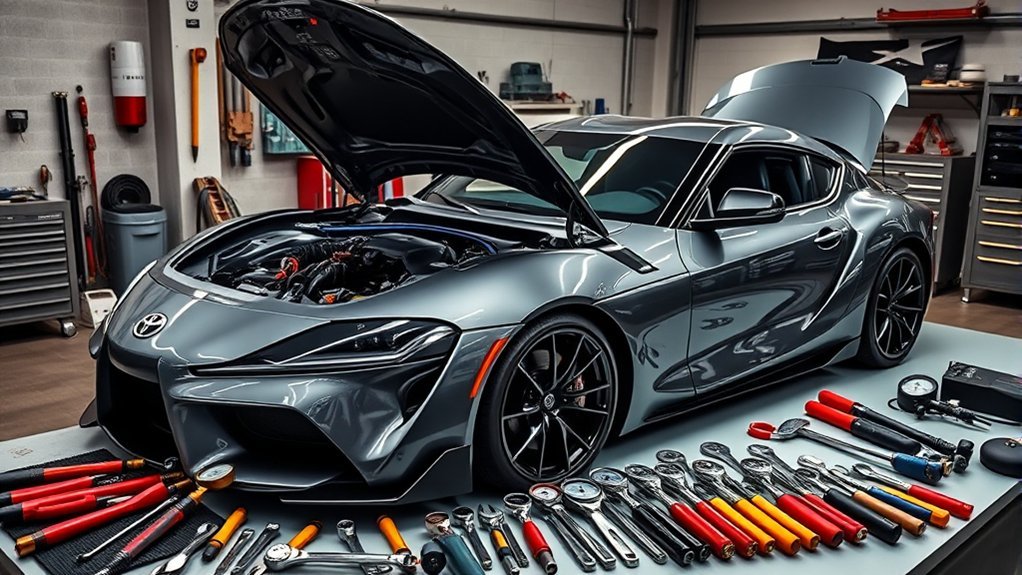
When installing air suspension on your Toyota Supra, having the right tools at your disposal is essential for a successful and efficient process. You’ll need a ratchet, adjustable wrench, breaker bar, and impact wrench. Make sure to have specific socket sizes: 21mm for rear camber bolts and 18mm for strut bottom bolts. A spring compressor is highly recommended to safely remove the front and rear struts, streamlining the installation.
To prevent air leaks, apply Teflon tape to all fittings before installation. Utilizing a mallet can help gently tap bolts into place, but having a second set of hands will ease the process considerably. Organizing your tools and labeling components will also help avoid confusion in tight spaces, especially in the trunk where airlines and wiring are routed. If you need to change any part of the suspension system, having everything prepared will make the task much as possible smoother and more efficient.
Step-by-Step Guide to Removing Factory Suspension
To successfully remove the factory suspension on your Toyota Supra, start by marking your suspension settings to preserve alignment. This guarantees you maintain the correct geometry when installing new components. Follow these steps for a smooth removal:
- Use a spring compressor to safely detach the strut from the spring, making the process easier and manageable.
- Disconnect electronic sensors and sway bar links prior to removing the rear strut and spring assembly from the vehicle. This prevents damage to delicate components during the process.
- Support the rear suspension with a jack to avoid any sudden drops when detaching the assembly.
Carefully compare the factory strut/spring assembly with the Airlift bag assembly, noting differences in structure and height to guarantee proper installation later on. This attention to detail will liberate your Supra’s suspension performance, setting the stage for an exceptional driving experience.
How to Install Airlift Performance Suspension on a Mark V Supra
Installing Airlift Performance Suspension on your Mark V Supra transforms your driving experience, enhancing both performance and comfort. Start by gathering essential tools like a ratchet, adjustable wrench, and the correct sockets—21mm for the rear camber bolt and 18mm for the strut bottom bolt. Before installation, Teflon tape the fittings and conduct air tests on the bags to verify no leaks. When removing the rear suspension, disconnect electronic sensors and mark your suspension settings for proper alignment with the new airbag assembly.
Once the Airlift system is in place, double-check that all bolts are tightened securely and confirm sufficient clearance when aired out. Adjust the ride height to your preference, taking note of the performance benefits it brings. Finally, follow maintenance guidelines by regularly inspecting the system and the airlines to keep everything functioning effectively. Enjoy the liberating feel of enhanced control and comfort!
How to Manage Airlines for a Clean Air Suspension Setup
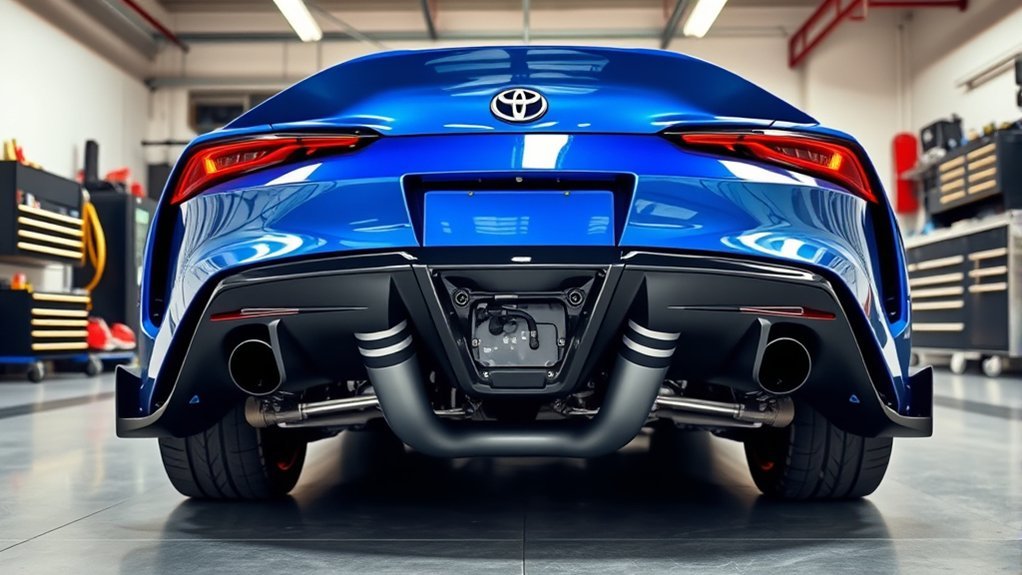
A well-organized airline management setup is essential for achieving ideal performance and reliability in your Toyota Supra’s air suspension system. To guarantee a clean installation, follow these airline routing techniques:
- Avoid Kinks: Route airlines through the panel and over the wheel well, steering clear of bends that could cause damage.
- Label for Clarity: Clearly label each airline during installation, simplifying future adjustments or troubleshooting.
- Secure with Precision: Use zip ties to keep the airlines organized and prevent snagging on other components.
Incorporate these airline maintenance tips to maintain the integrity of your setup: test airline connections for leaks using Teflon tape before securing everything. Also, avoid drilling new holes to preserve your Supra’s OEM appearance. By adhering to these airline organization strategies, you’ll enhance both the functionality and aesthetics of your air suspension system.
Setting Up the Compressor for Your Air Suspension
Setting up the compressor for your air suspension system is essential for achieving ideal performance and reliability in your Toyota Supra. Start with a dual compressor setup, ensuring efficient air delivery. For compressor placement, choose a location that minimizes vibration and noise while allowing easy access for maintenance. Connect each compressor to a reliable ignition source for power connections, preventing battery drain when your vehicle’s off. Don’t forget to label each fuse; this makes troubleshooting a breeze later. Securely fasten your airlines with zip ties, avoiding kinks or bends that could compromise airflow. Organize the routing of both the compressor and airlines to maintain your car’s OEM appearance, ensuring all components are neatly tucked away. With careful attention to these details, you’ll not only enhance performance but also enjoy the liberation that comes from driving with a well-functioning air suspension system.
Making Final Adjustments for the Perfect Ride Height
Once you’ve completed the installation of your air suspension system, making final adjustments for the perfect ride height becomes vital to achieving ideal performance. Follow these steps to guarantee your ride height adjustments are spot on:
Finalizing your air suspension installation with precise ride height adjustments is crucial for optimal performance.
- Tighten Suspension Bolts: Verify all suspension bolts are tightened to the manufacturer’s specifications to maintain safety and performance.
- Measure Clearance: Fully air out the system and measure the distance between the tire and fender. This helps confirm that you’ve achieved your desired ride height.
- Adjust Air Pressure Settings: Modify the air pressure in each airbag, typically between 30 to 100 PSI, based on your personal preferences and load conditions.
Utilize a level to confirm that your vehicle is evenly adjusted on all four corners. This is essential for balanced handling and tire wear. Remember to document your final ride height settings for future reference and adjustments as conditions change.
Airlift Performance vs. Bag Rider Super Low: Which Is Better?

When considering the best air suspension system for your Toyota Supra, you might wonder how Airlift Performance stacks up against Bag Rider Super Low. In a performance comparison, Airlift Performance offers adjustable ride height and durability, making it an excellent choice for those prioritizing both comfort and handling. Its higher load capacity ratings cater to heavier loads, ensuring reliability during daily use.
On the flip side, Bag Rider Super Low is all about achieving that ultra-low stance, appealing to those with strong aesthetic preferences. While it excels in looks, it may compromise ride quality. Installation complexity is another factor; Airlift requires more components, making it more intricate, while Bag Rider often appeals to DIYers with its straightforward setup. Ultimately, your choice depends on whether you value performance and versatility or prioritize aesthetic appeal and ease of installation.
Troubleshooting Common Air Suspension Issues
Air suspension systems can greatly enhance your Toyota Supra’s ride quality, but like any mechanical system, they can encounter issues over time. When troubleshooting, focus on these common problems:
- Air Leak Detection: Inspect fittings for leaks and use Teflon tape to seal any gaps. Frequent airing out may indicate a failing airbag needing visual inspection for cracks or punctures.
- Compressor Malfunction: If your suspension isn’t leveling properly, check the compressor. Test the power supply and ignition connections to identify electrical issues causing inadequate air pressure.
- Suspension Leveling Issues: Examine the airline routing for kinks or bends that could restrict airflow, leading to uneven height adjustments.
Regularly consult community forums for troubleshooting advice; shared experiences can provide invaluable insights into resolving specific air suspension problems and keep your Supra performing at its best.
Frequently Asked Questions
How to Put Supra in Diagnostic Mode?
To put your Supra in diagnostic mode, turn the ignition “ON.” Press the gas pedal three times, then turn it off. Use diagnostic tools to read fault codes and perform an airbag reset if necessary.
How Many Airbags Are in Supra?
You’ll find six airbags in the Supra, including front, side, and curtain types. These safety features enhance protection during accidents, with a sophisticated deployment process ensuring ideal timing and force for maximum occupant safety.
Is Supra Faster Than BMW?
The Supra offers impressive performance, achieving 0-60 mph in 3.8 seconds, closely rivaling BMW speed metrics. However, sports car rivalry often favors the BMW M4’s established track prowess, depending on specific conditions and driver skill.
Is Supra 2.0 or 3.0 Better?
The Supra 3.0 outperforms the 2.0 in performance comparison, boasting a stronger engine with superior specifications. If you crave a thrilling driving experience, the 3.0 delivers unmatched power and handling, elevating your journey.
Conclusion
To sum up, upgrading to an air suspension system for your Toyota Supra can transform your driving experience, much like turning a caterpillar into a butterfly. By following the steps outlined in this guide, you’ll not only enhance your vehicle’s performance but also enjoy a customizable ride height. Remember, proper installation and maintenance are key to avoiding common issues. So, gear up and take your Supra to new heights—literally and figuratively!


Leave a Reply