

To adjust your backup camera settings in a Toyota Supra, shift into reverse to activate the camera. Access the multimedia system settings to enable the camera and adjust brightness and contrast for better visibility. You can choose between Regular and Expanded views for improved perspective. Use on-screen buttons to quickly toggle dynamic lines, which assist in parking. If issues arise, check for obstructions on the camera lens. There’s more on enhancing your reversing experience ahead.
How to Activate the Backup Camera in Your Toyota Supra
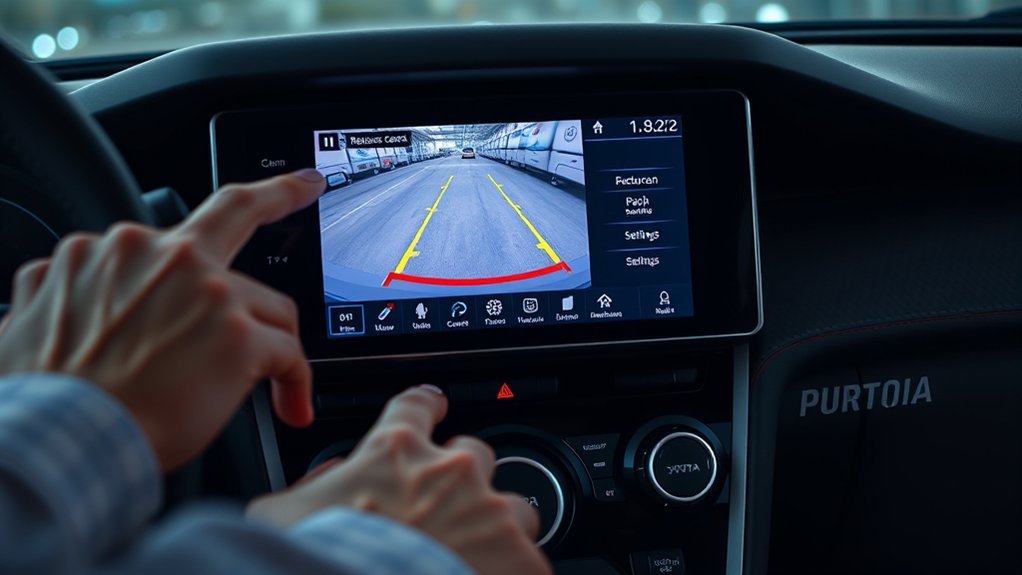
To activate the backup camera in your Toyota Supra, simply shift the vehicle into reverse. This action automatically triggers the camera display on your central screen, giving you a clear view of the area behind your car. The system’s design is intuitive, allowing you to focus on the car behind you while ensuring safety.
Dynamic lines appear on the display, adjusting with your steering wheel movements, which helps you gauge distances and angles as you handle. This visual guidance is essential for parking or maneuvering tight spaces. If you prefer to reduce distractions, you can turn off the reverse beeping sound using a designated button. However, keeping it on is advisable for alerting nearby pedestrians and obstacles. By utilizing these features effectively, you enhance your driving experience and liberate yourself from the stress of reversing.
What Are Your Camera View Options? Regular or Expanded?
In your Toyota Supra, you can choose between Regular and Expanded views for your backup camera. The Regular view gives you a standard rear perspective, while the Expanded view enhances your peripheral visibility, highlighting nearby obstacles. Switching between these options is easy, allowing you to select the best perspective for safe reversing.
[Products Worth Considering]

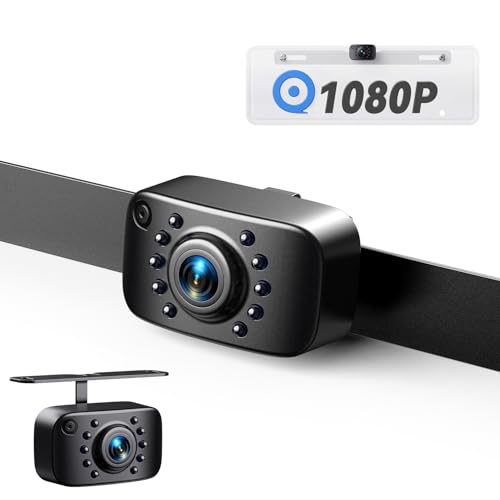
【Size】: The screen of this car monitor is 4.3 inches in size, featuring a high-definition resolution of 480 × 234. It presents vivid colors and a wide viewing angle, effectively avoiding scratches, collisions, and other accidents caused by blind spots in the line of sight, and safeguarding driving safety.

►【Easy Installation in 8 Mins】The waterproof camera and HD monitor are powered by one power supply, No need to power the camera and monitor separately, just connect the monitor to a cigarette lighter adapter/Acc/fuse etc, then wire the camera and monitor. Plug and Play – Much less installation effort than wireless rear camera systems.

2-Min DIY Install: No wiring, no drilling, and no need to connect car lights — Save time! Save money! Simply use a screwdriver or the included 3M adhesive to adjust our solar backup camera to the desired position in 2 minutes, install it on your license plate, and secure it with anti-theft screws
Regular View Overview
While reversing, you’ll find that the Toyota Supra’s backup camera offers two distinct view options: Regular and Expanded. The Regular view benefits you by providing a clear, direct perspective directly behind your vehicle, making it easier to spot obstacles in your immediate path. However, this view has limitations, as it shows a narrow field, which may not capture nearby vehicles’ rear wheels. In a Regular view comparison, you’ll notice that while it offers straightforward visibility, it lacks the broader awareness that the Expanded view provides. Switching between these views is effortless, thanks to intuitive buttons on your display screen. Keep an eye on the blue notch to identify your active view easily while reversing.
Expanded View Benefits
The Expanded view of the Toyota Supra’s backup camera markedly enhances your parking and reversing experience by providing a broader perspective. With this option, you gain several expanded view advantages that improve your overall safety and awareness on the road:
- Wider Angle: See more surroundings, reducing blind spots.
- Back Wheel Visibility: The blue notch highlights the back wheels of nearby vehicles, aiding in precise parking.
- Obstacle Detection: Distortion helps prevent overlooked obstacles, boosting your confidence while maneuvering.
- User-Friendly Shift: Easily switch between Regular and Expanded views with a simple tap.
Utilizing these parking assistance features, you foster enhanced safety awareness, ensuring that every drive is as secure and liberating as possible.
How to Adjust Dynamic Lines for Parking Help
Adjusting the dynamic lines for parking help in your Toyota Supra is straightforward once you know where to find the settings. Start by shifting into reverse, which activates the display screen. Here, you’ll see the dynamic line adjustments that change based on your steering wheel movement. The yellow lines guide you, showing your intended path, while the red line serves as a critical reversing safety tip, indicating a safe distance of about one foot to help avoid obstacles.
You can also toggle the view options, including the peripheral view, to enhance your parking assistance features. This allows you to see how the dynamic lines adapt to a wider perspective, giving you better maneuverability. Familiarizing yourself with this simple interface lets you customize the settings according to your preferences, improving your overall parking experience and ensuring a confident reverse.
[Products Worth Considering]

Back Up Camera With Movable Guideline—Applying new chip, our back up camera can show trajectory guide line without extra device, its guide line automatically changes according to the car’s moving direction.

Back Up Camera With Movable Guideline—Applying new chip, our back up camera can show trajectory guide line without extra device, its guide line automatically changes according to the car’s moving direction.
Note before use: This backup camera is compatible with vehicles that support AHD/CVBS signal types. Most models produced before 2012 are of the CVBS type. If your car uses CVBS, please cut the blue wire before using the camera. Or it can be used directly for AHD vehicles. If you're unsure about your vehicle's supported signal type, please consult your vehicle supplier or our customer service.
How to Disable Reverse Beeping Sounds
To disable the reverse beeping sounds in your Toyota Supra, start by locating the reverse beeping button on your interface. Activate the sound settings menu and navigate to the appropriate option. Confirm your choice to turn off the beeping sounds for a quieter reversing experience.
Locate Reverse Beeping Button
If you want to disable the reverse beeping sounds in your Toyota Supra, start by locating the button near the gear shift or on the dashboard. This button, marked with a speaker icon and a line through it, allows for quick toggling of the reverse beeping safety feature, enhancing your driving convenience. Here’s how to find it:
- Sit in the driver’s seat.
- Look for the button next to the gear shift.
- Check the dashboard for additional controls.
- Press the button to disable the reverse beeping sounds.
Activate Sound Settings Menu
How can you access the sound settings menu in your Toyota Supra to disable reverse beeping sounds? Start by finding your way to the vehicle’s central display interface. Once there, head to the settings section, where you’ll discover various sound customization options. Look specifically for the sound settings related to backup camera features. This option allows you to turn off the reverse beeping, enhancing your driving experience with significant noise reduction benefits. By toggling off this feature, you’ll enjoy a more discreet reversing experience, perfect for quieter environments or when you simply prefer less distraction. This adjustment is an excellent way to tailor your driver convenience features to your personal preferences.
Confirm Disabling Beeping Sounds
Disabling the reverse beeping sounds in your Toyota Supra is a straightforward process that enhances your driving experience. Follow these steps for effective reverse sound customization:
- Access the settings menu on your infotainment system.
- Navigate to the ‘Safety’ or ‘Camera’ settings section.
- Locate the option for reverse beeping and toggle it off.
- Save your changes to confirm that the beeping sound alternatives won’t activate when shifting into reverse.
While this adjustment improves your driving comfort, consider the safety feature considerations regarding nearby pedestrians and obstacles. You can always revert this setting by following the same steps if you decide you prefer the alert sounds. Enjoy your newfound freedom behind the wheel!
Customizing Your Camera Settings Through the Interface
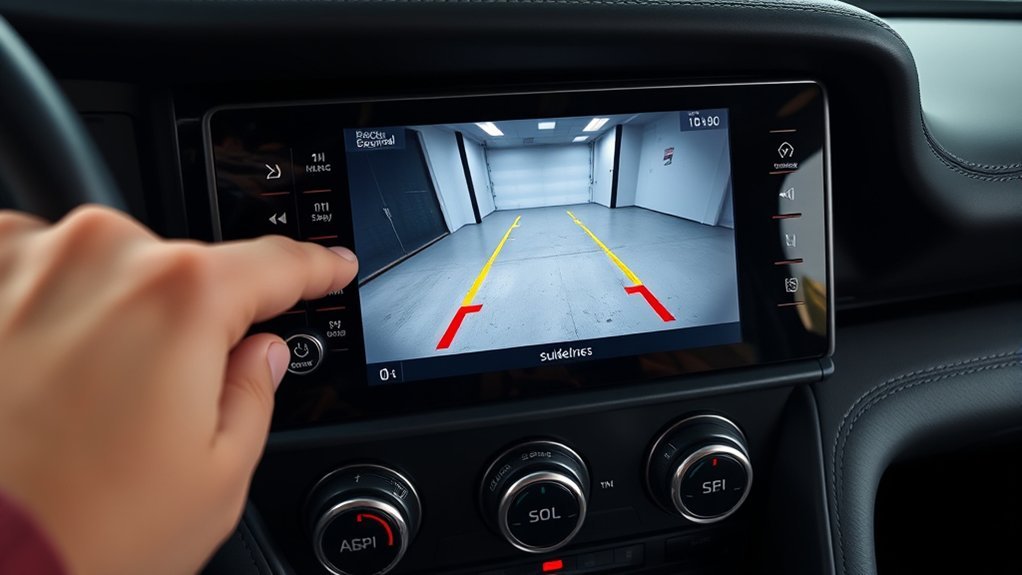
Customizing your backup camera settings in the Toyota Supra is straightforward and can be done quickly through the camera interface. Begin by shifting your vehicle into reverse, which activates the camera display. You’ll notice on-screen buttons for view option selection; switch between the regular view and the expanded peripheral view to suit your preference. Keep an eye on the blue notch to identify the active camera view setting.
For enhanced parking assistance, make dynamic line adjustments by observing how the yellow lines change with your steering input, indicating your projected path. This intuitive camera interface navigation allows you to modify settings easily, without the hassle of complex menus. You can make quick adjustments while reversing, ensuring you’re always aware of your surroundings. With these settings customized to your liking, you’ll enjoy a more liberated and confident reversing experience.
How to Use Visual Aids for Safe Reversing
When reversing your Toyota Supra, utilizing visual aids can greatly enhance your safety and awareness. The dynamic rear view camera activates automatically, offering essential support for safe maneuvering. Here’s how to maximize your visual cues:
- Choose Your View: Switch between regular and peripheral views to improve rear visibility and expand your perspective.
- Observe Dynamic Lines: Pay attention to the lines on the screen that adjust with your steering, helping you gauge distance effectively.
- Use the Red Line: The red line indicates a safe distance of about one foot from obstacles, serving as a critical visual cue while reversing.
- Toggle Settings Quickly: Use the on-screen buttons to easily adjust settings for ideal visibility, making reversing smoother and safer.
Troubleshooting Backup Camera Issues
If your backup camera isn’t functioning as expected, troubleshooting the issue can help restore its effectiveness. Start by checking the camera settings in your multimedia system to guarantee the backup camera is enabled. If the image appears distorted, inspect the lens for dirt or obstructions—cleaning it can often resolve this common camera error. If dynamic lines are missing, verify your steering wheel’s position, as these lines adjust based on your input. Additionally, if the reverse beeping isn’t activating, confirm that the setting to disable it isn’t accidentally turned on. Remember these camera maintenance tips to enhance longevity and performance. If you still encounter issues, refer to your vehicle’s manual for troubleshooting steps or visit a certified Toyota dealership for professional assistance. Keeping up with these reversing safety practices guarantees a smoother driving experience and aids in preventing accidents.
[Products Worth Considering]
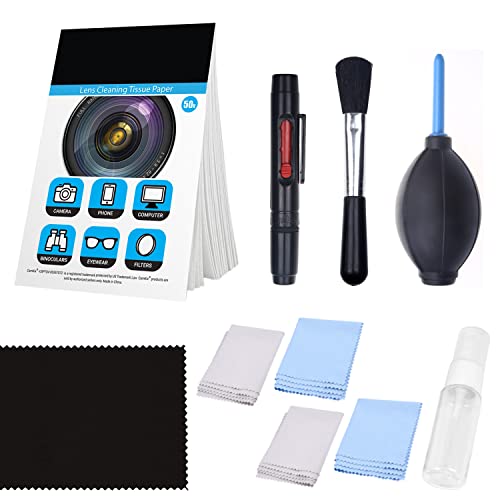
✅ IMMACULATE RESULTS ►This kit includes a variety of cleaning tools to make sure that your DSLR, compact camera or action camera is always spotless and ready to use.

WHAT YOU CAN GET: 1 camera lens Cleaner 50ml + 1 air blower + 1 two in one Lens Cleaning Pen + 1 Retractable wool soft brush + 5 sensor cleaning swab + 25 lens cleaning Tissue Paper + 2 Microfiber Cleaning Cloth + 8 Cleaner Wipes + 1 storage box.

【PROFESSIONAL LENS CLEANING KIT】:Dslr cleaning kit includes Camera Dust Blower*1, Lens Cleaning Pen*1, Microfiber Lens Cleaning Cloths*2. Safe for all electronics, coated lenses and sensors.
Frequently Asked Questions
How Do You Adjust the Backup Camera on a Toyota?
To adjust your Toyota’s backup camera, activate the display in reverse, then use the buttons to toggle views. Utilize camera calibration techniques for precision, enhancing the benefits of your Toyota Supra features during parking maneuvers.
How to Adjust Guidelines on Backup Camera?
To adjust guidelines on your backup camera, access the settings while in reverse. Remember, about 90% of drivers rely on camera alignment tips for ideal viewing angle and sensor calibration to enhance safety and maneuverability.
How Do I Adjust the Settings of My Camera?
To adjust your camera settings, access the calibration options for sensor sensitivity, tweak the display brightness for ideal visibility, and fine-tune other features to enhance your overall experience while using the camera effectively.
What Are the 5 Basic Camera Settings?
In your quest for photographic freedom, you’ll want to master five basic camera settings: camera resolution options, image brightness control, lens angle adjustment, shutter speed, and ISO sensitivity. These will elevate your visual storytelling.
Conclusion
In conclusion, mastering your Toyota Supra’s backup camera settings enhances your driving experience. With a few simple adjustments, you can fine-tune the features for flawless functionality. From selecting the perfect view to customizing dynamic lines, each tweak transforms your reversing routine into a safer, smoother operation. So, embrace these easy enhancements and guarantee your Supra’s backup camera helps you navigate with confidence and clarity, keeping you safe as you steer into your next adventure.


Leave a Reply