
To fix Toyota Supra door handle issues, start by gathering essential tools like a flathead screwdriver and vice grips. Remove the interior door panel by detaching clips and screws. Inspect the cable connections for damage or disconnection. If necessary, use JB Weld or epoxy putty to repair any broken parts. After repairs, test the door handle functionality before reassembling everything. Follow these steps to guarantee a smooth operation, and you’ll uncover further details about efficient repairs.
Essential Tools for Door Handle Repair
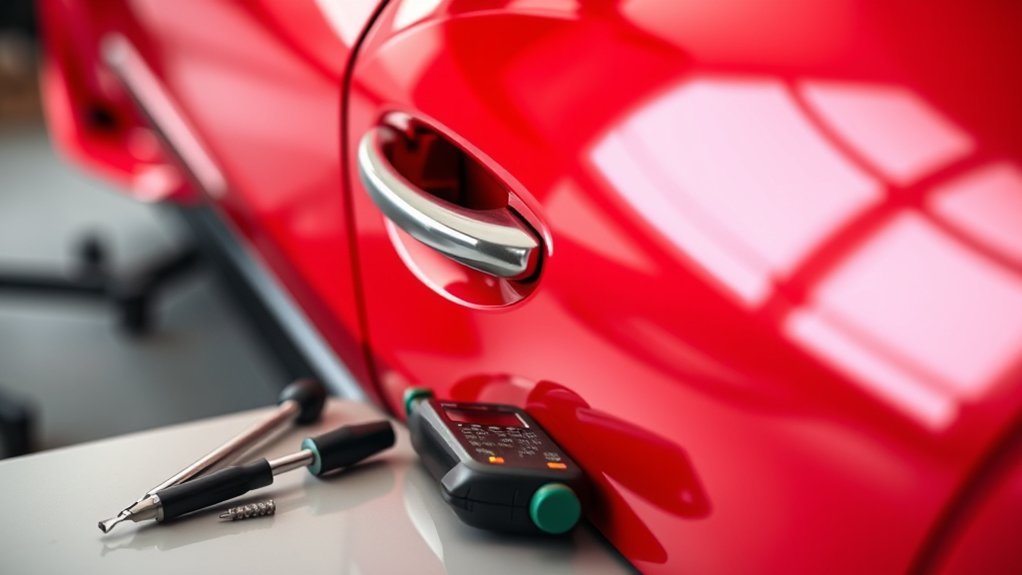
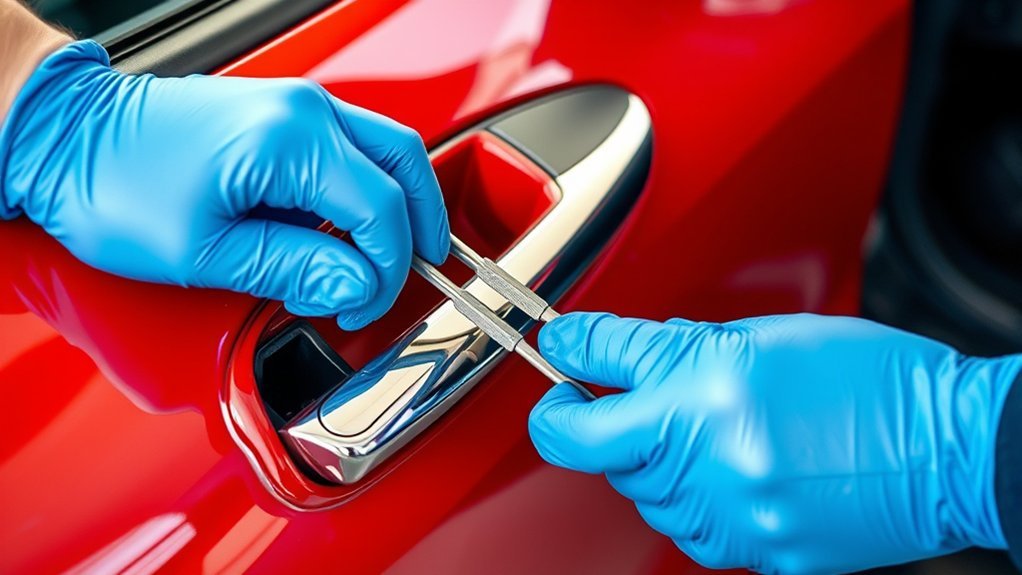
When tackling door handle repairs on your Toyota Supra, having the right tools is vital for a successful outcome. Start with a flathead screwdriver to remove the interior door panel, allowing access to the mechanism. Vice grips will help you manage stubborn components that refuse to budge. For manipulating cables and securing connections, a set of pliers is essential. If you encounter a broken part, consider using adhesives like JB Weld or epoxy putty for a durable bond. A heat source may also be necessary for melting plastic or loosening nuts. To guarantee proper reassembly, keep a torque wrench on hand to tighten screws and bolts to manufacturer specifications. Finally, don’t underestimate the importance of a flashlight or work light; it’ll illuminate the interior, making it easier to inspect and repair the mechanism effectively.
Step-By-Step Guide to Removing the Interior Door Panel
Removing the interior door panel of your Toyota Supra requires careful attention to detail to avoid damage. Begin by using a flathead screwdriver to gently pop off the clips securing the panel, ensuring you don’t break them. Next, locate and detach any screws, often hidden beneath trim pieces or within the door handle itself. Once the screws are out, carefully lift the panel upwards to disengage it from the door frame, taking extra care not to damage the wiring for the window switches or speakers. Afterward, disconnect any electrical connectors related to the window controls and door lock mechanisms to completely free the panel from the door structure. Finally, handle the insulation material with caution to prevent tearing, ensuring it can be easily reattached during reassembly. Following these precise steps will prepare you for further inspection and repair of the drivers door handle.
Diagnosing Common Cable Issues in Door Handles
To effectively diagnose common cable issues in Toyota Supra door handles, start by examining the cable connections for any signs of disconnection or breakage that could hinder the latch’s operation. Check the tension in the cable as you engage the door handle; improper tension often indicates a malfunction. Inspect the interior door panel for damage around the cable assembly, especially near the round knob connected to the latch mechanism.
| Signs of Cable Issues | Potential Impact |
|---|---|
| Disconnected cable | Door won’t open |
| Frayed cable | Intermittent latch failure |
| Misaligned components | Difficulty in operation |
| Loose connections | Unresponsive handle |
| Corroded parts | Complete failure |
Proper alignment of the cable and its components is crucial for smooth operation. Regular checks on these cable connections can prevent future door handle malfunctions and guarantee reliable door operation.
Fixing Broken Door Handle Parts: Your Step-By-Step Guide
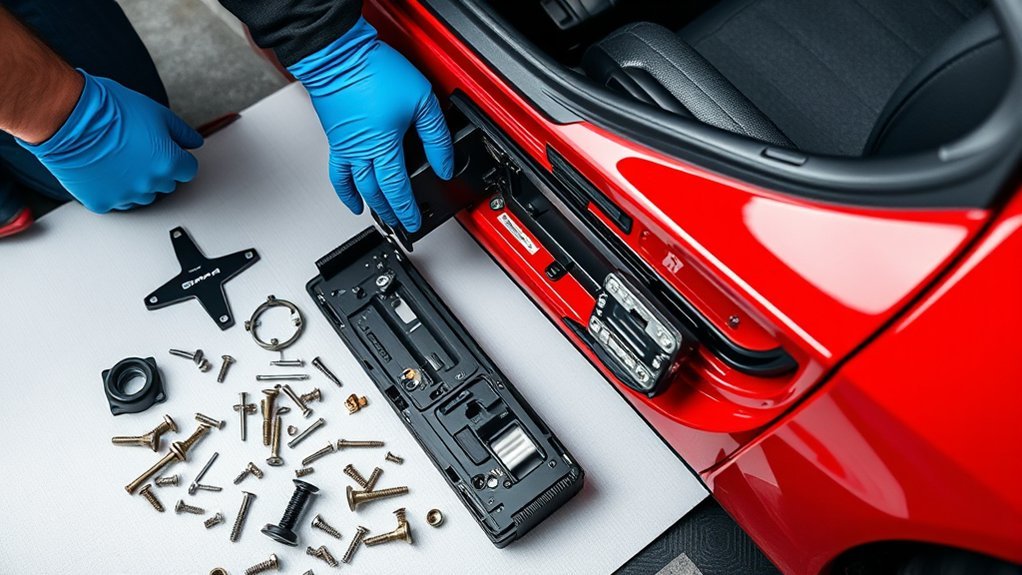
Before diving into the repair process, it’s essential to inspect the door handle assembly for any signs of wear or damage, especially on the driver’s side. Look for cracked plastic or rusted nuts that can impede functionality. Carefully remove the door panel using a flathead screwdriver to access the internal mechanism. Check the cable connections for any breaks or disconnections.
If you find any broken nuts or components, use JB Weld or epoxy putty to securely reattach them, ensuring a strong bond that can withstand regular use. Reattach the cable to the latch mechanism, ensuring proper alignment for smooth operation of both the interior and exterior handles.
After completing these repairs, verify the functionality by opening and closing the door multiple times. Check for consistent latch operation and stability of all components to effectively fix the problem and restore your door handle’s functionality.
Verifying Repairs Before Reassembly: Ensuring Everything Works
Once you’ve completed the necessary repairs to the door handle assembly, it’s crucial to verify that everything functions correctly before reassembling the door panel. Start by testing the latch mechanism with both the interior and exterior door handles, ensuring they operate smoothly without resistance. Conduct a thorough visual inspection of all components, confirming they’re properly aligned and securely fastened to prevent future issues.
Next, open and close the door multiple times to check that the latch engages and disengages correctly. This step guarantees reliable operation. Pay attention to reattaching all clips and fasteners tightly, maintaining the integrity of the door assembly and preventing rattling. Finally, listen for any unusual sounds or movements when operating the door handle; these can signal misalignment or lingering issues with the latch mechanism. Confirming these aspects assures a successful repair and restored functionality.
Frequently Asked Questions
How to Fix a Door Handle That Is Not Working?
To fix a non-working door handle, start with handle troubleshooting. Inspect for cable issues, reattach or replace broken parts, and guarantee proper tension. If problems persist, consider door handle replacement for ideal functionality. Test afterward.
How Do I Fix a Car Door Handle?
To fix a car door handle, identify the handle type, inspect for damage, and consider handle replacement options. Verify connections are secure and test functionality before reassembling the door panel for proper operation.
How to Fix a Jammed Handle?
To fix a jammed handle, inspect the door handle assembly for damage. Remove the door panel, check the jammed mechanism for obstructions, and apply lubricant if necessary. Reassemble and test the handle thoroughly to guarantee functionality.
How to Repair a Door Latch Mechanism?
Imagine freeing a trapped bird; to repair your door latch, you’ll methodically inspect the mechanism, guarantee cables connect securely, and replace any damaged parts, restoring fluidity to your door’s movement and granting you liberation.
Conclusion
To sum up, fixing your Toyota Supra’s door handle issues is more than just a simple repair; it’s a journey into the mechanics of your car. Many believe these issues stem solely from wear and tear, but often, it’s poor alignment or a faulty cable at play. By following this guide, you can tackle the problem methodically, ensuring your repairs are effective and long-lasting. Don’t underestimate the satisfaction of restoring functionality to your ride—your Supra deserves it.


Leave a Reply