
Upgrading to an electric water pump for your Toyota Supra can boost performance and efficiency. You’ll enjoy quicker response times and improved cooling without the extra weight of a traditional pump. Installation requires basic hand tools and an understanding of electrical wiring. Regular maintenance is key to keeping the pump running smoothly for years. If you’re looking to enhance your Supra’s performance, you’ll find essential tips and insights in the complete guide.
Understanding the Benefits of Electric Water Pumps for Your Supra
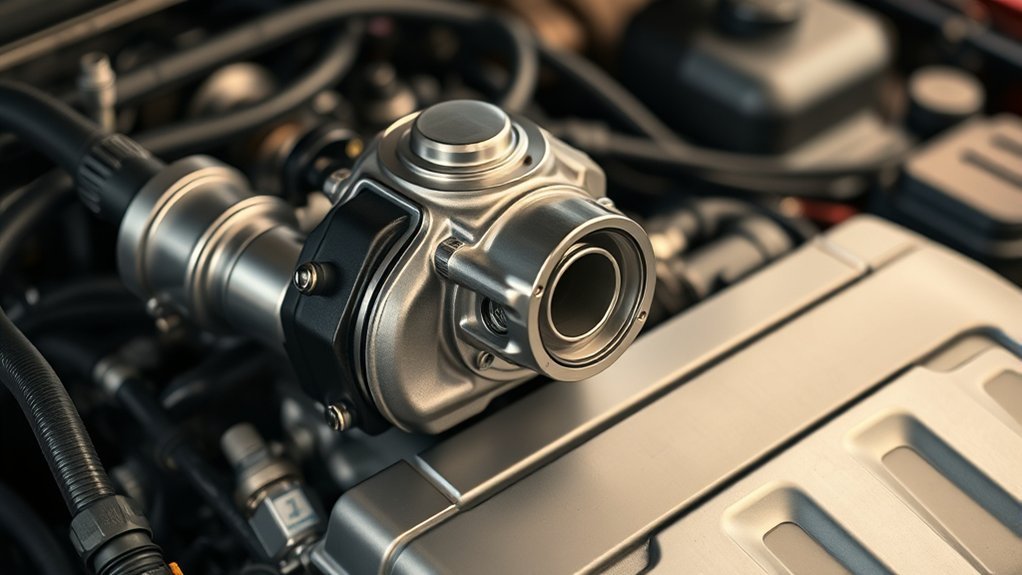
When you consider upgrading your Toyota Supra’s cooling system, electric water pumps stand out for their efficiency and performance benefits. These pumps deliver improved efficiency by offering on-demand cooling, greatly enhancing engine performance while reducing parasitic drag compared to traditional mechanical pumps. You’ll notice a quicker response time in your cooling system, which is vital during high-performance driving or racing conditions.
Moreover, many electric water pumps are lightweight and compact, contributing to reduced vehicle weight that improves handling and acceleration in your Supra. With variable speed control, these pumps can adjust flow rates based on engine temperature, ensuring optimized cooling tailored to various driving scenarios. By installing an electric water pump, you free up horsepower that was previously consumed by the mechanical pump. This modification is a popular choice among performance enthusiasts looking to maximize the capabilities of their Toyota Supra.
Essential Tools and Parts Needed for Electric Water Pump Installation
Before diving into the installation of an electric water pump in your Toyota Supra, it’s essential to gather the right tools and parts to guarantee a smooth and efficient process. You’ll need a socket set, screwdrivers, pliers, and wire strippers for making electrical connections.
The required parts typically include the electric water pump itself, appropriate mounting hardware, a relay, and a wiring harness. Depending on your vehicle’s cooling system, an adapter kit may also be necessary. Confirm the pump you choose is rated for your specific engine model and has the right flow rate for maximum cooling performance.
Don’t forget to check your vehicle’s electrical system to handle the added load, and install a fuse to protect against electrical faults. Always consult the manufacturer’s installation instructions and wiring diagrams to avoid potential damage or overheating issues during the process.
[Products Worth Considering]

Designed to provide optimal battery voltage to maximize cooling efficiency

【Tankless Heater Clean Kit】This cleaning kit comes with everything you need to maintain your water heating system. Helps maintain the performance and extend the life of your tankless hot water heater. Easy to follow and quickly connects to your tankless isolation valves using the supplied hoses. All you need to do is mix 1 gallon of vinegar or biodegradable cleaner with 1 gallon of water to flush the tankless water heater. ( The vinegar and biodegradable cleaning agent are not included)

AISIN is the number one original equipment manufacturer of water pumps in the world
Step-by-Step Guide to Installing Your Electric Water Pump
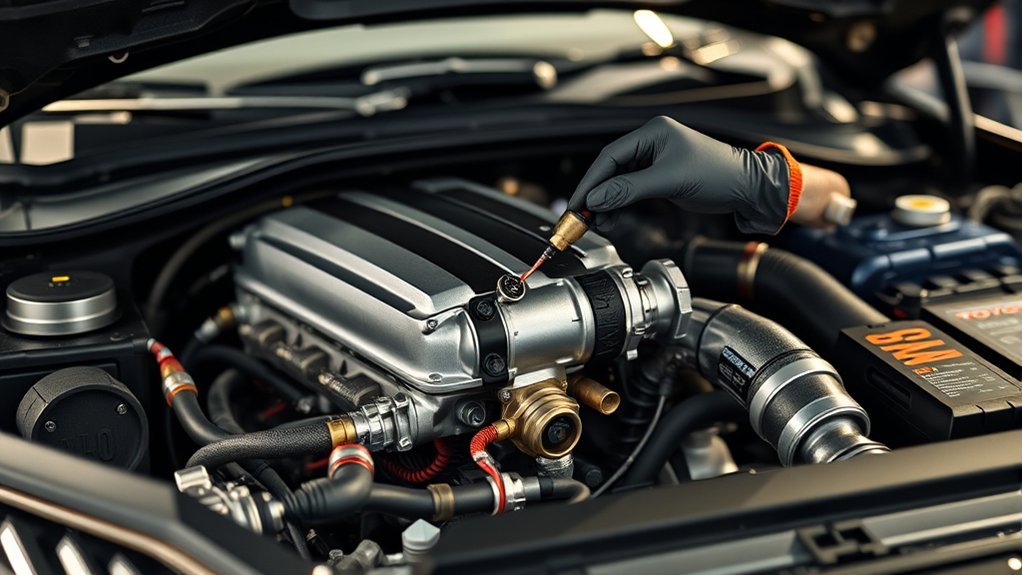
Before you start installing your electric water pump, make certain you have all the essential tools at hand, like wrenches and wire connectors. As you connect the pump, pay close attention to the wiring and guarantee you follow the manufacturer’s guidelines for a secure and reliable setup. This careful preparation will set you up for a smooth installation process and peak performance.
[Products Worth Considering]

【High-Quality Materials】: The fan clutch removal tool kit is made of high-strength chrome-vanadium steel, with an electroplated surface that further enhances wear resistance and deformation resistance. The overall structure is sturdy and reliable, not prone to rust, ensuring long-term, reliable use.

{FITMENT}: Electrical Fuel Pump Module Assembly 1998-2002 for Chevy Prizm 1.8L,1993-1997 Geo Prizm 1.6L,1993-1997 Geo Prizm 1.8L,1992-2003 for Lexus ES300 3L,2004-2006 for Lexus ES330 3.3L,2007-2010 for Lexus ES350 3.5L,2003-2006 for Pontiac Vibe 1.8L,2004-2006 Scion xA 1.5L,1992-1995 for Toyota 4Runner 2.4L,1996-2000 for Toyota 4Runner 2.7L,1996-2002 for Toyota 4Runner 3.4L,1992-1995 for Toyota 4Runner 3L,2005-2011 for Toyota Avalon 3.5L,1995-2004 for Toyota Avalon 3L
【High Quality】:The car windshield cleaning hose is made of rubber, tough and wear-resistant, soft and elastic, easy to bend, has good sealing, high-temperature resistance, and long service life. The hose connector is made of nylon, which is sturdy, not easy to be damaged or deformed, and has good impact resistance, ensuring a reliable use experience.
Essential Tools Required
To successfully install an electric water pump in your Toyota Supra, you’ll need a handful of essential tools to guarantee a smooth process. Start with a socket set and a torque wrench to secure all mounting bolts to the manufacturer’s specified torque settings. You might also require a crank pulley puller to remove the stock water pump easily, assuring access to the engine components. For the electrical connections, wire strippers and connectors are crucial to guarantee a reliable setup. A multimeter will help test the electrical system, confirming proper voltage supply to your new pump. Finally, keep zip ties or hose clamps handy to secure hoses and wiring neatly post-installation. Get ready to elevate your Supra’s performance!
Wiring and Connection Tips
As you plunge into wiring your electric water pump, it’s crucial to start by disconnecting the vehicle’s battery; this guarantees your safety while handling electrical connections. Here’s how to efficiently wire your pump:
- Identify the correct wiring: connect the positive wire to a switched ignition source and the negative wire is grounded to the chassis.
- Use a relay to control the pump: connect the relay’s power side to the battery and the control side to the ignition switch.
- Make sure the wiring harness is secured away from moving parts or hot surfaces to avoid wear.
- After installation, double-check all connections for tightness and insulation before testing the pump.
Following these tips will guarantee a successful installation and peak performance of your electric water pump.
Testing Your New Electric Water Pump
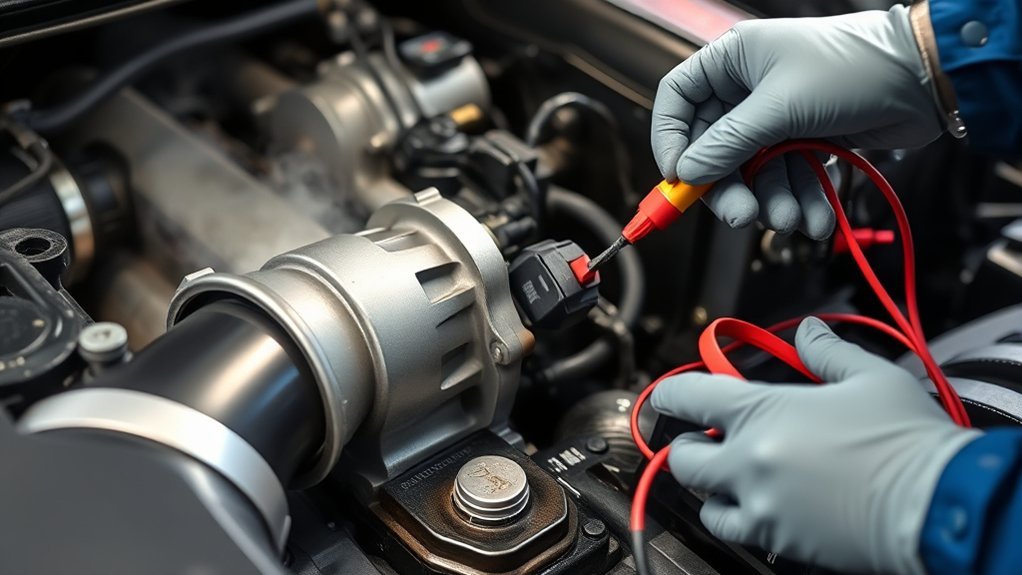
Once you’ve securely mounted your new electric water pump and double-checked all electrical connections, it’s time to put it to the test. Start by using a multimeter to check the voltage at the pump’s terminals; it should fall between 12-14 volts as per the manufacturer’s instructions. Next, activate the pump while listening for any unusual noises or vibrations, which might indicate a problem. Keep an eye out for leaks that could signal improper installation. After a few minutes of operation, check the coolant flow at the outlet to confirm it’s circulating effectively and maintaining the expected flow rate. Finally, monitor the engine temperature gauge during testing to verify it remains within the normal range. By thoroughly evaluating these aspects, you’ll guarantee your pump’s performance is up to par, allowing your Toyota Supra to run smoothly and efficiently.
Troubleshooting Electric Water Pumps
Testing your new electric water pump can help you identify any initial issues, but ongoing problems may still arise. If you notice fluctuating engine temperatures or coolant leaks, you’ll need to delve into troubleshooting. Start by checking electrical connections for corrosion and using a multimeter to confirm the pump is receiving power. Listen for any unusual noises that might indicate mechanical failure.
Testing your electric water pump is crucial for identifying issues like fluctuating temperatures or leaks; thorough troubleshooting can prevent future problems.
Here are some common troubleshooting steps to reflect on:
- Inspect for blown fuses or faulty wiring.
- Verify the vehicle’s ECU is functioning properly, as it controls pump operation.
- Monitor for warning lights on the dashboard indicating cooling system malfunctions.
- Regularly check coolant levels and pump performance to prevent issues.
How to Pick the Right Electric Water Pump for Your Supra?
How do you choose the right electric water pump for your Toyota Supra? Start by checking the flow rate; you’ll want something between 30-40 GPM to guarantee ideal cooling, especially if you’re pushing your Supra to its limits. Next, make sure the pump is compatible with your specific engine model, like the 2JZ, and that it fits within your available mounting space. Power consumption is another factor—select a model that operates at low amperage to avoid draining your battery during extended use.
Don’t forget to research reputable aftermarket brands such as Davies Craig or Edelbrock, known for their performance-oriented products. Look for features like adjustable flow rates and integrated temperature sensors, which enhance cooling efficiency and give you better control over engine temperature. Prioritize these aspects, and you’ll find the perfect electric water pump to keep your Supra running smoothly.
[Products Worth Considering]

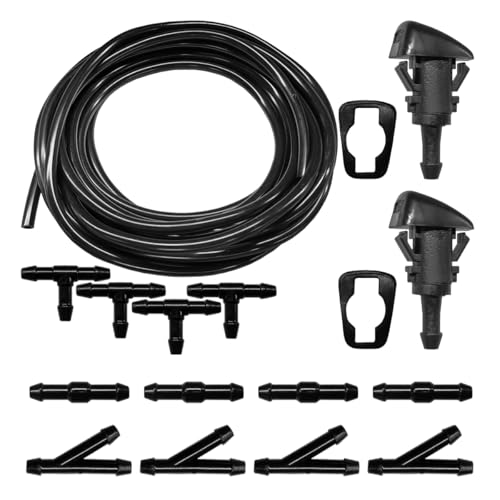
High quality material: windshield washer hose kit is made of high quality rubber, soft and flexible, sturdy and durable for long term use. The front windshield nozzle is made of high quality plastic, light weight and corrosion resistant, which can effectively extend the service life of wiper blades.

Start siphoning liquid flow quickly with the rubber hand pump. The flexible and durable PVC transparent hoses allow easy reach into containers.

[Replace OEM]: Windshield Washer Nozzles Kit Replace OEM # 76810-SZA-A00ZA, 76810-SZA-A60ZC, 76810-SZA-A60ZF, 76810-SZA-A61ZC, 76810-SZA-A61ZF
Maintenance Tips for Your Electric Water Pump
To keep your electric water pump running smoothly, establish a regular inspection schedule that includes checking wiring connections and monitoring operating temperatures. You’ll want to guarantee everything’s secure and functioning properly to prevent any overheating issues. By staying proactive with these maintenance tips, you can extend the life of your pump and enhance your Supra’s performance.
Regular Inspection Schedule
While maintaining your Toyota Supra, it is crucial to incorporate a regular inspection schedule for the electric water pump to guarantee peak performance and prevent costly repairs. Follow these tips to keep your water pump in top shape:
- Inspect for signs of wear, like unusual noises or leaks, every 5,000 miles or as specified in your manual.
- Check electrical connections and wiring ideally every oil change or 3,000 miles.
- Monitor engine temperature; consistently high readings may indicate pump inefficiency.
- Replace the water pump every 100,000 miles or as the manufacturer recommends to avoid overheating.
Proper Wiring Connections
Proper wiring connections are vital for the reliable operation of your electric water pump, guaranteeing it functions efficiently and minimizes the risk of electrical issues. Start by connecting the pump to a reliable power source, preferably a fused circuit, to prevent overload. Use appropriately sized gauge wires, typically 12-14 AWG, to reduce voltage drop and enhance performance. Make sure to securely attach the ground wire to the vehicle’s chassis; this is essential for proper grounding and avoiding electrical problems. Integrating a relay into your wiring setup allows for higher current flow, protecting your switch and components from overheating. Always consult the specific wiring diagram for your electric water pump model to verify correct connections and compliance with manufacturer specifications.
Monitor Operating Temperature
Monitoring the operating temperature of your electric water pump is key to ensuring your engine runs smoothly and efficiently. Keeping an eye on this vital aspect can prevent overheating and costly repairs. Here are some tips to help you stay on top of it:
- Regularly check the operating temperature gauge, aiming for 190°F to 220°F (88°C to 104°C).
- Watch for any temperature fluctuations that could indicate a malfunction.
- Inspect electrical connections and wiring to avoid performance issues.
- Keep coolant levels topped up to prevent overheating from leaks or pump failure.
Frequently Asked Questions
How Do I Know if My Electric Water Pump Is Working?
To know if your electric water pump’s working, perform diagnostic testing. Look for signs of failure like unusual noises, coolant leaks, or temperature spikes, and assess pump efficiency through adequate voltage and consistent coolant circulation.
How Many Hours Does It Take to Replace a Water Pump?
Replacing a water pump typically takes 4 to 6 hours. Keep in mind, regular maintenance can extend its lifespan. Follow installation tips, and adjust your maintenance schedule to guarantee peak performance and efficiency.
How Does an Electric Water Pump Work Step by Step?
An electric water pump circulates coolant by using an electric motor, optimizing pump efficiency. For installation, verify proper wiring and alignment. Monitor your cooling system’s performance for real-time adjustments, enhancing overall engine efficiency and reliability.
What Are Common Mistakes in Water Pump Replacement?
One tiny installation error could spell disaster! When replacing your water pump, avoid mistakes like neglecting part compatibility, skipping gasket replacement, or failing to check for coolant leaks; these oversights can lead to major headaches down the road.
Conclusion
Now that you know the ins and outs of electric water pumps for your Toyota Supra, you’re ready to take the plunge. By upgrading to an electric pump, you’ll not only boost performance but also enhance reliability. Remember, a well-maintained pump can go a long way in keeping your engine cool and running smoothly. So, don’t wait for a meltdown; invest in the right pump and enjoy the ride! Your Supra deserves the best, and so do you.


Leave a Reply