To replace the headlight bulb on your Toyota RAV4, first, open the hood and locate the bulb plug behind the headlight assembly. Carefully turn the plug counterclockwise and remove it. Pull out the old bulb and handle the new one using gloves to avoid contamination. Insert the new bulb, ensuring it’s aligned correctly, and reattach the plug by turning it clockwise until it clicks. If the new bulb doesn’t work, there are steps to diagnose the issue.
Step-By-Step Guide to Opening the Hood
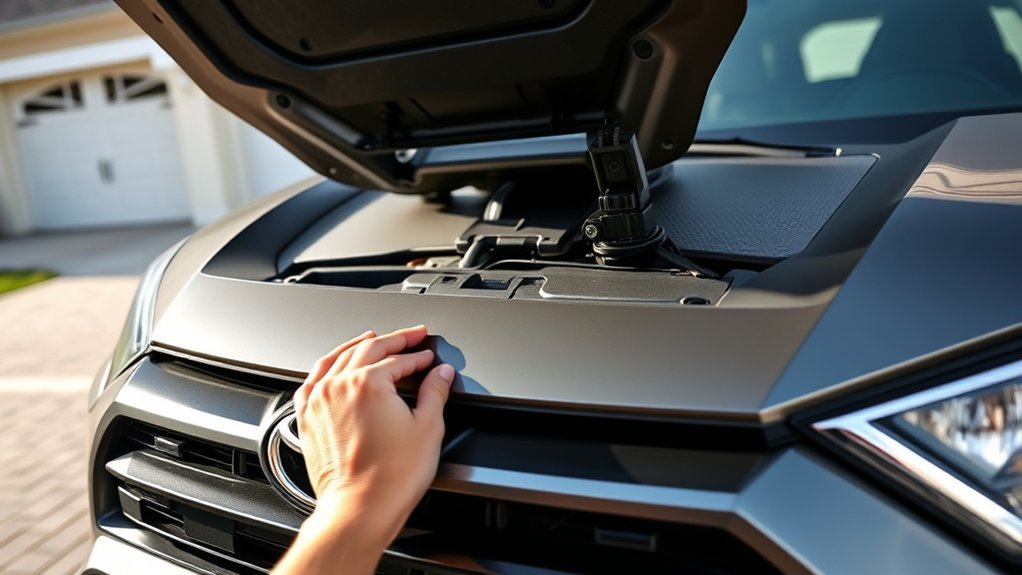
To begin replacing the headlight bulb on your Toyota RAV4, you’ll first need to open the hood. Start by opening the driver side door to access the hood latch located under the steering column. Pull the hood latch out to release the hood’s grip, and you’ll notice the hood slightly lift. Next, press and hold the lever on top of the Toyota logo to fully lift the hood. Once it’s open, securely place the support bar in the designated hole to keep it elevated. Always verify the hood is stable and secure before proceeding with maintenance tasks. Following these maintenance tips will help you safely navigate under the hood and maintain your vehicle effectively.
Understanding the Importance of Headlight Maintenance
Maintaining your headlights is essential for enhanced nighttime visibility and improved road safety. Dimming bulbs can compromise your ability to see and be seen, increasing the risk of accidents. Regularly replacing your headlight bulbs not only guarantees compliance with regulations but also contributes to safer driving conditions.
Enhanced Nighttime Visibility
While you might not think about your headlights often, their maintenance is crucial for safe nighttime driving. Dim or burnt-out bulbs drastically reduce visibility, making it harder to spot hazards. The National Highway Traffic Safety Administration indicates that nearly 50% of traffic fatalities occur in low-light conditions. Regularly checking and replacing headlight bulbs not only enhances your visibility but also guarantees compliance with safety regulations. Properly maintained headlights can allow you to see up to 200 feet further, giving you critical reaction time.
| Condition | Visibility Distance | Action Required |
|---|---|---|
| New Bulbs | 200 feet | No action needed |
| Slightly Dull Bulbs | 150 feet | Consider replacement |
| Dim Bulbs | 100 feet | Replace immediately |
| Burnt-out Bulbs | 0 feet | Replace immediately |
| Compliance Issues | Varies | Immediate replacement required |
Improved Road Safety
Headlight maintenance greatly contributes to overall road safety, especially during nighttime driving and in adverse weather conditions. Ensuring your headlights maintain ideal brightness is essential, as approximately 50% of traffic fatalities occur in low-light settings, according to the National Highway Traffic Safety Administration (NHTSA). Regular checks and timely bulb replacements help you see up to 500 feet ahead, allowing for better decision-making on the road. Dull or burned-out headlights can severely impair your ability to perceive surroundings, increasing the risk of collisions, particularly at intersections. With standard halogen bulbs lasting around 500 to 1,000 hours, routine maintenance is necessary for effective accident prevention. Keep your headlights in top condition to enhance your safety and that of others on the road.
Compliance With Regulations
Assuring your vehicle’s headlights function properly isn’t just about visibility; it’s also a matter of legal compliance. Headlights must meet specific brightness and color temperature standards set by regulatory standards to guarantee safety compliance. In many jurisdictions, driving with a non-functioning headlight can lead to fines, emphasizing the need for timely bulb replacements. Remember, over 50% of nighttime accidents are linked to poor lighting, so maintaining your headlights is essential not only for your safety but also for adhering to traffic laws. A typical halogen bulb lasts between 450 to 1,000 hours, and neglecting to replace aging bulbs can compromise both your vehicle’s performance and your safety on the road. Prioritize headlight maintenance to stay compliant and drive safely.
Locating the Headlight Bulb Plug
To successfully replace the headlight bulb in your Toyota RAV4, you’ll first need to locate the bulb plug, which is positioned directly behind the headlight assembly. If space is limited, you might have to remove the battery or other components to gain access. The bulb plug usually features a twist mechanism, so turning it counterclockwise will allow you to detach it easily. Always work in a well-lit area to identify the bulb plug without confusion.
| Step | Action Required | Notes |
|---|---|---|
| 1. Locate the Plug | Find the bulb plug | Behind headlight assembly |
| 2. Remove Obstructions | Clear any obstacles | Check battery position |
| 3. Twist Mechanism | Turn counterclockwise | Detach the plug |
| 4. Check Bulb Types | Verify compatibility | Refer to manual |
| 5. Prepare for Change | Ready for bulb replacement | Maintain headlight properly |
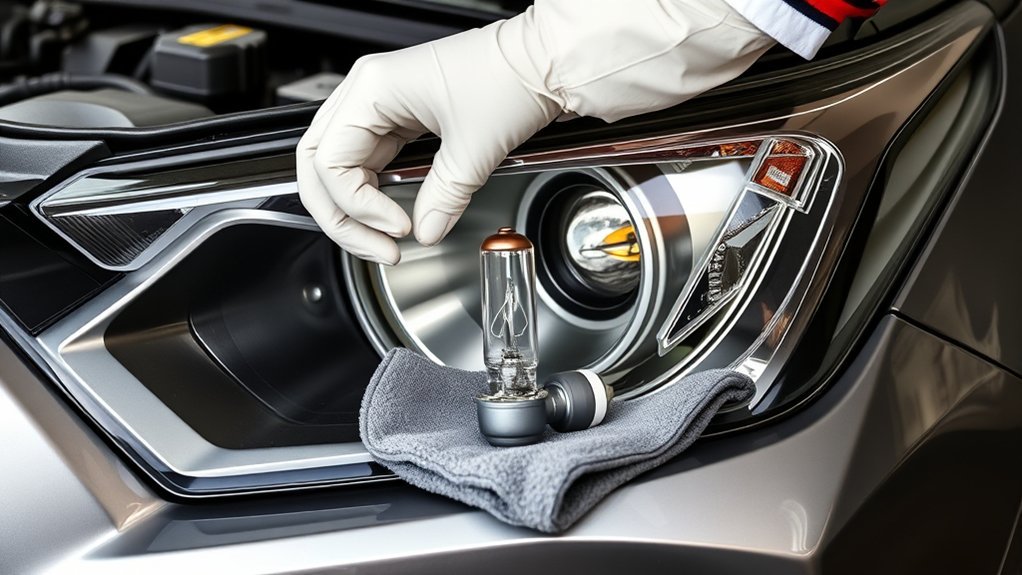
Safely Removing the Old Headlight Bulb
Start by opening the hood of your Toyota RAV4 to access the headlight assembly. Once you locate the bulb plug, turn it counterclockwise to detach it from the bulb, and press the tab on the bulb to release it. Gently pull the bulb out by the base, avoiding contact with the glass to keep it free from grease.
Locate The Bulb Plug
Begin by opening the hood of your Toyota RAV4 and locating the bulb plug behind the headlight assembly. This plug is essential for accessing the old bulb. To safely detach it, turn the bulb plug counterclockwise, making sure not to apply excessive force. Once it’s free, gently pull it out to separate it from the old bulb.
| Step | Action | Note |
|---|---|---|
| 1 | Open hood | Access headlight assembly |
| 2 | Locate bulb plug | Positioned behind assembly |
| 3 | Turn counterclockwise | Avoid excessive force |
| 4 | Pull out bulb plug | Verify proper bulb compatibility |
| 5 | Remove old bulb | Follow installation tips |
Be cautious not to touch the glass portion of the old bulb to prevent grease contamination.
Detach The Bulb Safely
Once you’ve located the bulb plug, you’ll need to detach the old headlight bulb safely. Begin by making sure your hands are clean to avoid grease contamination, which can impact bulb safety and lifespan. Turn the bulb plug counterclockwise to detach it from the bulb. Carefully pull the plug out, making certain you don’t force it, to prevent damage. Next, press and hold the tab on the old bulb to release it from the socket, taking care to avoid touching the glass portion. This helps maintain ideal performance for the new bulb. Finally, inspect the old bulb for any signs of damage before disposing of it safely. Following these installation tips will guarantee a smooth and effective replacement process.
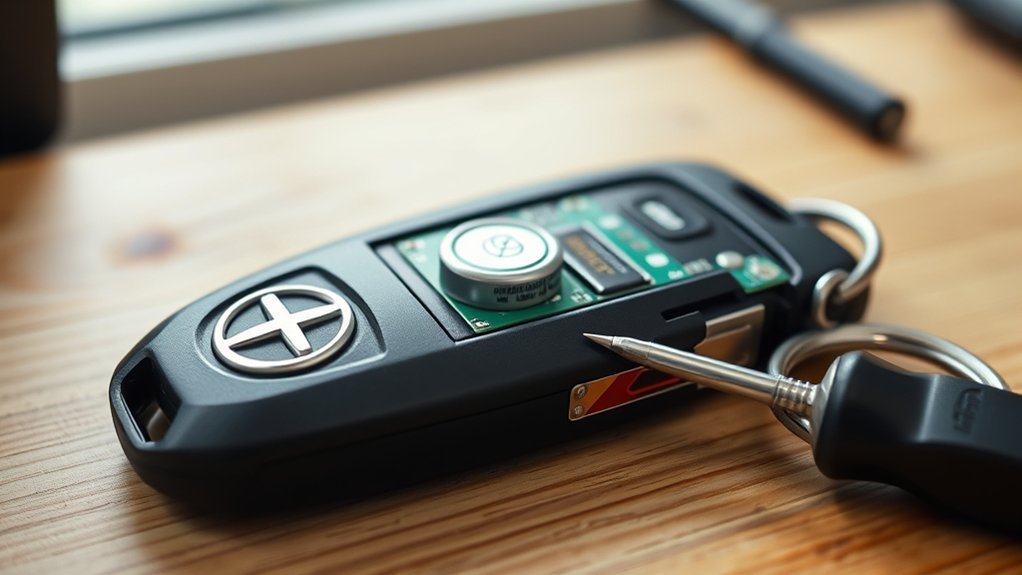
How to Handle New Headlight Bulbs Without Contamination
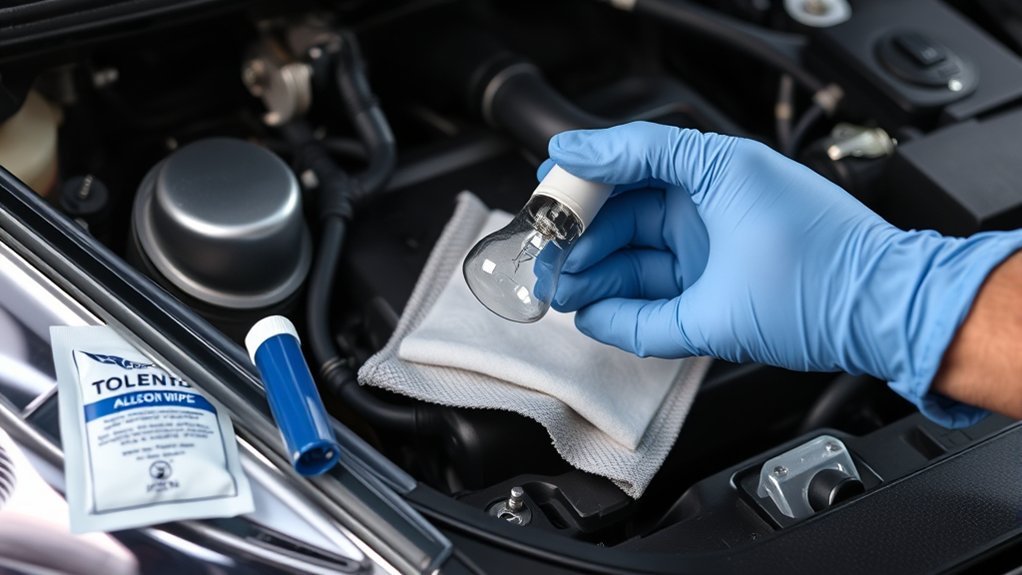
To guarantee ideal performance and longevity of your new headlight bulbs, it’s essential to handle them properly to prevent contamination. Start by confirming your hands are clean and dry, as grease can compromise the glass surface. Instead of using bare fingers, employ bulb handling techniques like wearing gloves or using a clean cloth for grip. If you accidentally touch the glass, immediately clean it with a lint-free cloth or napkin to eliminate any oils or dirt. Keep your bulbs in their original packaging until you’re ready to install them; this minimizes contamination risk. Finally, be mindful of bulb orientation and the plug to reduce unnecessary handling and avoid damage. Prioritizing contamination prevention will guarantee peak bulb performance.
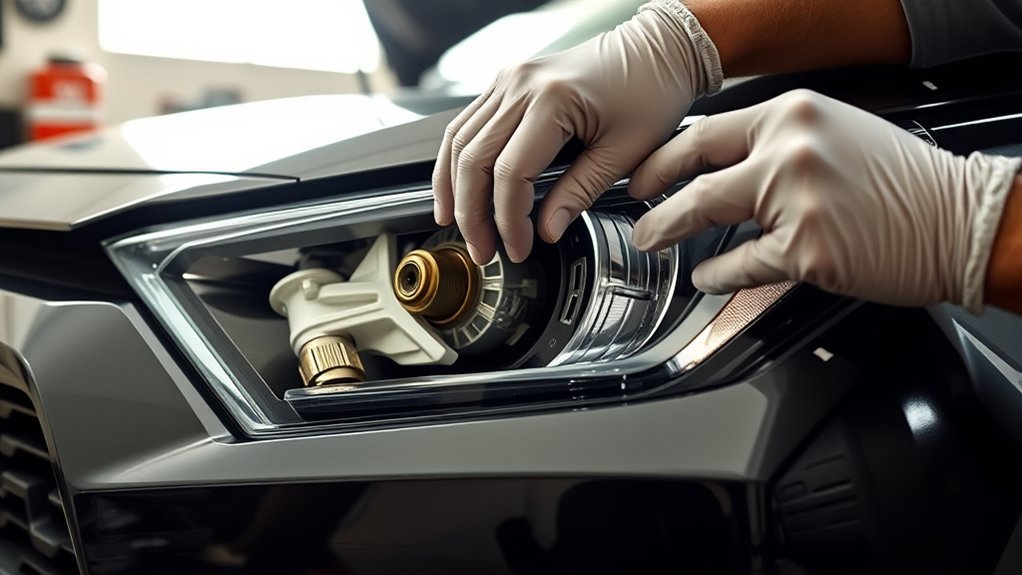
How to Properly Install Your New Headlight Bulb
After guaranteeing your new headlight bulbs are free from contamination, it’s time to install them properly. Begin by making sure your hands are clean to avoid any grease on the bulb’s surface. Align the tab on the bulb with the corresponding slot on the plug. Firmly push the bulb into the plug until it’s fully seated. Use the appropriate installation tools, if needed, to assist in this process. After securing the bulb, reinsert the plug into its original position and turn it clockwise to lock it in place. Finally, confirm that the bulb is completely installed and functional before closing the hood.
| Step | Action |
|---|---|
| 1. Clean Hands | Prevent grease contamination on the bulb |
| 2. Align Tab | Match tab with slot on plug |
| 3. Firmly Push | Guarantee bulb is fully seated in the plug |
| 4. Reinsert Plug | Place plug back and turn clockwise |
| 5. Confirm Functionality | Check bulb is operational before closing the hood |
Reattaching the Bulb Plug
To reattach the bulb plug, align the tab on the new bulb with the notch on the plug for a proper fit. Firmly push the bulb into the plug until you hear a click, indicating a secure connection. After that, reinsert the plug behind the headlight assembly and turn it clockwise to lock it in place, ensuring stability.
Ensuring Proper Alignment
Ensuring proper alignment when reattaching the bulb plug is essential for ideal headlight function. Follow these steps to achieve optimal bulb alignment and a secure plug connection:
- Align the tab on the new bulb with the corresponding tab on the plug.
- Firmly push the bulb into the plug until you hear a click.
- Turn the plug clockwise after inserting the bulb to lock it in place.
- Double-check for gaps between the plug and the bulb to avoid headlight issues.
- If the bulb doesn’t fit, confirm you’re using the correct type and check for damage.
Securing the Connection
With the bulb properly aligned and seated in the plug, you can now focus on securing the connection to guarantee reliable headlight operation. First, verify the bulb is compatible with your Toyota RAV4 model. Firmly push the bulb into the plug until it’s fully seated. Next, reinsert the bulb plug into its original position behind the headlight, aligning it correctly to prevent misfit. Utilize your installation tools if needed to aid in this process. Once in place, turn the plug clockwise until it’s securely fastened, locking the bulb in position. Finally, double-check the connection by gently tugging on the bulb. This step is essential to confirm it won’t come loose during operation, making sure your headlights function effectively.
Checking Stability After Installation
After reinstalling the bulb, it’s essential to check its stability to prevent any issues with headlight performance. Confirming a secure connection not only enhances bulb longevity but also guarantees safety while driving. Here’s how to verify stability:
- Gently tug on the bulb plug to check its seating.
- Turn the plug clockwise until it clicks, locking it securely.
- Observe for any movement or looseness around the bulb area.
- Lightly press the bulb to confirm correct alignment; it shouldn’t wobble.
- Finally, turn on the headlights to confirm proper functionality.
Using the right installation tools can make this process smoother, giving you peace of mind that your new bulb is securely in place.
What to Do If Your New Bulb Doesn’t Work?
If your new headlight bulb doesn’t illuminate, start by double-checking the installation to confirm it’s properly seated in the plug and that the alignment tab is correctly positioned. Next, inspect the bulb for any visible damage or defects. Verify the plug is securely connected to the headlight assembly and twisted clockwise to lock it in place.
If it still doesn’t work, check the fuse related to the headlight to rule out electrical issues. Below is a troubleshooting guide for clarity:
| Step | Action |
|---|---|
| 1. Check Installation | Confirm bulb is properly seated |
| 2. Inspect Bulb | Look for visible damage |
| 3. Verify Plug Connection | Confirm it’s locked in place |
| 4. Test Fuse | Check for blown fuses |
| 5. Consult Professional | Seek help for wiring issues |
How to Close the Hood Properly
Closing the hood properly is essential to confirm it latches securely and protects the engine compartment. Follow these steps to ensure correct hood alignment and proper function of the latch mechanism:
- After replacing the headlight bulb, gently lift the hood slightly to remove the support bar.
- Return the support bar to its original position, securing it out of the way.
- Lower the hood until it reaches the middle point, allowing it to settle.
- Apply a slight push from the middle of the hood to close it securely, confirming it latches.
- If necessary, apply additional pressure from the top of the hood to verify it’s fully closed and secure.
Troubleshooting Common Headlight Issues
When headlights malfunction, it’s important to diagnose the issue promptly to guarantee safe driving conditions. If one headlight is out, start by checking the bulb first. However, if both headlights are dim or flickering, it could indicate a failing alternator or battery issue. Always inspect the headlight fuse in the fuse box, as a blown fuse may hinder functionality. Corroded or loose wiring connections can also cause intermittent problems, so verify all connections are secure and clean. If your headlight lens is cloudy or yellowed, cleaning or replacing it can enhance brightness. For proper alignment, check the mounting brackets and adjust as necessary. Consider headlight upgrades and different bulb types for improved performance and visibility.
Frequently Asked Questions
How to Change Front Light Bulb on Toyota RAV4?
To change the front light bulb on your Toyota RAV4, identify the bulb type, open the hood, remove the old bulb, clean your hands, insert the new bulb, and guarantee proper headlight maintenance for peak performance.
Can I Replace My Headlight Bulb Myself?
Yes, you can replace your headlight bulb yourself! With basic tools and headlight maintenance tips, a DIY bulb replacement empowers you to save time and money while ensuring your vehicle’s safety and visibility.
Will Autozone Replace My Headlight Bulb for Me?
Yes, AutoZone provides headlight assistance and can replace your headlight bulb for you. Just check with your local store for availability, as services may vary based on staff and store policies.
How Much Does It Cost to Replace a Headlight in a Toyota RAV4?
Replacing a headlight in your Toyota RAV4 typically costs between $20 to $100. Cost factors include bulb types; OEM options are pricier, while aftermarket bulbs offer savings, especially if you opt for installation in pairs.
Conclusion
Replacing a headlight bulb in your Toyota RAV4 is a straightforward process that guarantees your safety on the road. Did you know that nearly 50% of all vehicle accidents occur at night, many due to poor visibility? By keeping your headlights in prime shape, you not only enhance your visibility but also reduce your risk of accidents. Always remember to check your headlights regularly and follow the steps outlined to maintain ideal performance. Safe driving!