
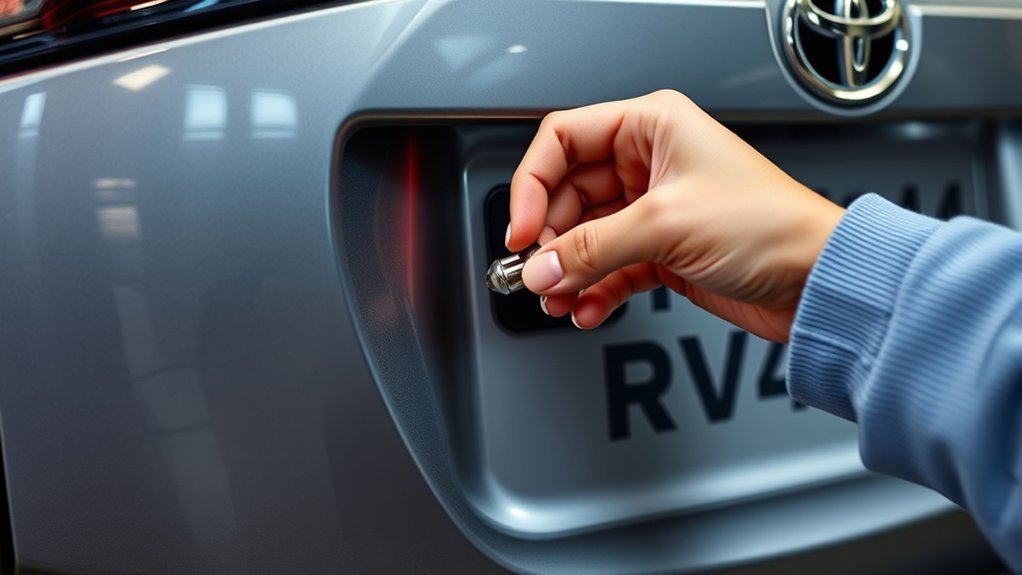
To change the license plate bulb on your Toyota RAV4, first, turn off the vehicle and gather a straight blade screwdriver and a pocket screwdriver. Access the light assembly with the screwdriver, lift the lock lever, and twist the socket counterclockwise to remove it. Slide out the old bulb and insert a new 194 bulb securely. Reinsert the socket and confirm it’s locked in place. There are some common issues you may want to troubleshoot for a smooth replacement process.
Tools You’ll Need for License Plate Bulb Replacement
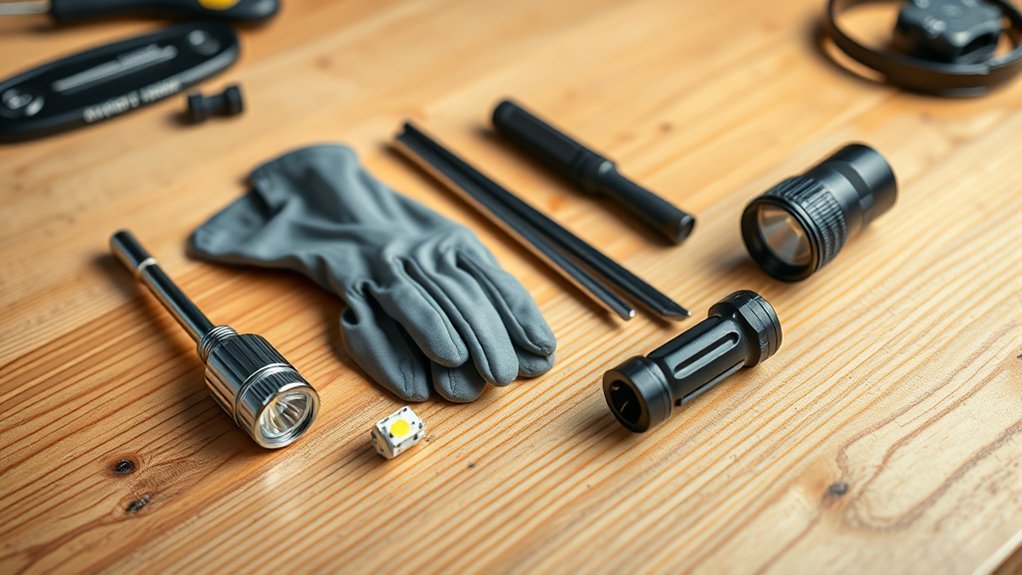
To successfully replace the license plate bulb on your 2010 Toyota Rav4, you’ll need a couple of essential tools. First, grab a straight blade screwdriver; this will help you access the light assembly effectively. Next, a pocket screwdriver is necessary to lift the lock lever on the plate light assembly, making removal easier.
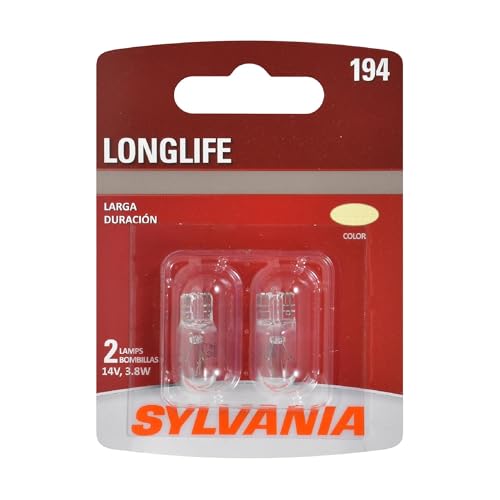
You’ll also need a 194 bulb for replacement, as it’s commonly used in various vehicle applications, including your Toyota Rav. Having both screwdrivers on hand will streamline the process and guarantee a secure fit during reassembly.
Once you insert the new bulb, it’s vital to confirm the socket is locked in place. This step prevents any future issues with the license plate light malfunctioning. For more detailed instructions or if you need further assistance, please click on the relevant resources.
[Products Worth Considering]
Lights Dim Over Time, Replace In Pairs: Your lights are a pair, one is never turned on without the other. If one bulb burns out, the other isn't far behind.

Voltage: 12V, color: 6000K xenon white, power: 2w/pc, lumen:500lm, dimensions: 1 by 0.47 inches, net weight: 2g/pc. Low power consumption for longer lifespan

HIGH BRIGHTNESS: 194 LED bulbs uses 12pcs 4014SMD and 1pcs 3030SMD Chips. 300% brighter than stock bulbs, 6500K white provides better visibility. 360° lighting angle for allover light emission, no dark spots or shadowed areas.
Step-by-Step Guide to Removing the Plate Light Assembly
Removing the plate light assembly on your 2010 Toyota Rav4 involves a few straightforward steps. Start by using a straight blade screwdriver to access the assembly. Next, locate the lock lever on the assembly and gently lift it using a pocket screwdriver to release the assembly.
| Step | Action |
|---|---|
| 1 | Use a straight blade screwdriver to access the assembly. |
| 2 | Lift the lock lever with a pocket screwdriver. |
| 3 | Twist the socket counterclockwise to remove it. |
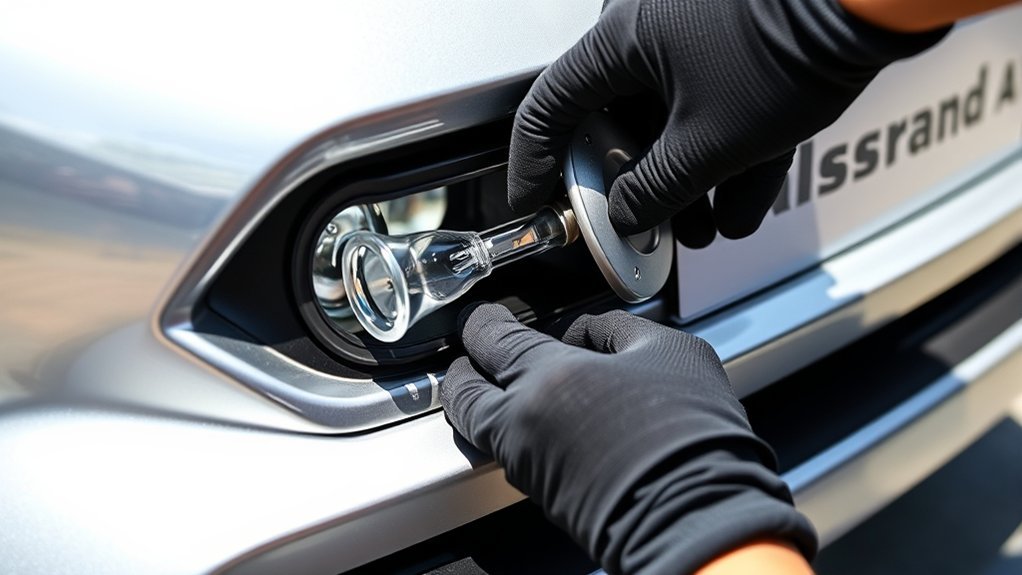
Once removed, slide the old 194 light bulb out of the socket. Insert the new bulb, ensuring it’s secured in place. Finally, reinsert the socket into the lamp and slide the assembly back into the vehicle, making sure it’s locked securely. This assembly removal process is quick and will keep your license plate illuminated!
How to Replace the License Plate Bulb With a New 194 Bulb
To replace the license plate bulb with a new 194 bulb, you’ll need a straight blade screwdriver and a pocket screwdriver. Following a clear step-by-step process guarantees a smooth replacement. Let’s outline the necessary tools and the specific steps to complete the installation effectively.
[Products Worth Considering]

【300% Brighter】194 led bulb has 3030 SMD LED chips, with high illumination and perfect beam pattern, supporting 6000K white super bright light output. 360°Lighting angle and No dark spot. You can easily find misplaced items in your car at night. Working Power: 2.5W; Working Volts: 12V-24V.

【800% Brighter Than Halogen Bulb】 Sealight is equipped with a 3030 high-performance light bulb chip. 6000K super bright white light. 360 ° lighting angle, no dark spots, and huge brightness. Bring pure white and ultra bright light output to your car.

Outstanding Brightness: Using high quality SMD 3030 chip to provide 360-degree dead-angle-free illumination with high brightness and no glare, this 194 led bulb features a high-precision fiber glass circuit board that dissipates heat quickly and ensures a long service time of 20,000 hours, providing safety for night driving
Required Tools Overview
Replacing the license plate bulb requires just two essential tools: a straight blade screwdriver and a pocket screwdriver. You’ll use the straight blade screwdriver for accessing the plate light assembly and identifying the lock lever. This step is vital for proper screwdriver usage; without it, you may struggle to release the assembly.
The replacement bulb you need is a 194 bulb, easily found at auto parts stores or online. Once you’ve slid the old bulb out, insert the new one into the socket and verify it’s locked securely. Remember these assembly tips: reassemble the socket correctly and secure the assembly back into the vehicle. With the right tools and attention to detail, you’ll have this task completed efficiently.
Step-by-Step Replacement Process
With the right tools in hand, you can proceed to change the license plate bulb. Start by taking safety precautions: make certain your vehicle is off and parked safely. Use a straight blade screwdriver to access the plate light assembly, locating the lock lever. Next, use a pocket screwdriver to lift the lock, then twist the socket to the left to remove it. Slide the old 194 bulb out and choose a new bulb option, aligning it securely before locking it in place. Reinsert the socket back into the lamp, making sure it’s properly locked. Finally, slide the assembly back into the vehicle, confirming the installation is complete by checking that the assembly is securely locked in place.
Troubleshooting Common Problems When Replacing the License Plate Bulb
When tackling issues after changing your license plate bulb, it’s essential to follow a systematic approach. Here are some troubleshooting steps to guarantee everything’s working properly:
- Check bulb compatibility issues: Make sure the new bulb matches your vehicle’s specifications.
- Test the bulb: Before final installation, try the new bulb in another working socket to confirm it functions correctly.
- Conduct an electrical wiring inspection: Examine all wiring and connectors for damage or corrosion that might disrupt power flow.
- Fuse box troubleshooting: If the light still doesn’t work, inspect the fuse box for any blown fuses related to the lighting system.
[Products Worth Considering]

Compatible with 2006-2012 Toyota RAV4 (XA30)

Excellent Quality: The car led light is made of high -quality aluminum materials. This product has stable light without flickering. This product aims to save energy and improve performance, and effectively ensure that led bulbs can run up to 50,000 hours.

Compatible with 2006 2007 2008 2009 2010 2011 2012 2013 2014 2015 Toyota RAV4(all models), this LED interior lights package covers all interior lights your car need.
Securely Reassemble the Plate Light Assembly
After ensuring the bulb is functioning correctly, it’s time to securely reassemble the plate light assembly. First, insert the socket back into the lamp, paying close attention to plate assembly alignment. Twist the socket until you hear a click, indicating it’s locked in place. Next, carefully slide the lens assembly back into the vehicle’s mounting area, ensuring it fits snugly.
Lock the assembly by pressing down on the lock lever until it clicks, which secures it firmly. Finally, double-check the installation by testing the new bulb to confirm it illuminates correctly, ensuring bulb functionality.
| Step | Action | Confirmation |
|---|---|---|
| Insert Socket | Align and insert the socket into the lamp | Click confirms secure |
| Slide Lens Assembly | Fit snugly into the mounting area | No gaps present |
| Lock Assembly | Press down on the lock lever | Click confirms secured |
| Test Bulb | Turn on the lights | Bulb illuminates correctly |
Why You Should Regularly Check Your License Plate Lights
Regularly checking your license plate lights is essential not only for compliance with local laws but also for enhancing your vehicle’s safety and visibility. Here are four key reasons to stay on top of this maintenance:
- Safety Compliance: Functioning lights are often required for vehicle registration and safety inspections, keeping you lawful on the road.
- Visibility Enhancement: Bright license plate lights improve your vehicle’s visibility at night, promoting safety for you and other drivers.
- Aesthetic Maintenance: Well-lit license plates contribute to your vehicle’s overall appearance, making it look well-cared-for.
- Preventative Care: Regular inspections help you catch burned-out bulbs early, preventing unexpected failures and potential fines.
Frequently Asked Questions
Can I Change a License Plate Light Myself?
Yes, you can change a license plate light yourself. With DIY bulb replacement, you’ll enhance license plate maintenance. Follow Toyota RAV4 tips to easily replace the bulb and empower your vehicle care skills.
What Is the Lawsuit Against the Toyota RAV4?
The lawsuit against the Toyota RAV4 involves safety issues and engine performance concerns, with over 10,000 affected owners seeking class action details for compensation due to electrical defects impacting reliability and repair costs.
What Year of RAV4 to Stay Away From?
You should avoid the 2006, 2010, and 2013 RAV4 models due to reliability issues, common engine problems, and lower safety ratings. These years often face significant repair costs and safety concerns, impacting overall ownership satisfaction.
How to Change Number Plate Bulb on Toyota?
To change your Toyota’s number plate bulb, gather bulb replacement tools like a screwdriver. Verify proper license plate maintenance by securely replacing the bulb with compatible Toyota RAV4 accessories, then test the new bulb for functionality.
Conclusion
By following these steps, you’ve illuminated the path to maintaining your Toyota RAV4’s license plate lights. Just as a lighthouse guides ships safely home, your bright, functioning bulbs guarantee visibility and compliance on the road. Regularly checking and replacing these small yet essential components not only enhances safety but also prolongs the life of your vehicle’s electrical system. Keep your ride shining bright; after all, even the smallest details can make a significant difference.


Leave a Reply