To change the brakes on your Toyota RAV4, start by gathering necessary tools like a screwdriver, jack, and sockets. Next, remove the brake caliper by pushing back the piston and unbolting it. After that, replace old pads with new ones, ensuring they’re positioned correctly. Reassemble the caliper, connecting everything securely. Finally, pump the brake pedal and test your new brakes on a low-speed drive. You’ll discover more detailed steps and tips as you proceed.
Why Regular Brake Maintenance Is Crucial
When it comes to vehicle safety, regular brake maintenance is essential for peak performance. Worn brakes notably increase stopping distances and diminish your control over the vehicle. In fact, about 25% of car accidents are linked to brake failure or inadequate brake performance, underscoring the necessity for a reliable braking system. By prioritizing routine brake inspections, you can catch issues like worn pads and damaged rotors early, saving yourself from expensive repairs down the line. The National Highway Traffic Safety Administration (NHTSA) recommends checking brake components every 10,000 to 15,000 miles, ensuring they operate effectively. Additionally, maintaining clean and adequately filled brake fluid is vital, as contaminated or low fluid can lead to dangerous brake fade or total system failure. By committing to regular brake maintenance, you’re not just ensuring your vehicle’s longevity but also safeguarding your freedom on the road.
Gather Your Tools and Safety Gear
To guarantee a successful brake replacement on your Toyota RAV4, it’s important to gather the right tools and safety gear before you start. Having everything ready guarantees a smoother process and keeps you safe while working. Here’s what you’ll need:
- Screwdriver
- Jack
- Torque ratchet (13×6 size)
- Sockets (14 mm and 17 mm)
- Safety gear (gloves and goggles)
Additionally, don’t forget to have brake pads, hardware, and brake cleaner on hand. A backup support, like jack stands, is essential for stability when you’re under the vehicle. Finally, make sure you have a torque wrench to tighten the lug nuts to the specified pressure of 76 PSI after wheel installation. With the right tools and safety gear, you’ll be well-prepared for a successful brake replacement on your Toyota RAV4.
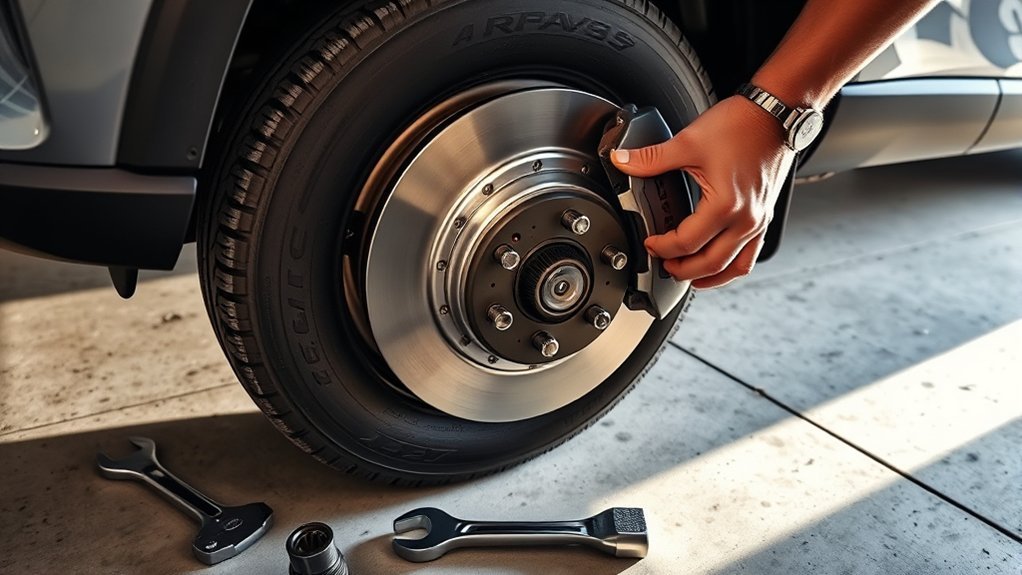
How to Remove the Brake Caliper
Start by pushing the brake caliper piston back with a flathead screwdriver, making it easier to remove the caliper from the rotor. Next, use a 14 mm socket to unscrew the two bolts securing the caliper. Hold the caliper steady during this process to prevent it from moving. Once the bolts are removed, gently tie the caliper with a strap to avoid putting stress on the brake fluid line while you work. After securing the caliper, clean the area around it with a wire brush and brake cleaner, guaranteeing it’s free of dust and debris. This step is essential to promote proper function and longevity. Before reassembling, apply grease to the caliper bolts; this will make sure they’re free-moving for next time. Keeping these details in mind makes your brake job not just good enough, but reliable for smoother stops and better safety on the road.
How to Install New Brake Pads and Hardware
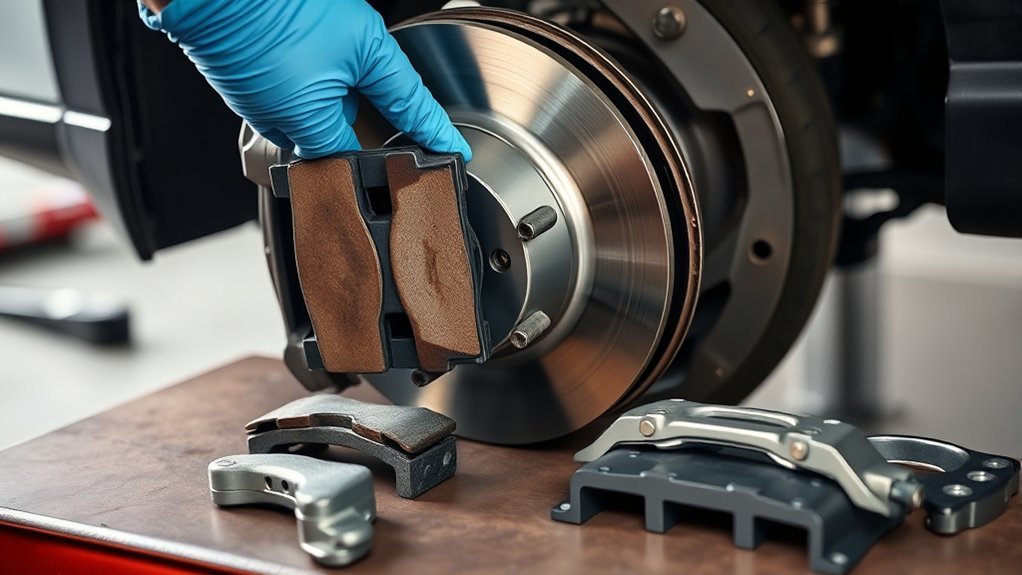
Installing new brake pads and hardware involves a few straightforward steps to guarantee peak performance. Start by pushing the piston back in using an old brake pad and a flathead screwdriver. Next, carefully remove the old brake pads and hardware, cleaning the caliper area with a wire brush and brake cleaner before proceeding.
Installing new brake pads requires pushing the piston back and cleaning the caliper area for optimal performance.
When you install the new brake pads, make certain the hardware’s pointy ends face away from the pads and fit snugly on both sides of the caliper.
Here’s what you should keep in mind:
- Apply a small amount of anti-seize to caliper screw threads.
- Securely attach all components.
- Push the piston caliper back into place.
- Verify proper positioning of all parts.
- Test brake functionality.
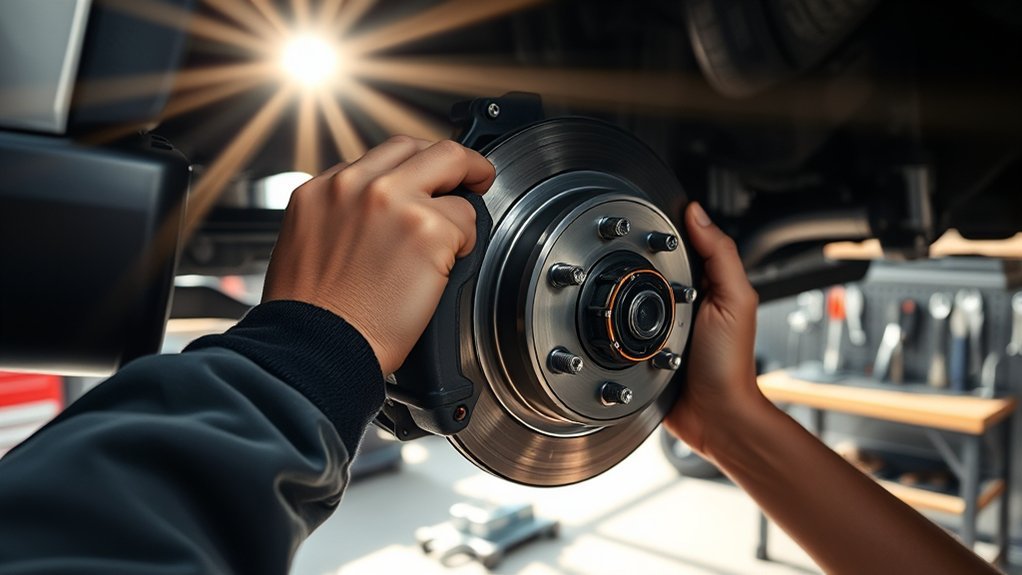
Reassembling the Caliper: Step-by-Step Instructions
When reassembling the caliper, make certain each component is properly aligned, especially the brake pads with the rotor. This alignment is essential for ideal braking performance. Once everything is in place, securely tighten all fasteners to guarantee stability during operation.
Proper Component Alignment
As you reassemble the caliper, proper alignment of the components is essential for guaranteeing optimal brake function. Pay close attention to the caliper alignment importance, as misalignment can lead to premature wear or failure. Follow these hardware installation tips for ideal results:
- Align caliper screws with the rotor for a secure fit.
- Insert new brake pads, guaranteeing they’re snug against the rotor and correctly oriented.
- Apply anti-seize on the threads of caliper screws for easier future removal.
- Position hardware with the pointy ends facing away from the brake pads.
- Verify all components, including caliper bolts and brake pads, are securely attached before finalizing the assembly.
This meticulous approach guarantees your brakes perform effectively and safely.
Secure All Fasteners
With the components properly aligned, the next step involves securing all fasteners during the caliper reassembly. Begin with thorough caliper bolt maintenance—ensure the bolts are clean and greased for smooth operation. Align the caliper with the rotor, confirming that the brake pads are positioned correctly for peak performance. Perform a brake pad inspection to verify that the indicator pins, if present, are properly attached at the top. Using a torque ratchet, tighten the caliper bolts to the specified torque settings, usually around 76 PSI for lug nuts; this highlights the torque specifications importance. After securing all hardware snugly, monitor the brake fluid level and replace the brake cap to maintain proper brake system pressure, ensuring your vehicle operates safely.
Test Your New Brakes After Installation
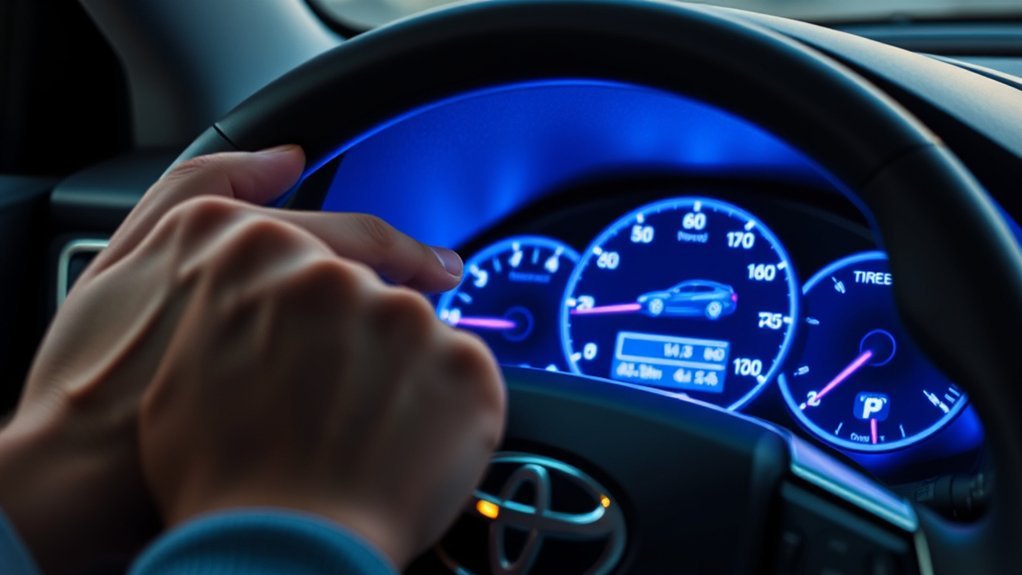
After installing your new brakes, start by pumping the brake pedal a few times to guarantee it feels firm and the pads are properly seated against the rotors. Once you’ve confirmed the pedal’s firmness, take your RAV4 for a test drive at low speeds to assess the brakes’ responsiveness and listen for any unusual noises. This initial testing is vital to confirm your new brake system works effectively and safely.
Brake Pedal Firmness Check
To guarantee your new brakes are functioning correctly, it’s essential to check the brake pedal firmness right after installation. Start by lowering the car and pressing the brake pedal a few times. A firm pedal means the brake pads are seated properly, and the hydraulic system is free of air pockets. If it feels soft or spongy, that’s a sign you might need air bleeding.
Here’s what to keep in mind during the check:
- Verify brake fluid levels are adequate.
- Look for any signs of leaks.
- Confirm proper pedal adjustment.
- Test at low speed in a safe area.
- Repeat the check if necessary before public road driving.
Your safety depends on it!
Test Drive Responsiveness
Once you’ve installed your new brakes and confirmed their firmness, it’s time to take your vehicle for a test drive to evaluate their responsiveness. Begin by verifying the brake fluid level is adequate, then pump the pedal several times to enhance pedal feel. As you drive, pay attention to how quickly the brakes engage; note any unusual noises that might indicate improper installation. Test the brakes at various speeds, performing both gentle and abrupt stops to assess stopping distance and responsiveness. Watch for signs of brake fade during repeated stops. After your test drive, inspect all brake components for secure fastening and check for fluid leaks or misalignment. This essential step guarantees your safety and the reliability of your new brakes.
Frequently Asked Questions
Can I Replace My Toyota Brake Pads Myself?
Yes, you can replace your Toyota brake pads yourself. Just gather the necessary tools, follow safety precautions, and guarantee proper brake pad installation for peak performance. This will empower you to maintain your vehicle effectively.
How Much Do New Brakes Cost for a Toyota RAV4?
New brakes for your Toyota RAV4 typically cost between $300 and $800. Brake pad types and rotor maintenance impact this price, so always compare costs to guarantee you’re getting the best deal for your ride.
What Is the Biggest Issue With the Toyota RAV4?
The biggest issue with the Toyota RAV4 involves reliability concerns, particularly excessive oil consumption. You should monitor brake wear symptoms closely and follow maintenance tips to guarantee peak performance and longevity of your vehicle.
What Is the 30/30/30 Rule for Brakes?
The 30/30/30 rule for brakes suggests you replace brake pads and flush brake fluid every 30,000 miles. Using proper brake installation tools and understanding brake pad types enhances safety and efficiency during brake maintenance.
Conclusion
Regular brake maintenance can’t be overstated—about 25% of vehicle accidents are linked to brake failure. By changing your brakes on a Toyota RAV4, you not only enhance your vehicle’s performance but also guarantee your safety on the road. With the right tools and a clear step-by-step approach, you can tackle this task effectively. Remember to test your new brakes afterward to confirm everything’s working as it should. Stay safe and keep your brakes in top condition!