To replace your Toyota Supra’s water pump, gather essential tools like a crank pulley puller and torque wrench. Confirm the engine’s cool, disconnect the negative battery terminal, and wear safety gear. Release the serpentine belt using a tensioner tool, then detach hoses and remove bolts securing the old pump. Install the new pump with a fresh gasket, tightening bolts to specifications. Perform final checks for leaks and proper function. Stick around for detailed steps and troubleshooting tips.
Essential Tools and Parts for Water Pump Replacement
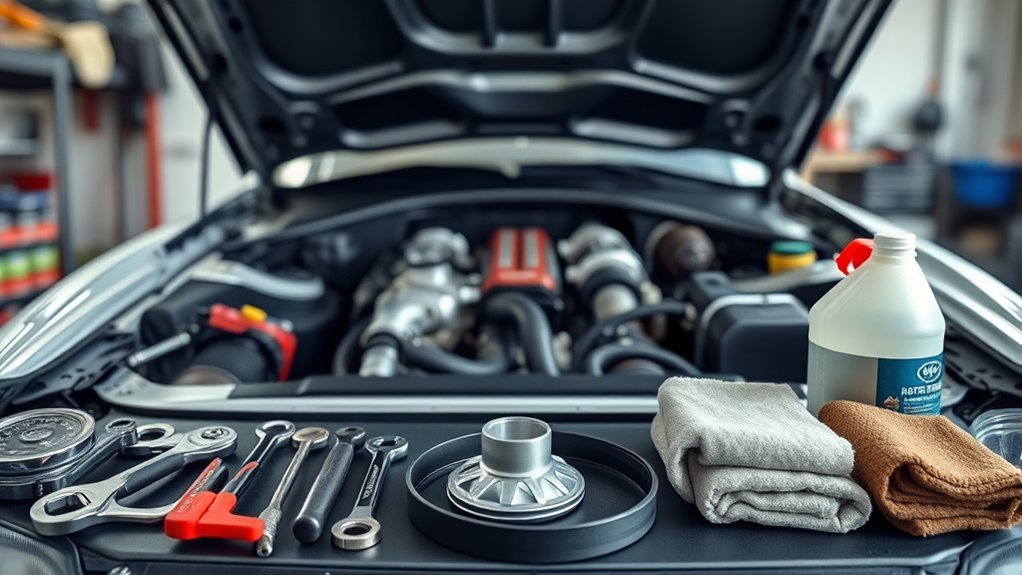
When replacing the water pump on your Toyota Supra, having the right tools and parts is vital for a smooth and efficient process. Start with necessary tools: a crank pulley puller is invaluable for removing the crank pulley without damage, while a torque wrench guarantees you secure bolts to the manufacturer’s specifications. Don’t forget a variety of socket sets, including metric and E-Torx, to accommodate different fasteners.
You’ll also need a serpentine belt tensioner tool to safely detach the serpentine belt from the water pump pulley, protecting adjacent components. A drain pan is essential for catching residual coolant when you disconnect hoses, preventing spills. Always source OEM water pumps for the best fit and performance, making sure all necessary gaskets accompany the new pump. Finally, having a vacuum coolant fill tool will help eliminate air pockets during the refill process, making sure your system operates efficiently post-installation.
Safety Tips Before You Start
Before you start replacing the water pump, make sure the engine’s completely cool to avoid burns from hot components. Disconnect the negative battery terminal to prevent electrical shocks or accidental starts during the process. Additionally, wear safety glasses and gloves at all times to protect yourself from coolant splashes and sharp edges.
Engine Must Be Cool
Making certain the engine is completely cool is essential for your safety before starting the water pump replacement on your Toyota Supra. Let the engine sit for at least 30 minutes after turning it off to cool adequately. You can check the temperature using a thermometer or by touching the engine’s surface with the back of your hand to confirm it’s safe. Even if it seems cool, wear heat-resistant gloves while working near the engine to protect your hands from unexpected heat. Additionally, make sure to work in a well-ventilated area to avoid inhaling any harmful fumes that might be released during the process. Prioritizing safety will make certain a smoother and more successful water pump replacement experience.
Disconnect Battery Terminal
After confirming the engine is cool, the next step involves disconnecting the battery terminal to enhance safety during the water pump replacement. Start by using an appropriate socket to loosen and remove the negative battery terminal. This action prevents accidental electrical shorts while you work. Make sure you store the disconnected battery terminal in a safe location to avoid reconnection before the repair is complete. It’s also essential to remove any jewelry, like rings or bracelets, to prevent contact with electrical components or moving parts. Finally, secure the vehicle with jack stands after raising it with a floor jack, as relying solely on the jack can be dangerous. Prioritize these safety measures to guarantee a smooth repair process.
Use Safety Gear
Using the right safety gear is essential when replacing the water pump on your Toyota Supra. Proper precautions guarantee your safety and enhance your efficiency. Here’s what you need:
- Safety glasses to shield your eyes from coolant splashes and debris.
- Gloves to protect your skin from irritants and improve your grip.
- Long sleeves to prevent exposure to hot surfaces or fluids.
- Non-slip shoes to maintain stability and avoid accidents in the workspace.
- Face mask to filter out harmful fumes from coolant and other automotive fluids.
Always remember, a well-ventilated area is critical to minimize inhalation of toxic substances. Adhering to these safety measures liberates you to focus on the task at hand with confidence.
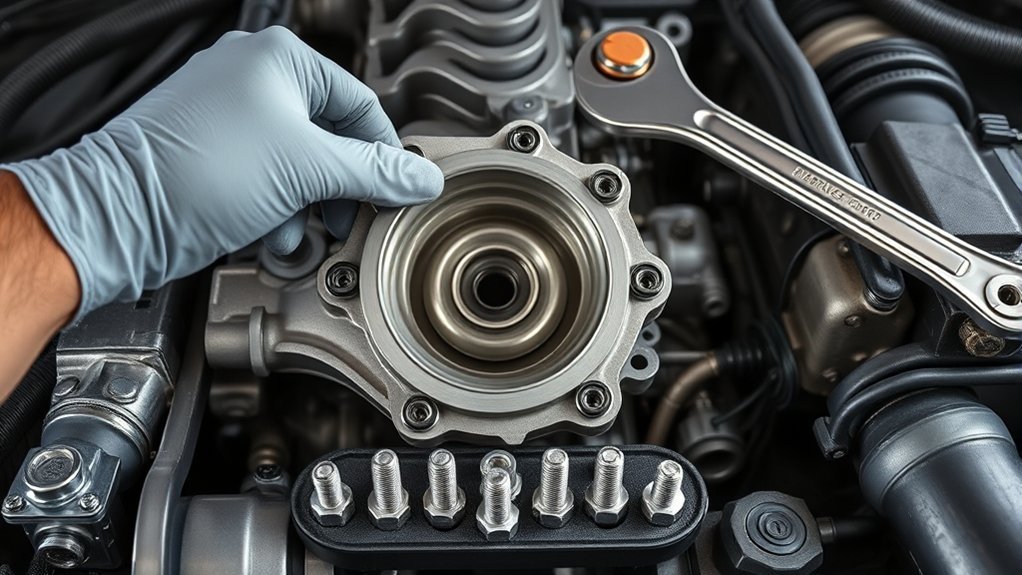
Step-by-Step Guide to Removing the Old Water Pump
To begin removing the old water pump from your Toyota Supra, first, grab a belt tensioner tool to release the tension on the serpentine belt and remove it from the water pump pulley. Next, disconnect all hoses attached to the water pump. Have a drain pan ready to catch any residual coolant that may spill. Verify that you’ve fully drained the coolant beforehand to make this process cleaner and safer.
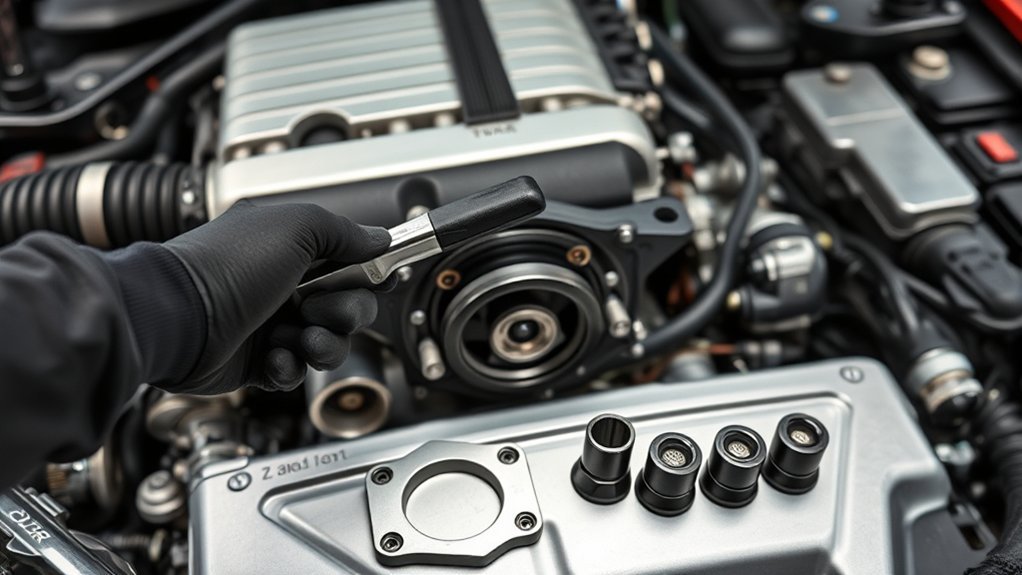
Once the hoses are disconnected, use the appropriate socket to remove the bolts securing the water pump. Keep track of the bolt lengths for reassembly. If the water pump is stuck, gently pry it away from the engine block using a rubber mallet, taking care not to damage surrounding components. With these steps, you’ll successfully remove the old water pump and prepare for the next phase of your replacement project.
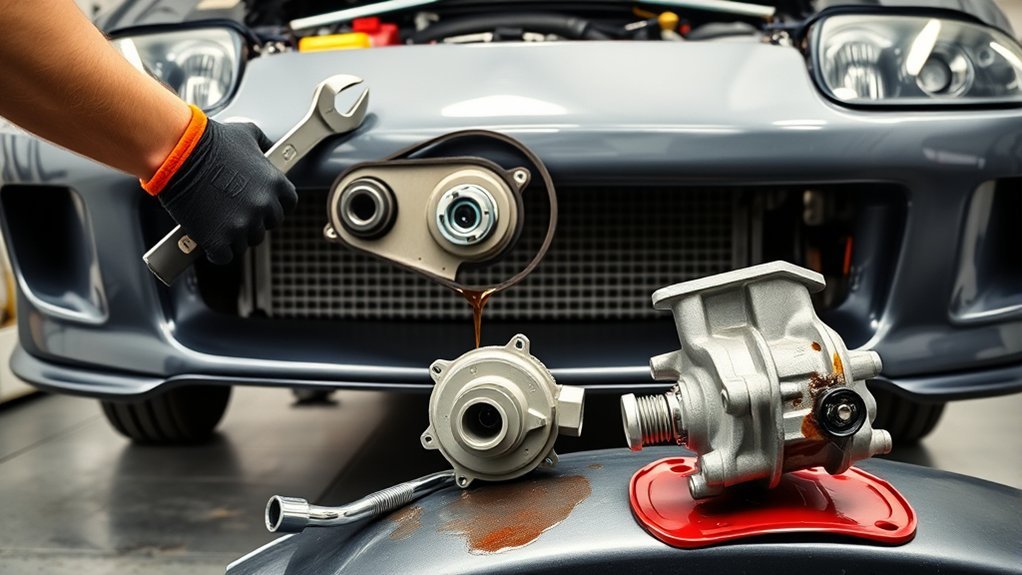
Next Steps: Installing Your New Water Pump
With the old water pump successfully removed, you’re ready to install the new one. Start by cleaning the mounting surface on the engine block, guaranteeing any old gasket material is completely removed. This assures a proper seal for your new water pump.
- Position the new gasket on the pump.
- Apply a thin layer of gasket maker if necessary.
- Align the pump with the engine block’s bolt holes.
- Hand-tighten the bolts securely into place.
- Use a torque wrench to tighten them to the specified settings.
Next, reattach the hoses to the new water pump, guaranteeing all clamps are secure to prevent leaks. If any radiator hoses appear worn, replace them during this process. Finally, refill the cooling system with the recommended coolant type and amount. Once you start the engine, monitor for any leaks to confirm everything is functioning correctly.
Tips for Reassembling Components After Installation
As you reassemble components after installing the new water pump, it is crucial to guarantee that all hoses are securely attached and clamps are tightened to prevent leaks. Check for any worn or damaged radiator hoses and replace them to enhance your cooling system’s reliability and efficiency. When tightening the water pump bolts, use a torque wrench to adhere to the manufacturer’s specified torque settings. This guarantees proper seating without over-tightening, which could lead to future issues.
Next, reinstall the drive belt onto the water pump pulley, employing a belt tensioner tool to maintain proper tension. Make sure the belt aligns correctly with all pulleys to avoid slippage. Once everything is back in place, refill the cooling system with the recommended Toyota Super Long Life Coolant and bleed any air pockets to promote optimal engine performance. Following these steps will help secure a successful reassembly.
Final Checks: Ensuring the Water Pump Works Properly
After installing the new water pump, start the engine and closely check for any leaks around the pump and hoses. While the engine runs, monitor the temperature gauge to confirm it’s within the normal range, ensuring the system operates efficiently. Also, listen for any unusual noises that could signal improper installation or potential issues with the water pump.
Check For Leaks
Once the new water pump is installed, it’s essential to conduct thorough checks for leaks to guarantee proper functioning. Start the engine and observe closely for any visible leaks around the water pump and hoses.
- Fresh coolant pooling beneath the engine
- Moisture seeping from hose connections
- Steam rising from overheated components
- Unusual sounds hinting at misalignment
- Coolant levels dropping unexpectedly
After a few minutes of running, listen for any irregular noises and inspect for leaks. If you spot any issues, address them immediately to prevent potential engine damage or overheating. Finally, check coolant levels once the engine cools down and top off if necessary, ensuring no air pockets form in the cooling system.
Monitor Temperature Gauge
With leaks checked and resolved, the next step is to monitor the temperature gauge closely. Start your engine and let it idle for a few minutes, ensuring the gauge remains within the normal operating range. If the temperature rises above this range, it may indicate a problem with your water pump installation or a coolant leak requiring immediate attention. During your initial drive, pay attention to any fluctuations on the gauge; these could signify air pockets in the cooling system that need to be bled out. A consistently high reading might mean the water pump isn’t circulating coolant effectively. Regularly monitor the temperature gauge for the first few drives to confirm your new water pump is functioning properly and maintaining a stable engine temperature.
Inspect For Unusual Noises
How can you guarantee your newly installed water pump is functioning correctly? Start the engine and listen closely for any unusual noises. These sounds may indicate improper installation or interference. Focus on:
- Grinding that suggests bearing issues
- Squeaking signaling friction between components
- Knocking indicating misalignment
- Vibrations hinting at imbalance
- Unexplained rattling that raises red flags
If you detect any of these noises, immediately shut off the engine to prevent damage. Recheck your installation for errors. Document the noises and conditions, as this information aids in troubleshooting or future repairs. By being attentive to these details, you verify your water pump operates smoothly, keeping your Toyota Supra’s cooling system efficient and your driving experience enjoyable.
Troubleshooting Water Pump Issues
What signs should you look for to determine if your Toyota Supra’s water pump is failing? You should be vigilant for coolant leaks, unusual noises, and engine overheating. Here’s a quick reference table to help you identify these issues:
| Sign | Description | Action Required |
|---|---|---|
| Coolant Leak | Pooling liquid under the vehicle | Inspect pump and seals |
| Unusual Noises | Grinding or whining sounds | Check bearings and impeller |
| Overheating Engine | High temperatures during operation | Investigate cooling system |
If you notice coolant pooling, it indicates a leak from the water pump or its seals. Noises could mean worn bearings, affecting coolant circulation. Overheating might point to multiple issues, including a defective water pump. Regular maintenance is essential to prevent these failures and guarantee your cooling system’s longevity.
DIY vs. Professional Installation Costs
Deciding between a DIY water pump replacement and hiring a professional can greatly impact your wallet. The costs vary considerably based on your choice. Here’s a breakdown:
- Professional services range from $1,200 to $2,200, including labor and parts.
- DIY enthusiasts can expect to spend $350 to $900 for the water pump and tools.
- You could save between $300 and $1,300 by opting for DIY.
- The replacement might take you 4 to 6 hours, depending on your experience.
- Online resources and community forums offer guidance, helping to minimize costly mistakes.
If you’re comfortable working under the hood, the DIY route can be liberating and budget-friendly. However, if you’re unsure, hiring a professional guarantees a reliable installation. Ultimately, weigh your skills against potential savings when deciding how to tackle the water pump replacement.
Where to Find OEM Water Pumps for Your Toyota Supra?
After evaluating your options for replacing the water pump, obtaining the right OEM part for your Toyota Supra is vital for a successful installation. You can find OEM water pumps from several reliable sources. Olathe Toyota Parts Center offers competitive wholesale prices and backs their parts with a 12-month, unlimited-mile warranty, guaranteeing quality. Additionally, Toyota’s official website and authorized dealerships provide OEM parts tailored for your specific Supra model, assuring compatibility.
If you prefer online shopping, platforms like eBay and Amazon have listings for OEM water pumps, but it’s important to verify the seller’s credibility and the authenticity of the parts. To confirm you order the correct OEM water pump, utilize the Toyota VIN decoder; it’ll help you identify the exact part needed for your vehicle. This way, you can proceed with confidence, knowing you have the right components for your Supra’s repair.
Frequently Asked Questions
Can I Replace the Water Pump Myself?
Yes, you can replace the water pump yourself. With basic mechanical skills and proper tools, you’ll find the DIY feasibility is high. Just follow a service manual for detailed instructions and torque specifications.
How Many Hours Does It Take to Replace a Water Pump?
Replacing a water pump’s like a marathon; it takes about 4 to 6 hours for pros. If you’re a DIY enthusiast, expect 6 to 8 hours or more. Always factor in unexpected challenges for your time estimate.
What Are the 7 Major Parts of a Water Pump?
The seven major pump components you’ll find are the pump housing, impeller, shaft, gasket, coolant inlet, outlet ports, and bearings. Each plays a vital role in efficiently circulating coolant throughout your engine system.
What Are the Procedures in Installing a Water Pump?
Installing a water pump’s like orchestrating a symphony; you carefully remove the old one, clean surfaces, and secure the new pump with precision. Don’t forget pump maintenance—tighten bolts, reconnect hoses, and refill coolant for harmony.
Conclusion
In the journey of maintaining your Toyota Supra, replacing the water pump is like tending to a heart—essential for peak performance. By following the steps outlined, you’re not just ensuring your vehicle runs smoothly; you’re also nurturing a bond with your ride. With the right tools and care, you’ve revived its spirit, ready to tackle the open road. Remember, a well-kept engine is a loyal companion, enthusiastic to take you on countless adventures ahead.