
To remove the roof rack cross bars on your Toyota RAV4, pop off the factory covers to access the bolts. Use a 13mm socket to turn the bolts counterclockwise and remove them with the lock washers. Lift the rail straight off, keeping the gasket intact. When reinstalling, make certain the covers have the notch facing inward. This process can enhance your vehicle’s look and functionality. Stick around to learn more about gasket retention and best practices for reinstallation!
Step-By-Step Guide to Removing Roof Rack Cross Bars
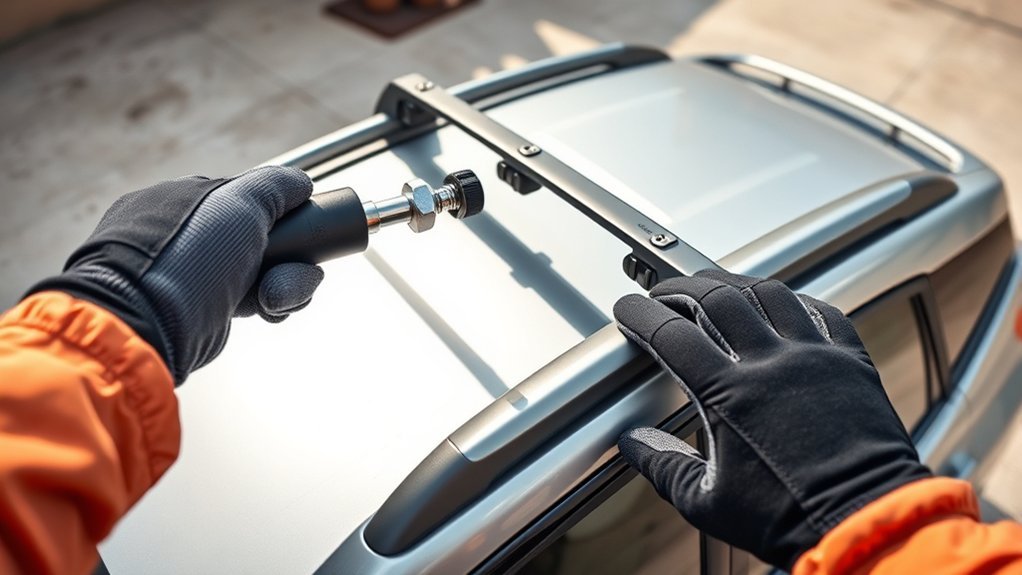
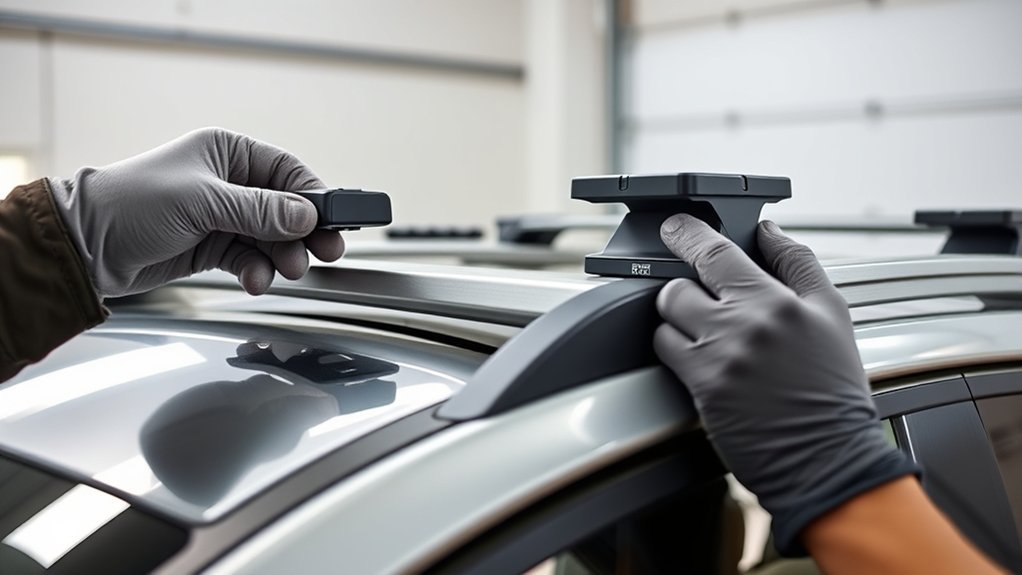
When you’re ready to remove your roof rack cross bars, the process is straightforward and doesn’t require specialized tools. Start by popping off the factory covers to expose the bolts beneath. Using the provided tool or a 13mm socket, turn the bolts counterclockwise to loosen them from both sides of the rail. Once you’ve removed the bolts and lock washers, lift the rail straight off, ensuring the gasket stays intact. When it’s time for crossbar installation again, reinstall the covers with the notch facing inward, pressing down until they clip securely. Remember to use a torque wrench during reinstallation to meet the correct torque specifications, ensuring a secure fit and maximizing your roof rack benefits. Enjoy your newly liberated RAV4!
What Tools Do You Need for Crossbar Removal?
To successfully remove your roof rack crossbars, you’ll need a few essential tools. A standard 13mm socket or the tool provided with your vehicle will help loosen the bolts, while a torque wrench guarantees you reinstall everything correctly. Don’t forget to keep those lock washers and gaskets handy for a smooth reinstallation!
Essential Tools Overview
Removing roof rack crossbars from your vehicle can be a straightforward task with the right tools at hand. To get started, you’ll need a standard 13mm socket or the tool provided by your vehicle’s manufacturer for loosening bolts. A torque wrench is essential for reinstalling, ensuring you adhere to proper torque specifications and avoid over-tightening. Don’t forget to retain the lock washers and gaskets during removal; they’re vital for a secure fit upon reinstallation. You’ll also need to pop off the factory covers to access the bolts beneath the crossbars. By using the correct tools and understanding installation techniques, you’ll simplify the process and achieve a successful crossbar removal. Enjoy the freedom of customizing your Toyota RAV4!
Socket Size Specifications
A 13mm socket is typically the go-to tool for removing the factory crossbars on your Toyota RAV4. This socket guarantees you’ve got the right bolt compatibility for loosening and removing those bolts effectively. If you’ve misplaced the provided tool, don’t worry—a standard socket can substitute just fine. Remember, as you work on the crossbar alignment, always turn counterclockwise to disengage the locking mechanism. It’s essential to retain any lock washers and gaskets during removal, as they’re necessary for reinstallation to maintain your roof rails’ integrity. Once you’ve got the crossbars off, you’ll be ready to tackle whatever adventure awaits you without the extra load overhead!
Importance Of Torque Wrench
While you might be enthusiastic to take off those crossbars, don’t overlook the significance of having a torque wrench on hand. This tool is vital for meeting torque specifications during reinstallation, ensuring bolt integrity and safety. Here’s why you need it:
- Prevents Over-tightening: Avoid stripped threads and broken hardware.
- Ensures Precision: Apply the exact force needed for each bolt.
- Maintains Consistency: Achieve even tension across all bolts for reliable attachment.
- Follows Guidelines: Adhere to your vehicle’s manual for ideal performance.
Using a torque wrench not only protects your roof rack system but also enhances your confidence in its functionality. Don’t skip this essential step!
Tips for Retaining and Reinstalling Gaskets and Washers During Crossbar Removal
When you’re removing crossbars, keeping track of gaskets and washers is key to a successful reinstallation. Use a designated container to store these components as you work, ensuring they don’t get lost. Plus, handling the gaskets carefully can prevent any damage, making sure they maintain a proper seal when it’s time to put everything back together.
Gasket Retention Techniques
To guarantee a smooth removal and reinstallation of crossbar gaskets and washers, you’ll want to handle the process with care. Follow these gasket retention techniques:
- Gently lift the rail straight up to avoid dislodging the gasket, which often sticks to the vehicle.
- If the gasket adheres, use a plastic trim tool to carefully pry it loose.
- Inspect the gasket for tears or damage before reinstalling, making certain a proper seal to prevent leaks.
- Retain the lock washers along with the bolts during removal, as they’re essential for secure reinstallation.
Implementing these gasket cleaning techniques and gasket replacement tips will help maintain the integrity of your roof’s surface and guarantee a successful crossbar installation.
Washer Storage Solutions
After guaranteeing the gaskets are intact during removal, it’s important to focus on how to effectively store the washers and gaskets. Use a small container or magnetic tray for washer organization; this keeps them secure and prevents loss. If your gaskets and washers vary in size or shape, label them to simplify reinstallation. Inspect their condition before putting them back—worn or damaged pieces should be replaced to maintain a watertight seal. When reinstalling the crossbars, have a torque wrench handy to apply the right torque specifications. This prevents over-tightening, which could damage your gaskets. With these storage solutions, you’ll guarantee a smoother reinstallation process and keep your roof rack functional and secure.
Common Mistakes in Crossbar Removal and How to Avoid Them
While removing roof rack cross bars might seem straightforward, several common mistakes can complicate the process. To help you avoid these common errors, keep these preventive measures in mind:
- Skip the factory covers: Always pop off these covers first to avoid damaging them.
- Wrong tools: Use the provided tool or a 13mm socket; substitutes can complicate loosening.
- Forget lock washers: Retain lock washers and gaskets during removal to prevent leaks or rattling.
- Over-tightening: Use a torque wrench during reinstallation to meet specified torque settings.
How to Properly Install the Factory Covers After Removal
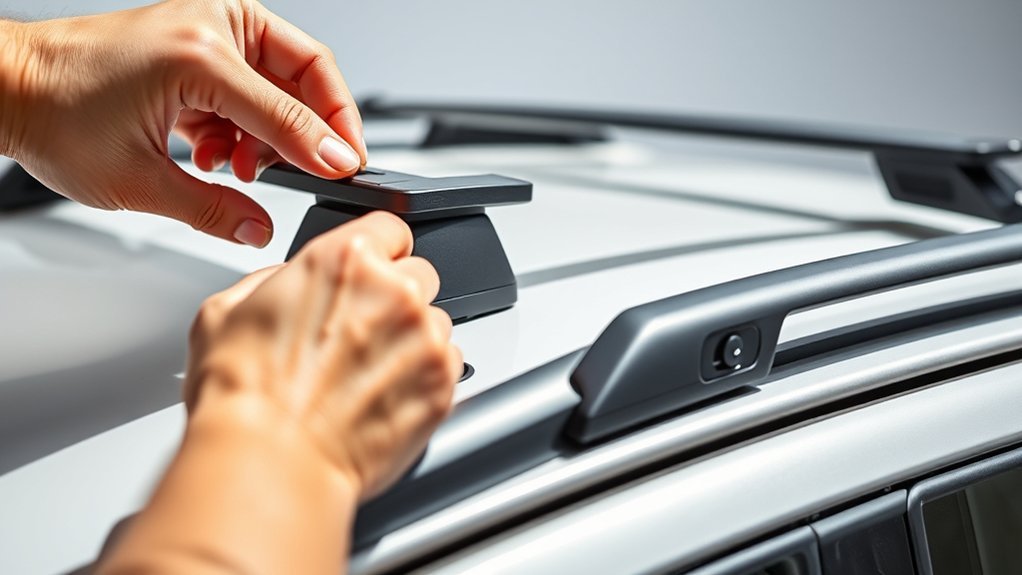
Installing the factory covers correctly is essential for both aesthetics and functionality, so take a moment to make certain you have the right pieces before you start. First, identify each cover; they’re labeled with “R” for right and “L” for left. Begin the factory cover installation by aligning the outer edge with the rail, then press down firmly to clip it securely in place. Confirm you have the proper orientation—the notch on the cover should face inward toward the vehicle. Repeat this process for the opposite side and the rear rail to complete the look. After installation, double-check that all covers are securely attached for a clean and finished appearance. Enjoy your sleek, cover-free roof!
Maintaining Your Roof Rack for Longevity After Crossbar Removal
To guarantee your roof rack remains in top condition after removing the crossbars, regular maintenance is key. Follow these steps for effective roof rack maintenance and corrosion prevention:
- Inspect Regularly: Check for signs of wear or rust to confirm longevity and performance.
- Clean Thoroughly: Use mild soap and water to remove dirt and debris, preventing corrosion and keeping it sleek.
- Lubricate Moving Parts: Apply a silicone-based lubricant to confirm smooth operation and prevent seizing.
- Store Components Properly: Keep removed crossbars and covers in a dry place, avoiding damage from moisture and UV exposure.
Frequently Asked Questions
Can You Remove Crossbars From RAV4?
Yes, you can remove crossbars from your RAV4. For the removal process, you’ll need a tool or a 13mm socket. Just loosen the bolts, and you’ll enjoy a cleaner roof look without them!
Can Roof Rack Cross Bars Be Removed?
Removing roof rack cross bars is like shedding an old skin; it’s easy and liberating. You can simply loosen the bolts, pop off covers, and enjoy a sleeker look for your vehicle.
What Is the Lawsuit Against the Toyota RAV4?
The lawsuit against the Toyota RAV4 addresses allegations of misleading fuel economy ratings and RAV4 safety concerns, including sudden unintended acceleration. Consumers claim these Toyota RAV4 problems lead to increased costs and safety risks.
What Year of RAV4 to Stay Away From?
You should stay away from the 2013 Toyota RAV4 due to significant oil consumption issues, and the 2019 model, which has transmission problems. Prioritize RAV4 reliability and maintenance by choosing models with fewer reported issues.
Conclusion
Removing the roof rack cross bars from your Toyota RAV4 can enhance your vehicle’s aerodynamics and improve fuel efficiency by up to 10% when they’re not needed. By following the steps outlined, using the right tools, and avoiding common mistakes, you’ll guarantee a smooth removal process. Plus, with the right maintenance, your roof rack can last much longer. Now that you know how to do it, you can enjoy a sleeker ride without compromising on functionality!


Leave a Reply